Plumeria rubra
Contents
- Top Tips
- Location, Water, Humidity & Fertilisation
- Dormancy Period & Annual Flowers
- Common Issues
- Origins, Temperature, Propagation, Repotting & Toxicity.
Need the answer to a specific plant query? Book a 1-to-1 video call with THE HOUSEPLANT DOCTOR™, the website's friendly author, to overcome and address your niggling problem! Available on iMessage, WhatsApp, Facebook Messenger & more.
Top Tips & Info
- Care Difficulty - Moderate
- Plumeria prefer a bright location with a few hours of morning or evening sunlight, but remember to avoid excessively dark areas for maximum flowering times and overall health. A semi-shaded conservatory is best for good, quality blooms.
- Keep the soil relatively moist whilst in flower, using lukewarm water. Reduce waters slightly in the autumn and winter to avoid over-watering and root rot (a common problem during its dormancy period).
- Feed at fortnightly intervals using a potassium-based feed (like 'Tomato' or 'Flowering Plant' fertilisers) during the flowering process, reverting to an 'All-Purpose' labelled product at monthly intervals, for the rest of the year.
- Scroll down to 'Dormancy Care & Annual Flowers' to learn more about annualising blooms.
- Keep an eye out for Aphids, Spider Mites & Mealybugs that'll inhabit the foliage and flowers' cubbyholes. Click on the appropriate link to read more about each issue.
- Plumeria can alternatively be placed outdoors in shaded location during the spring and summer months. This will not only help with the plant's photosynthesis and overall health, but it'll also increase the likelihood of a summer bloom when watered regularly.
Location & Light - 🔸🔸🔸
A sunny location with a few hours of sunlight is perfect for growth. Poor summer growth will occur when a Plumeria is situated in a too dark or cold setting. In terms of a place around the house, we'd locate one in a semi-shaded conservatory with temperatures above 10°C (50°C) throughout the year. Do not situate one within three metres of an operating radiator or in an area that doesn't offer enough light to support a few hours of direct sunlight.
Remember, any plant kept in brighter or warmer locations are more susceptible to dehydration and sun-scorch, so be sure to mentally note when your specimen needs more water.
Plumeria will benefit from being placed outdoors in a shaded area from the direct sunlight during the late spring to summer months. As long as the nighttime temperatures are above 12°C (54°C), you can keep the specimen out. Keep an eye out for drying soil or pests.
Water - 🔸
We'd recommend allowing the soil's half to dry out in between waters, avoiding persistent droughts whilst the plant is in bloom. During the colder months, reduce this even further, to around once every ten to fourteen days. Their root systems can be rather sensitive to temperature change, so applying cold water may weaken the plant over time, along with reducing its growth rates in the spring. If you do decide to use tap water (instead of rainwater collected from outside or fresh bottled water), allow it to stand for at least 24hrs to settle the ironised chemicals. Under-watering symptoms include rapid flower or foliar drop, stunted growth and dry, crispy leaves; these issues are usually due to either forgetfulness, too much sunlight or heat. Introduce a pebble tray to slow the rates of drying soil and therefore, dehydration. Over-watering symptoms include rotting lower leaves or flowers, yellowing leaves, a loss of buds or flowers and root rot. Allow soil's majority to dry out in between waters, and do not allow a pool of standing water accumulate beneath the pot, as failure to keep its environment relatively dry will result in the disease stated above. Scroll down 'Common Issues' to learn more about addressing root rot.
Humidity - 🔸🔸
Average humidity found in a conservatory will do fine. Avoid misting the flowers as excess moisture left on the intricate bodies may cause Botrytis Petal Blight.
Fertilisation - 🔸🔸
Whilst the plant is budding or in bloom, supplement fortnightly with a potassium-based feed - a 'Tomato' or 'Flowering Plant' labelled fertiliser is ideal. Once the final flower has elapsed, revert to an 'All-Purpose' feed at monthly intervals throughout the year. Do not directly apply 'Ready to Pour' liquid without a pre-water beforehand, as this will lead to the burning of roots.
Dormancy Care & Annual Flowers
Plumeria can produce beautiful white, yellow or red flowers in the summer when its dormancy waters are reduced by half; those who have a cooler conservatory without artificial light at night will also be on the upper-hand. The following steps should be performed from autumn through until early spring during a state of inactivity. Keep the roots pot-bound to add further stress onto the specimen, which in turn will significantly heighten the chance of flowering. Blooms will generally appear in the early summer but may occur later in the year in some cases.
Sunlight & Location
Be sure to provide a bright location with little to no direct sunlight. Although the winter rays won't necessarily hurt the plant, be careful not to fall in the trap of sun-scorch and severe dehydration.
Place the plant outside in a shaded location during the summer once the nighttime temperatures are above 12℃ (54℉). Not only will this allow the plant to soak up some natural indirect rays, but it'll also increase the chance of bloom in the following spring. Bring the plant back indoors once the summer is over; always check for pests - most notably being Aphids that'll attack the juvenile growth. In order for the Plumeria to fully become winterised, avoid the use of artificial lighting at night or locations that boast temperatures higher than 18℃ (64℉) when placed back indoors.
Hydration
Reduce waters so that at least half of the soil becomes dry. It's essential to keep them on the drier side to life, as they'll think that hard times are ahead and therefore will need to pass its genes on to the next generation.
Occasional Feeds
Whilst in bloom, use a Tomato feed to provide monthly nourishment of potassium; fertilisation isn't needed until the first flower stalk develops from the plant.
Reduce Everything
This is to remind you that everything needs to be reduced - especially the temperature.
Temperature
This is the most significant step; reduce the temperature down by around 5℃ compared to the summertime or place in a room that's between 12º - 16℃ (54º - 61℉). The drop in temperature should ideally last until the inflorescence finishes blooming, although it can still be transferred into the main house as long as it sits on a pebble tray. You'll be at a significant disadvantage if the ambient temperature is kept constant throughout the year, as indoor Plumeria will only respond in locations that have daily fluctuations of around 5℃. Never exceed the minimum temperature as it may lead to plant death or yellowed foliage at a bare minimum.
Common Issues with Plumeria
If you still can't find the answer to your specific houseplant problem, book a 1-to-1 video call with Joe Bagley to point you in the right direction today.
Root rot is a common issue among specimens sat in too dark environments with prolonged soil moisture. Symptoms include rapidly yellowing leaves, mouldy soil, stunted growth and a rotten brown base. Take the plant out of the pot and inspect health below the compost line. If the roots sport a yellow tinge, you're good to go, but those that are brown and mushy must be addressed immediately. More information about managing root rot can be found on this link.
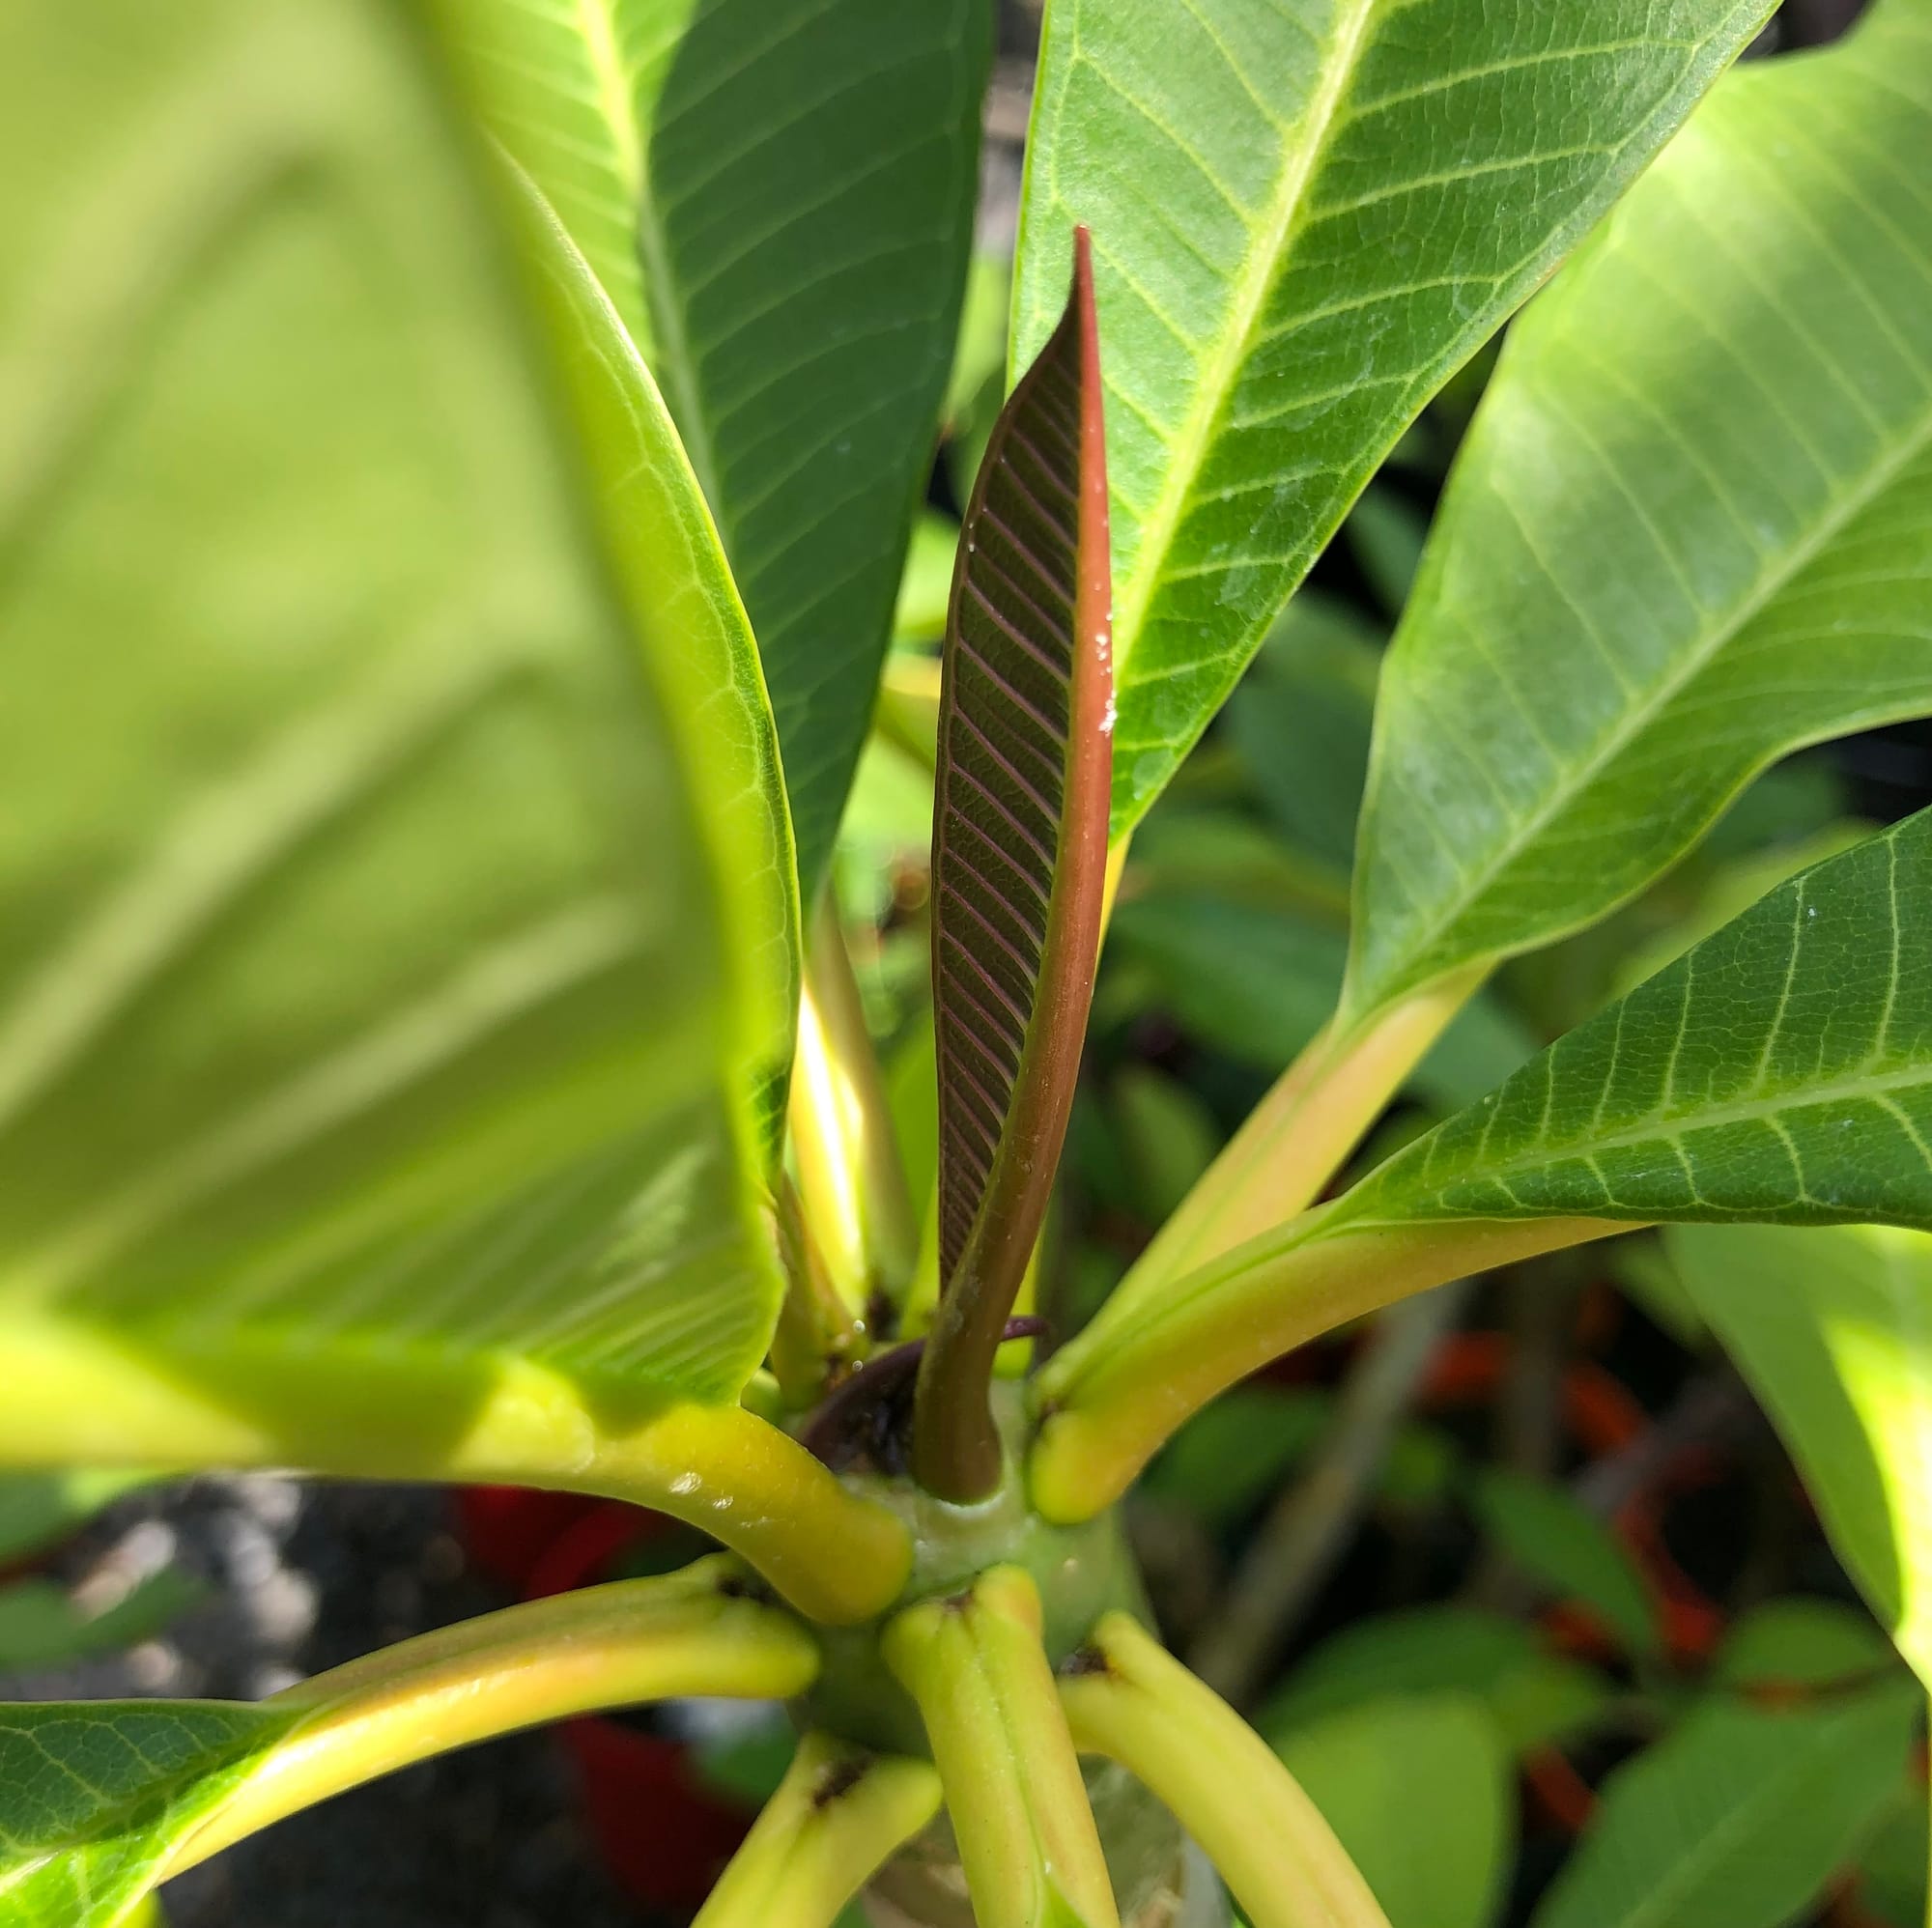 Don't be alarmed if its new leaf starts off red, as this is just a protective pigmentation to avoid potential sun damage. It'll turn green once the leaf reaches maturity.
Curled leaves and dried brown edges are the result of too little water and over-exposure to the sun. Although Plumeria can naturally do well in sun-filled locations, those that haven't acclimatised to the harsh rays will show signs of sun-scorch and environmental shock. Gradually increase the amount of light every few days, starting from an indirect location to a few hours of morning/evening sun over a few weeks. Prolonged exposure will significantly speed the process of dehydration, so consider transplantation into a bigger pot in the spring to wrap the roots around moister soil.
A dark location (corners of rooms, etc.) will promote the vines to develop small or no juvenile leaves, giving the impression of 'leggy' or naked growth. The length between the nodes will also dramatically become larger, harvesting less energy that can be converted into sortable sugars. Be sure to increase the amount of indirect light somewhat, and give the specimen a gentle supplement of 'Houseplant' labelled feed to help with its stored energy.
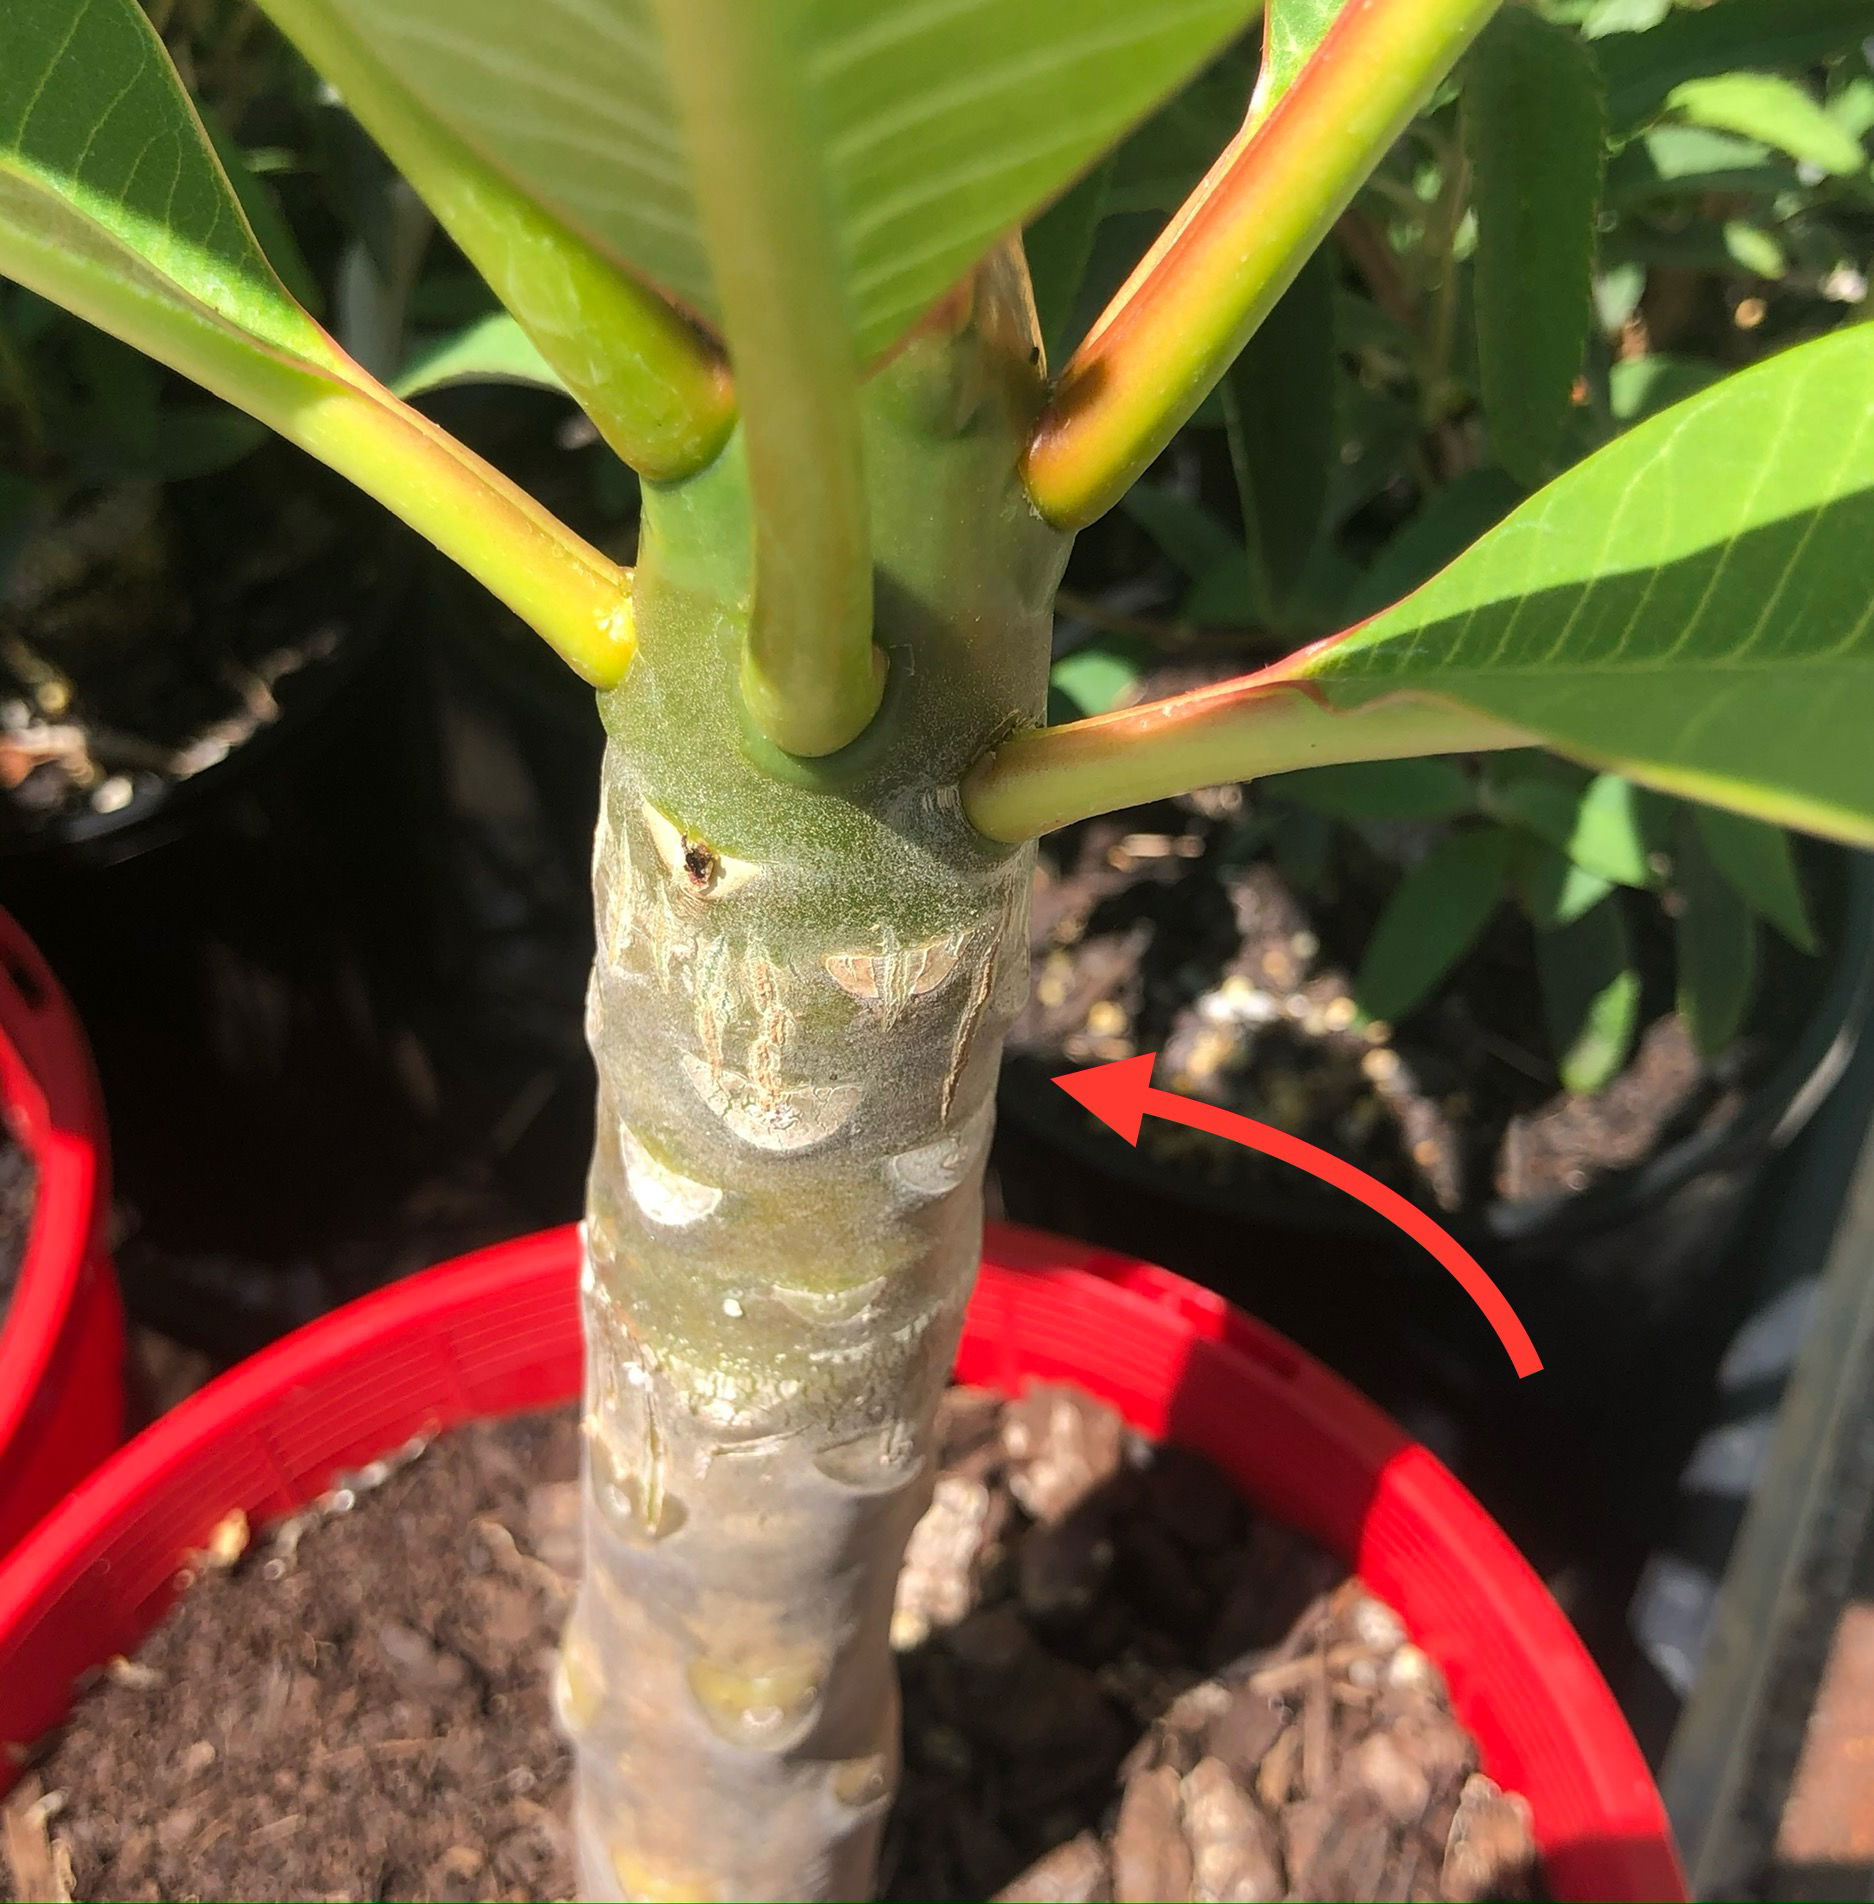 Dried or scabbed markings across its stem are are natural as the plant ages.
Spider Mites are small, near-transparent critters, that'll slowly extract the chlorophyll from of its leaves. Have a check under the leaves, most notably along the midrib, for small webs and gritty yellow bumps. Click here to read our article about the eradicating Spider Mites, along with some extra tips that you may not find elsewhere!
A lack of flowers in the summer or autumn is caused by an insufficient dormancy period, served in the winter months. Locations that offer near-similar temperatures all year round won't allow the plant to go dormant, resulting in poor spring growth. To achieve, situate in an area that dips to around 12°C (54°F) with fewer waters. Allow the majority of the compost to dry out and provide a humidity tray while the radiators are operating. While we're on the subject, if you'd like to prolong the flowering period, use a fertiliser high in potassium to promote longer-lasting flowers; 'Flowering Plant' or 'Tomato' Food are excellent choices. Other tips to extend this period are to avoid temperature fluctuations and droughts, maintain good humidity and place in a well-lit room with little to no direct sunlight. Read on to find out how to get a Plumeria to reflower.
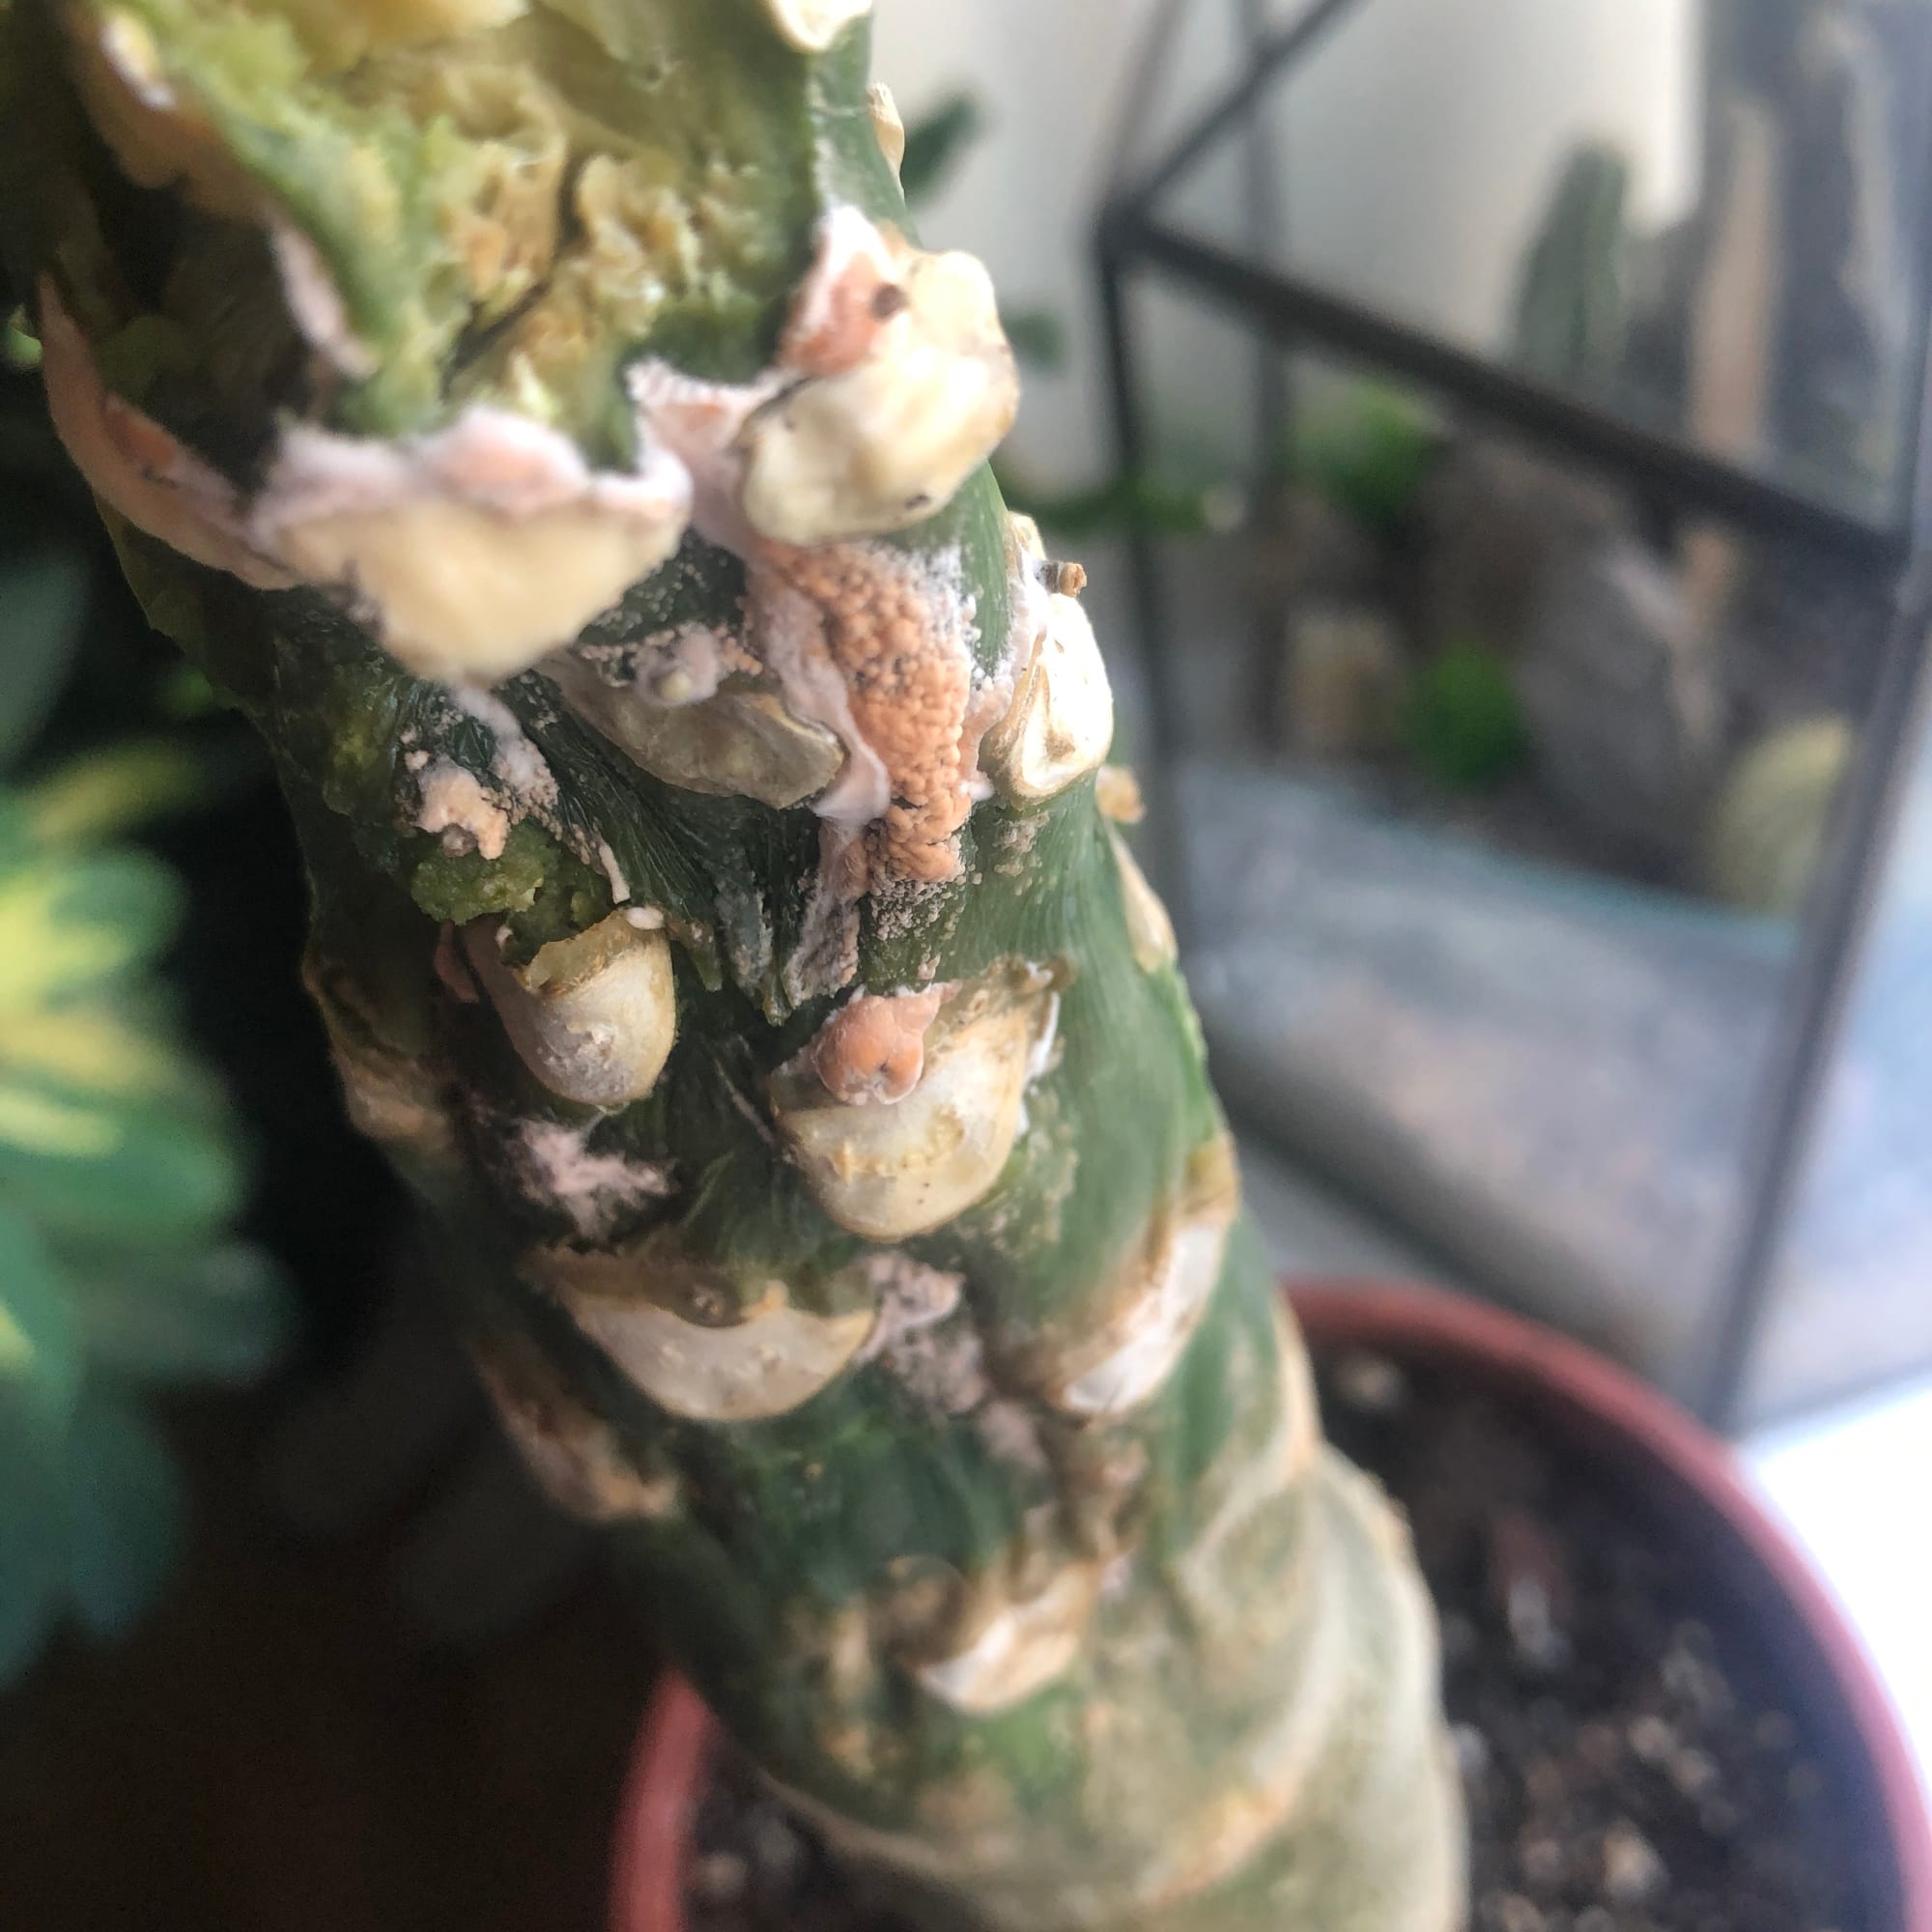 It's unfortunately game over if your Plumeria's stem becomes squishy or develops brown rust; discard to avoid this issue spreading to other plants around. Scroll up to the image above to see a healthy stem.
Short-lived flowers could be the product of low humidity or under-watering. Place the specimen on a pebble tray, keeping the reservoir topped up with water while the heaters are operating. Never mist the flowers due to the high risk of developing Botrytis Petal Blight. Keep the soil more on the drier side and introduce a watering schedule to avert the risk of forgetfulness. Wait a month to see if the new changes help the plant's overall health.
Yellowing lower leaves could be the result of over-watering, too little light, nutrient deficiency or just a product of maturity. Allow the top half of the soil to dry out in between irrigations for the reduced chance of root rot. If the desired location is so dark that you can't even read a newspaper, it'll also be too shady for the plant. The last possibility could be to do with the lack of nutrients in the soil. If you haven't supplemented it in a while, it could be to do with nitrogen deficiency. This element is mobile within the plant, meaning that it can be moved to where the plant needs the most - i.e. the new growth. A lack of nitrogen in the lower leaves will result in the chlorosis, so it's vitally important to keep the soil nutrients topped-up.
A dehydrated plant will result in the majority of the leaves turning yellow, caused by under-watering and/or too much sunlight. Although Plumeria need a sufficient amount of the sun per day, too much will result in detrimental issues. A few hours of sun or over five hours of winter sun is the recommended dosage. Try not to exceed these limits as it'll take many months for the plant to bounce back from sun-scorch.
Origins
Plumeria was first penned by Carl Linnaeus in 1753, honouring the French botanist of Charles Plumier, who documented and brought many then-unknown species from the New World. The most popular species, P. obtusa, was also described by Linnaeus, describing the thicken stem of mature specimens after several years of growth.
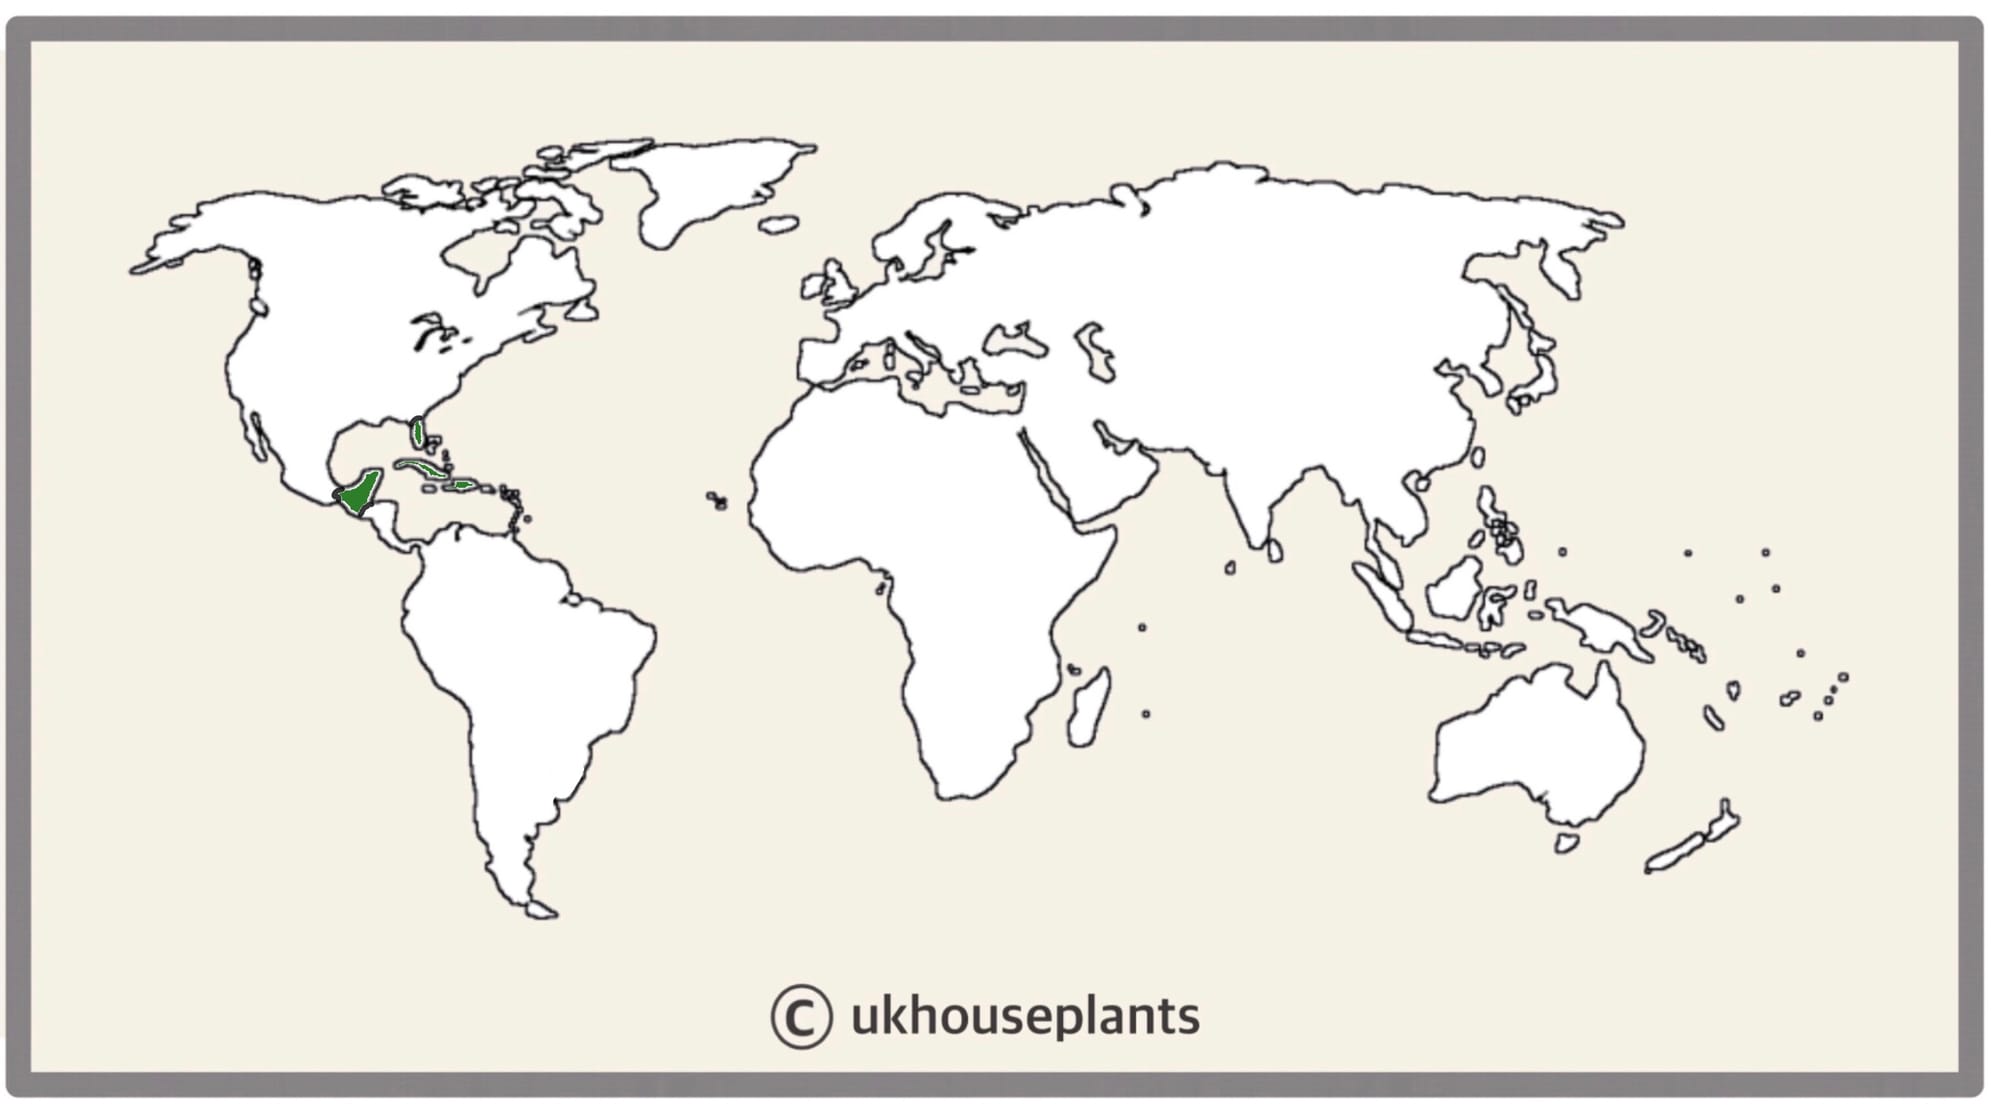 The Distribution of Plumeria obtusa.
Temperature
10° - 25°C (50° - 78°F)
H1c (Hardiness Zone 11) - Can be grown outdoors between late spring and summer throughout most of the UK while nighttime temperatures are above 10℃ (50℉). If you decide to bring the plant outdoors, don't allow it to endure more than an hour of direct sunlight a day as it may result in sun-scorch. Regularly keep an eye out for pests, especially when re-introducing back indoors.
Spread
Plumeria can grow up to 2.5m in height and 3m in width when cultivated indoors. The ultimate height will take between 6 - 10 years to achieve.
Pruning, Maintenance & Training
Remove yellowed or dying leaves and plant debris to encourage better growth and improve the all-round appearance. Pruning must be done with clean scissors or shears to reduce the chance of bacterial and fungal diseases; remember to make clean incisions as too much damage can shock the plant. Prune leggy spring growth to promote a bushier appearance and remove spent flowers or plant debris to reduce the likelihood of diseases.
Propagation
Via Seed or Stem Cuttings.
Seed Sowing (Easy) (Image Below) - Soak the seeds in lukewarm water for around 24hrs in a dark location, preferably on top of an operating radiator. The best soil to use is a ‘Cactus & Succulent’ labelled potting mix; have a look at our own potting mixes on our shop. While using a seed tray, set the seeds on TOP of the potting mix and sprinkle a thin layer of vermiculite over the seeds and soil. Place the seed tray in a transparent bag (with holes) or in a transparent box with a lid and maintain evenly moist soil (avoid waterlogging though). The ideal location for successful germination is in a bright, indirect setting with temperatures above 18℃ (64℉). Keep the tray in a transparent bag to provide a stable level of humidity, along with longer-lasting soil moisture. Germination may take up to two months, so don't discard any unsuccessful seeds until this threshold has been surpassed. Remove the bag once the seedlings produce their third leaf and then split them into their own 5cm pots with Cactus & Succulent potting mix.
Stem Cuttings (Moderate) - Choose the healthiest, most established stems that are wooded, yet still juvenile enough to bend slightly, being around 30cm (12 inches) of semi-wooded stem. Allow the wound to callus over over a period of a few days by placing the specimen on a damp cloth in a bright area. After this period, and the wound is hardened, situate the cutting's lower quarter into moist 'Cactus & Succulent' compost. Maintain bright light and evenly moist soil with the avoidance of direct sunlight or cold draughts. Wrap the pot (& foliage) in a transparent bag with several small holes or within a miniature greenhouse, and provide bottom heat of temperatures above 18°C (54°F). Remove the bag and place into individual 8cm pots once the second new leaf emerges. Follow the same care routines, as mentioned in the article's top half. This method will take up to five months, so patience and the correct environment are paramount for success!
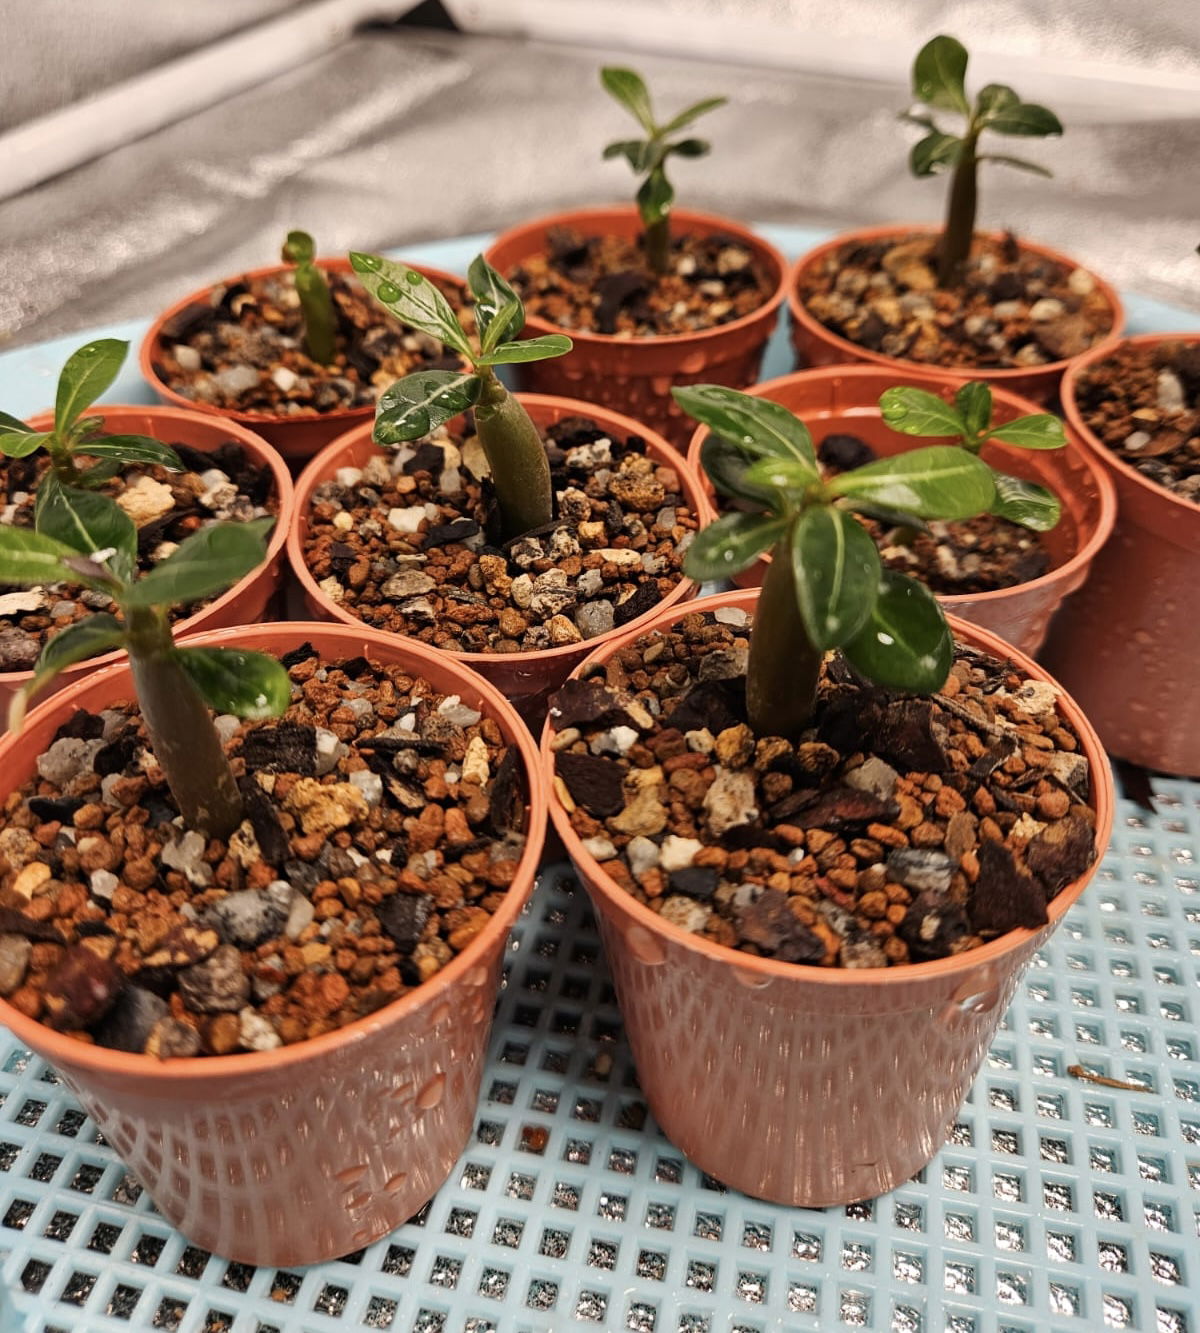 Plumeria seed sowing is fun, easy & relatively inexpensive! Credit: Unknown.
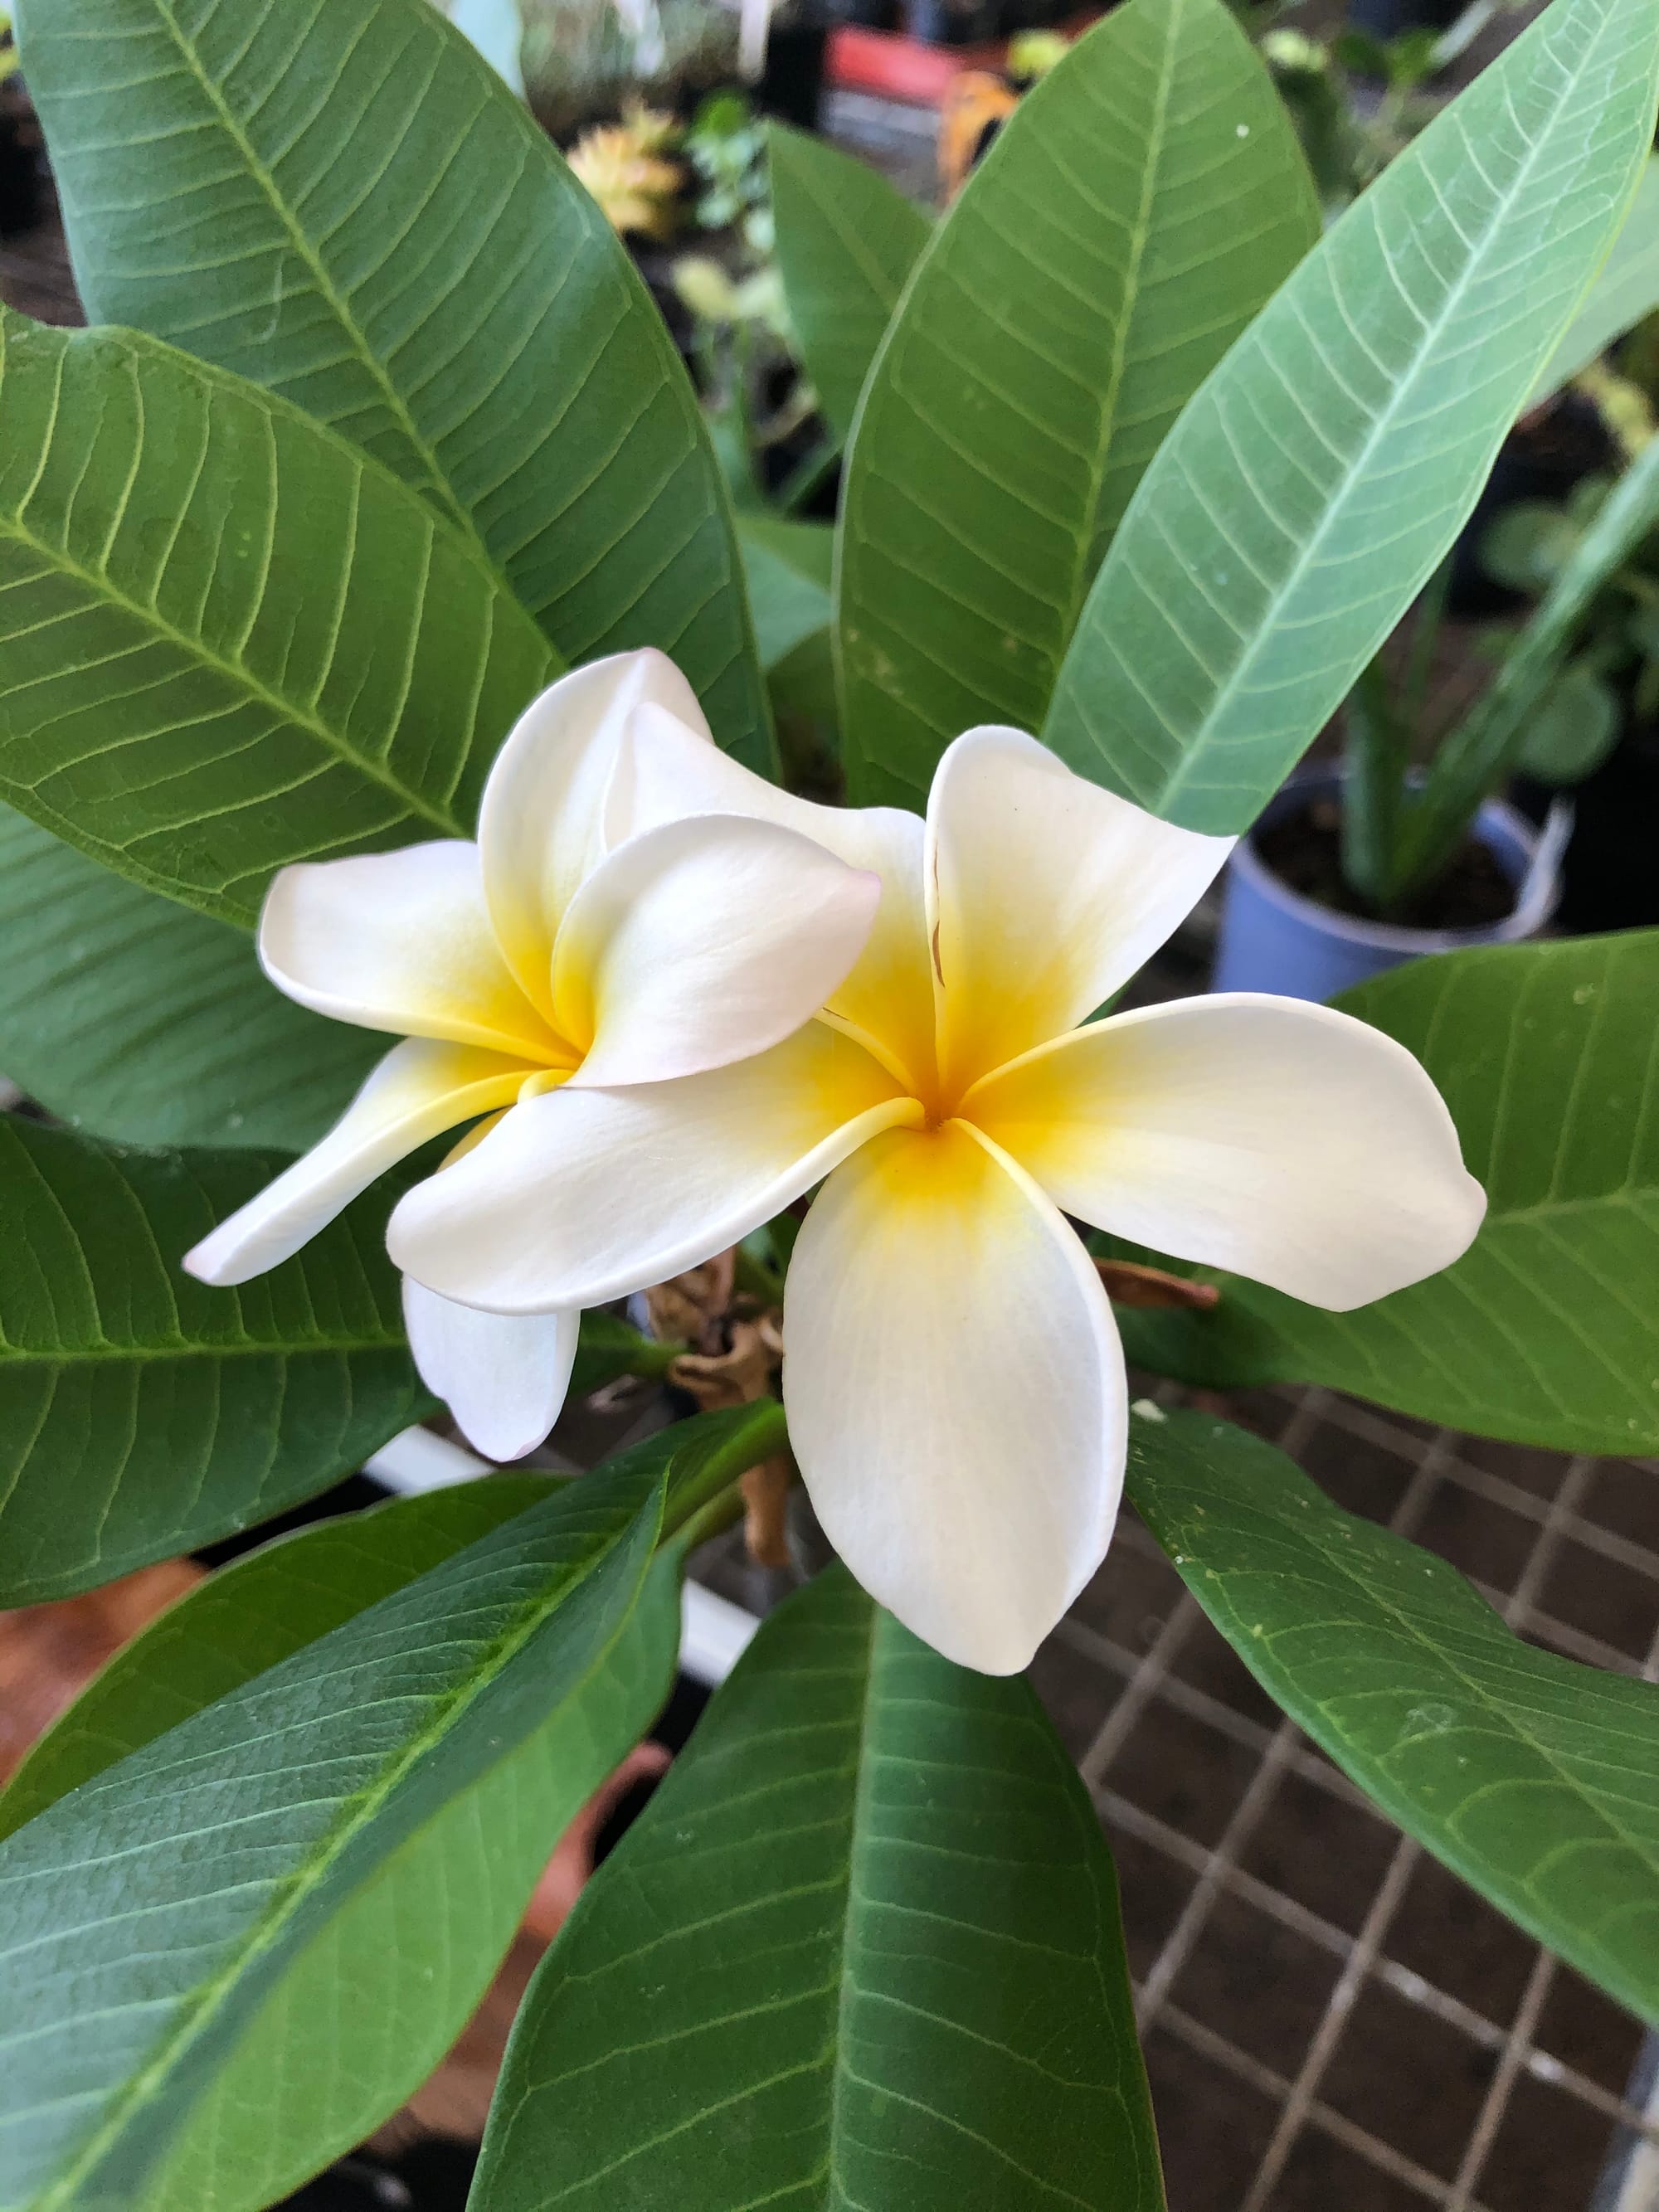
Flowers
Most Plumeria will flower in the months of summer, lasting several weeks once opened. The flowers are diamond-shaped, appearing at the stem's tip to attract airborne pollinators. They have a Jasmine-fragrance that can be smelt from metres away.
Repotting
Repot every three or four years in spring using a 'Cactus & Succulent' labelled potting mix and the next sized pot with adequate drainage. Plumeria are far better potbound for several years due to the heightened risk of root rot and repotting-issues (like transplant shock), so only repot if you feel it's wholly necessary - restricted root growth will also increase the chance of blooms, too.
Hydrate the plant 24hrs before the tinkering with the roots to prevent the risk of transplant shock. For those situated in a darker location, introduce an extra amount of perlite and grit into the deeper portion of the pot to downplay over-watering risks. Click on this link for a detailed step-by-step guide on transplantation, or via this link to learn about repotting with root rot.
Book a 1-to-1 video call with Joe Bagley if you'd like a personal guide to repotting your houseplant. This will include recommending the right branded-compost and pot size, followed by a live video call whilst you transplant the specimen for step-by-step guidance and answer any further questions!
Pests & Diseases
Keep an eye out for mealybugs, aphids, scale, thrips, fungus gnats, spider mites, blackfly, vine weevils & root mealybugs that'll locate themselves in the cubbyholes and undersides of the leaves, with the exception of the latter two in the soil. Common diseases associated with Plumeria are root rot, leaf-spot disease, botrytis, rust, powdery mildew & southern blight - click here to learn more about these issues.
Toxicity
This plant is classified as poisonous; if parts of the plants are eaten, vomiting, nausea and a loss of appetite could occur. Consumption of large quantities must be dealt with quickly; acquire medical assistance for further information. The sap can also cause dermatitis and skin allergy to sensitive individuals, so be sure to wear gloves when handling.
Retail Locations
Online Stores.
Book a 1-to-1 Call with THE HOUSEPLANT DOCTOR™
If you need further advice with your houseplants, book an advice call with ukhouseplants' friendly and expert writer today! This can be done via a video or audio call on most apps, including Facebook, FaceTime & Skype. A ten-minute call costs £6.95 (US$8), or £15.95 for thirty minutes. You can ask multiple questions, including queries on plants, pests, terrariums, repotting advice and anything in between. Please consider supporting this service to keep ukhouseplants thriving!
Comments