Contents
- Introduction
- The Right Time & Size
- Ideal Candidates for Stem Cuttings
- Step-by-Step Guide for Cuttings
- Rooting via Water or Soil
Need the answer to a specific plant query? Book a 1-to-1 video call with Joe Bagley, the website's friendly author, to overcome and address your niggling problem! Available on iMessage, WhatsApp, Facebook Messenger & more.
Introduction
Performing stem cuttings are relatively easy if you keep two things in mind - good practice and hygiene. Specimens such as Dracaena & aroids like Monstera or Pothos are the easiest, whereas Schefflera and Ficus are near impossible. This post will teach you the basics of stem cuttings, along with some additional tips that other websites seem to miss...
The Right Time & Size
Stems, as a whole, are best propagated in the spring or summer while the plant is actively growing. Although they can still be taken during the colder months, the rate of success and new growth is considerably lower. The ideal size for propagation can vary from species to species, with some preferring a hint of woodiness to their base and others needing fresh juvenile growth. In general, a girth between a pencil and a slightly thicker Cadbury's 'Flake' is what you should aim for. In terms of length, most should be within the 8cm - 20cm bracket, as anything too small or big will result in failed propagation.
Vines like Pothos, Common Ivy and Monstera are best propagated with two nodes - one to harbour the roots and the other to provide new leaves. Of course, these cuttings can include three or even four nodes if wholly necessary, but professional propagators stick to just two. This way, they can increase the potential yield and improve profits considerably.
Ideal Candidates for Stem or Vine Cuttings
- Chinese Evergreens
- Dieffenbachia - Dumb Canes
- Dracaena
- English Ivy - Hedera
- Hoya
- Maranta - Living or Prayer Plants
- Monstera
- Philodendron
- Pilea peperomioides - Friendship Plants & Missionary / Pancake Plants
- Pothos or Epiprennum, Devil's Ivy, Scindapsus
- Rabbit Foot Ferns
- Matured Succulents (Jade Plants, Aloe vera, Crassula, Sedum, Euphorbia, Sempervivum, etc.)
- Tradescantia & Callisia
- Tropical Cacti (Xmas/Thanksgiving/Easter/Zygo Cactus, Epiphyllum, Disocactus, Hatiora, Hylocereus, Rhipsalis, etc.)
- Yucca
Less Successful
- Azalea, Camellia & Rhododendrons
- Bougainvillea
- Citrus Plants
- Ficus - Weeping Figs, Fiddle-Leaf Figs & Bonsai Varieties
- Umbrella Trees - Schefflera
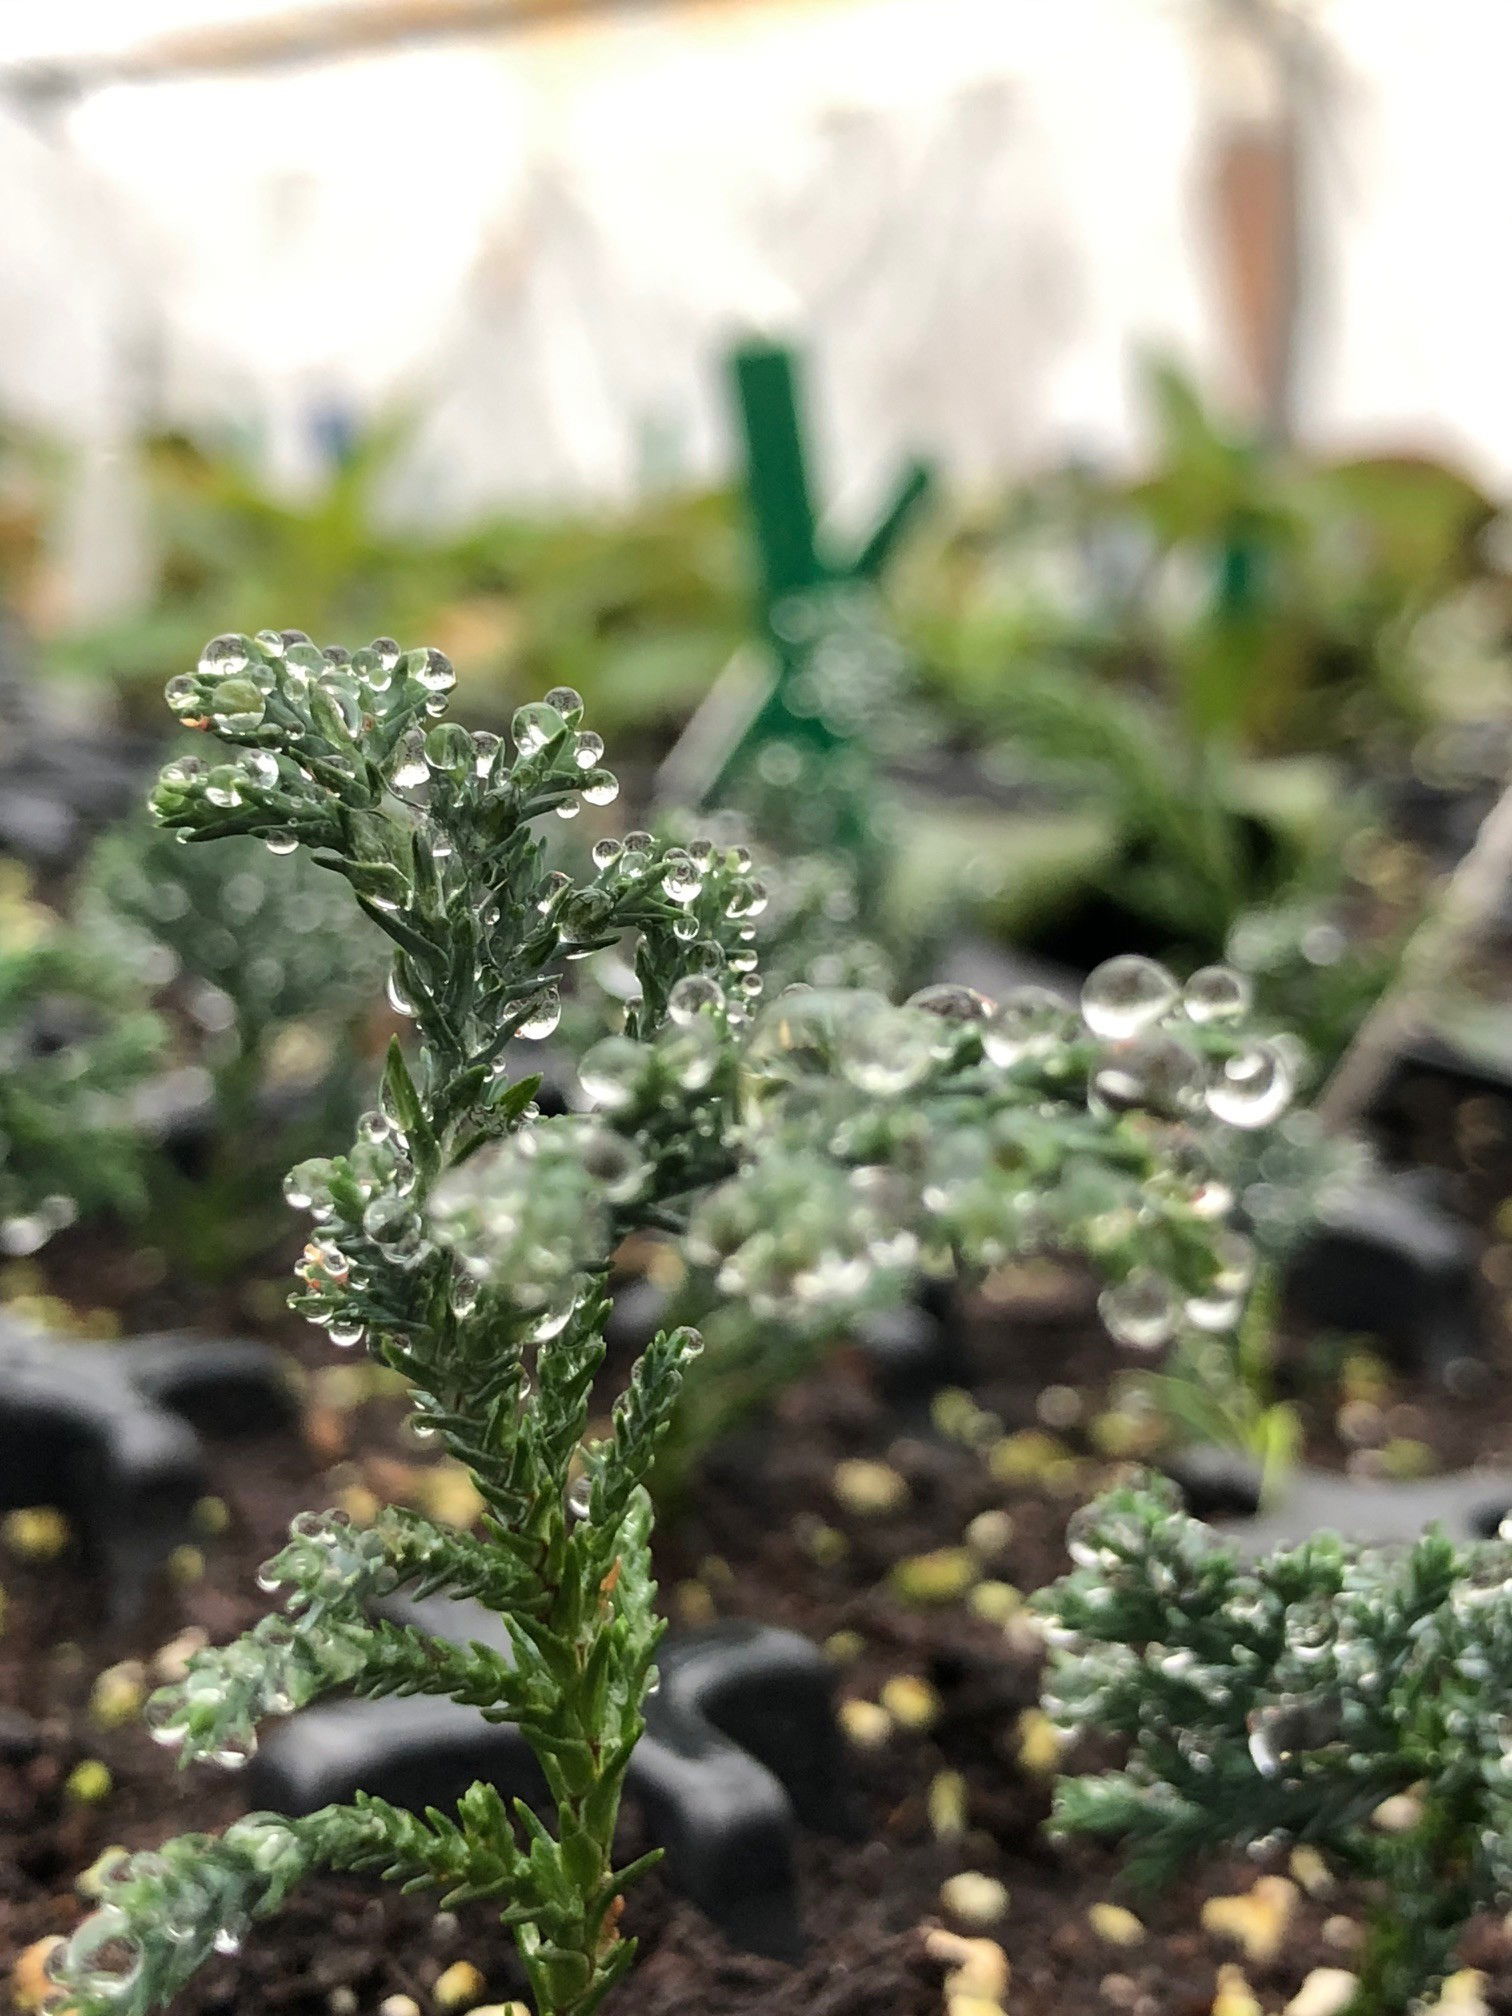 Humidity is key for hydration whilst the cutting lacks a root system.
Step-by-Step Guide for Successful Cuttings
- Hygiene is the most crucial element of successful propagation. The secateurs must be dirt-free with a fresh (or well stored) batch of compost. As you'll be cutting through vulnerable tissue, using uncleanly equipment will introduce harmful pathogens to the cutting and its mother plant.
- For stem cuttings, the best specimens are those located at the leading growths. You should aim for a semi-wooded base, but still juvenile enough to slightly bend. Never use diseased or weakened growth, as this will likely fail to root. If, however, the cutting is littered in Pests - fear not. Remove all of the affected areas using your fingers, including the eggs, 'HQ' and any webs. Wholly submerge the cutting for at least 36hrs to drown and kill the pests. Check the cubbyholes before placing it in soil; it's far easier to address a pest attack while the plant is mobile (i.e. without soil) than it would be in soil. If the pests don't die after five days of full submersion, use an organic pesticide to help the eradication process. For more information about an infestation and how it can be addressed, click here.
- Make the best incision possible to prevent the development of disease and remove the bottom half of the leaves.
- Decide on rooting the cutting via water or soil. The first option tends to have better success, especially if you're a new-time propagator. Remove any rotten debris and replace the water every ten days with lukewarm tap water to prevent shocking the plant. Although collected rainwater is acceptable, the risk of harboured diseases is too high, especially with an open wound.
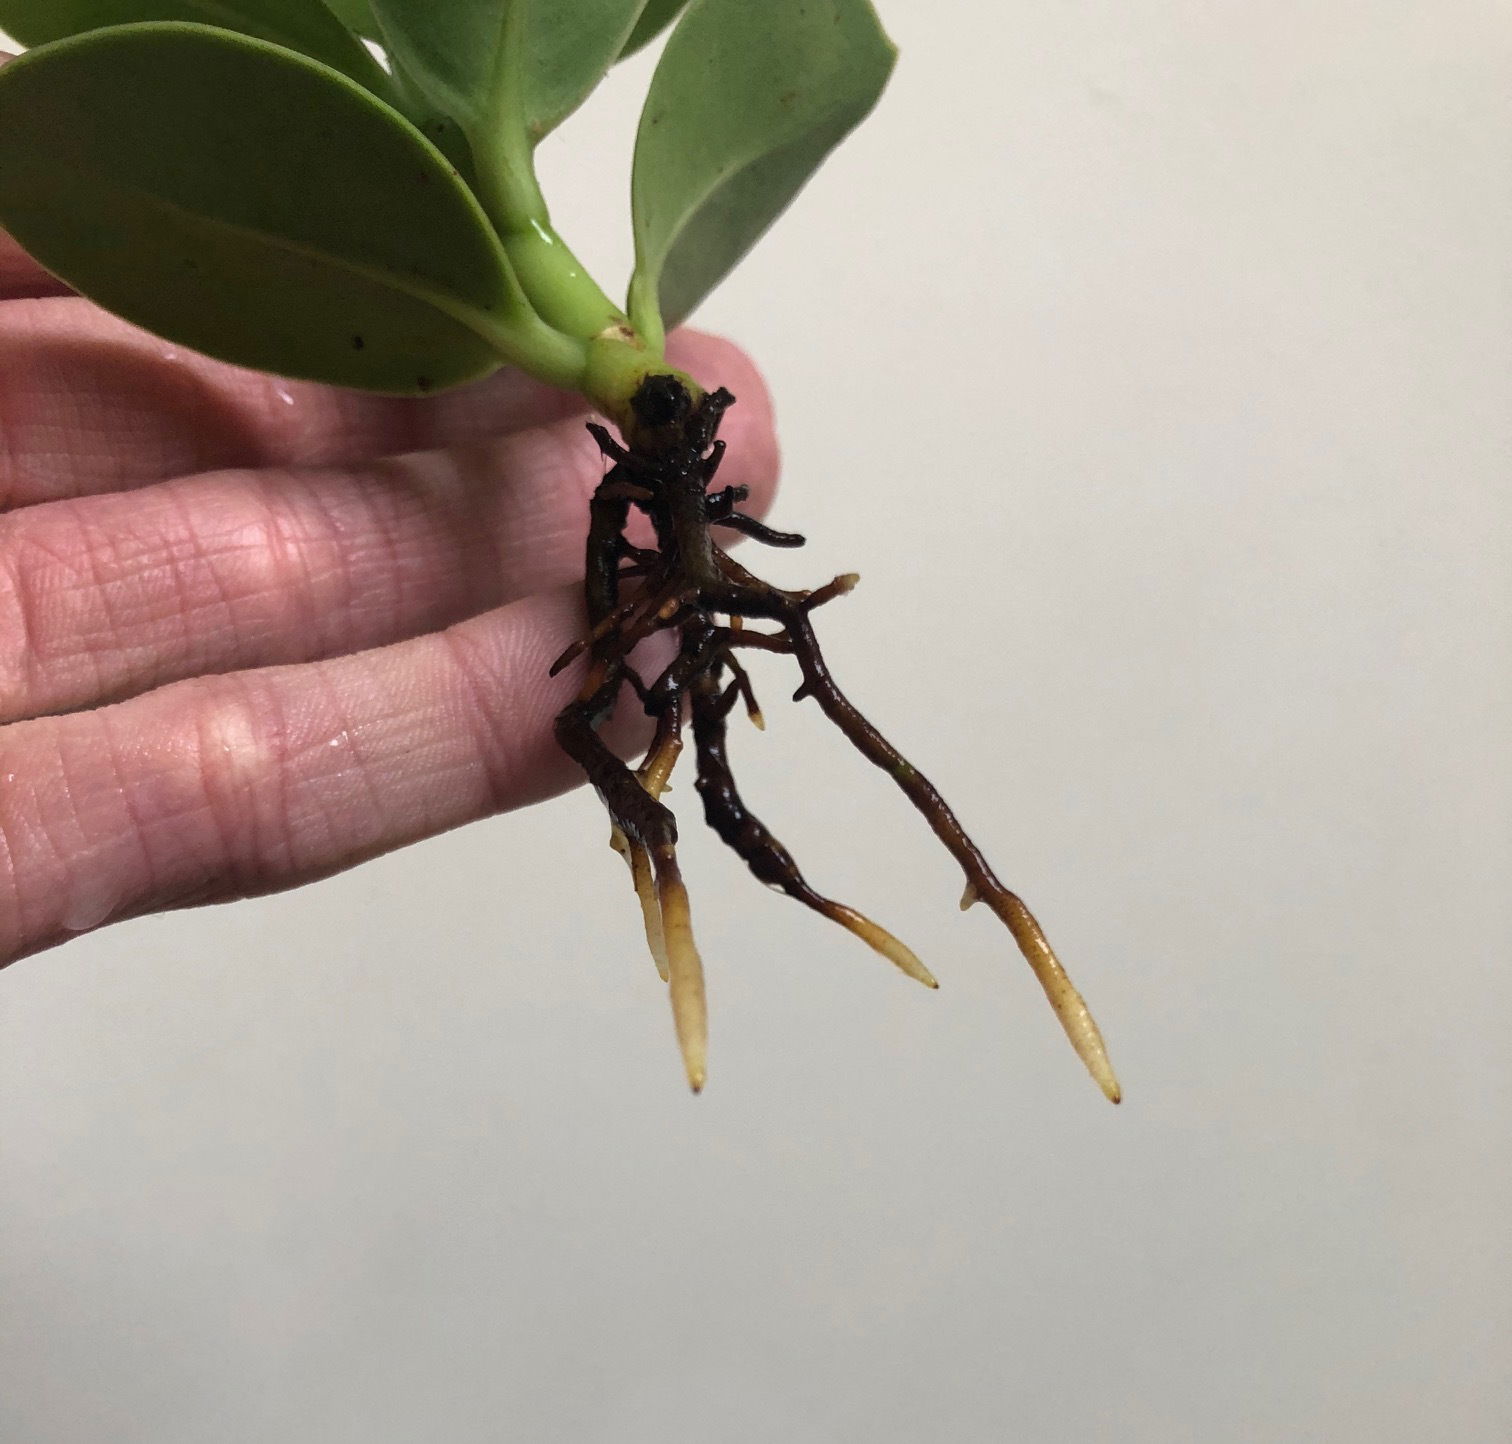 Some healthy root caps of a Clusia rosea
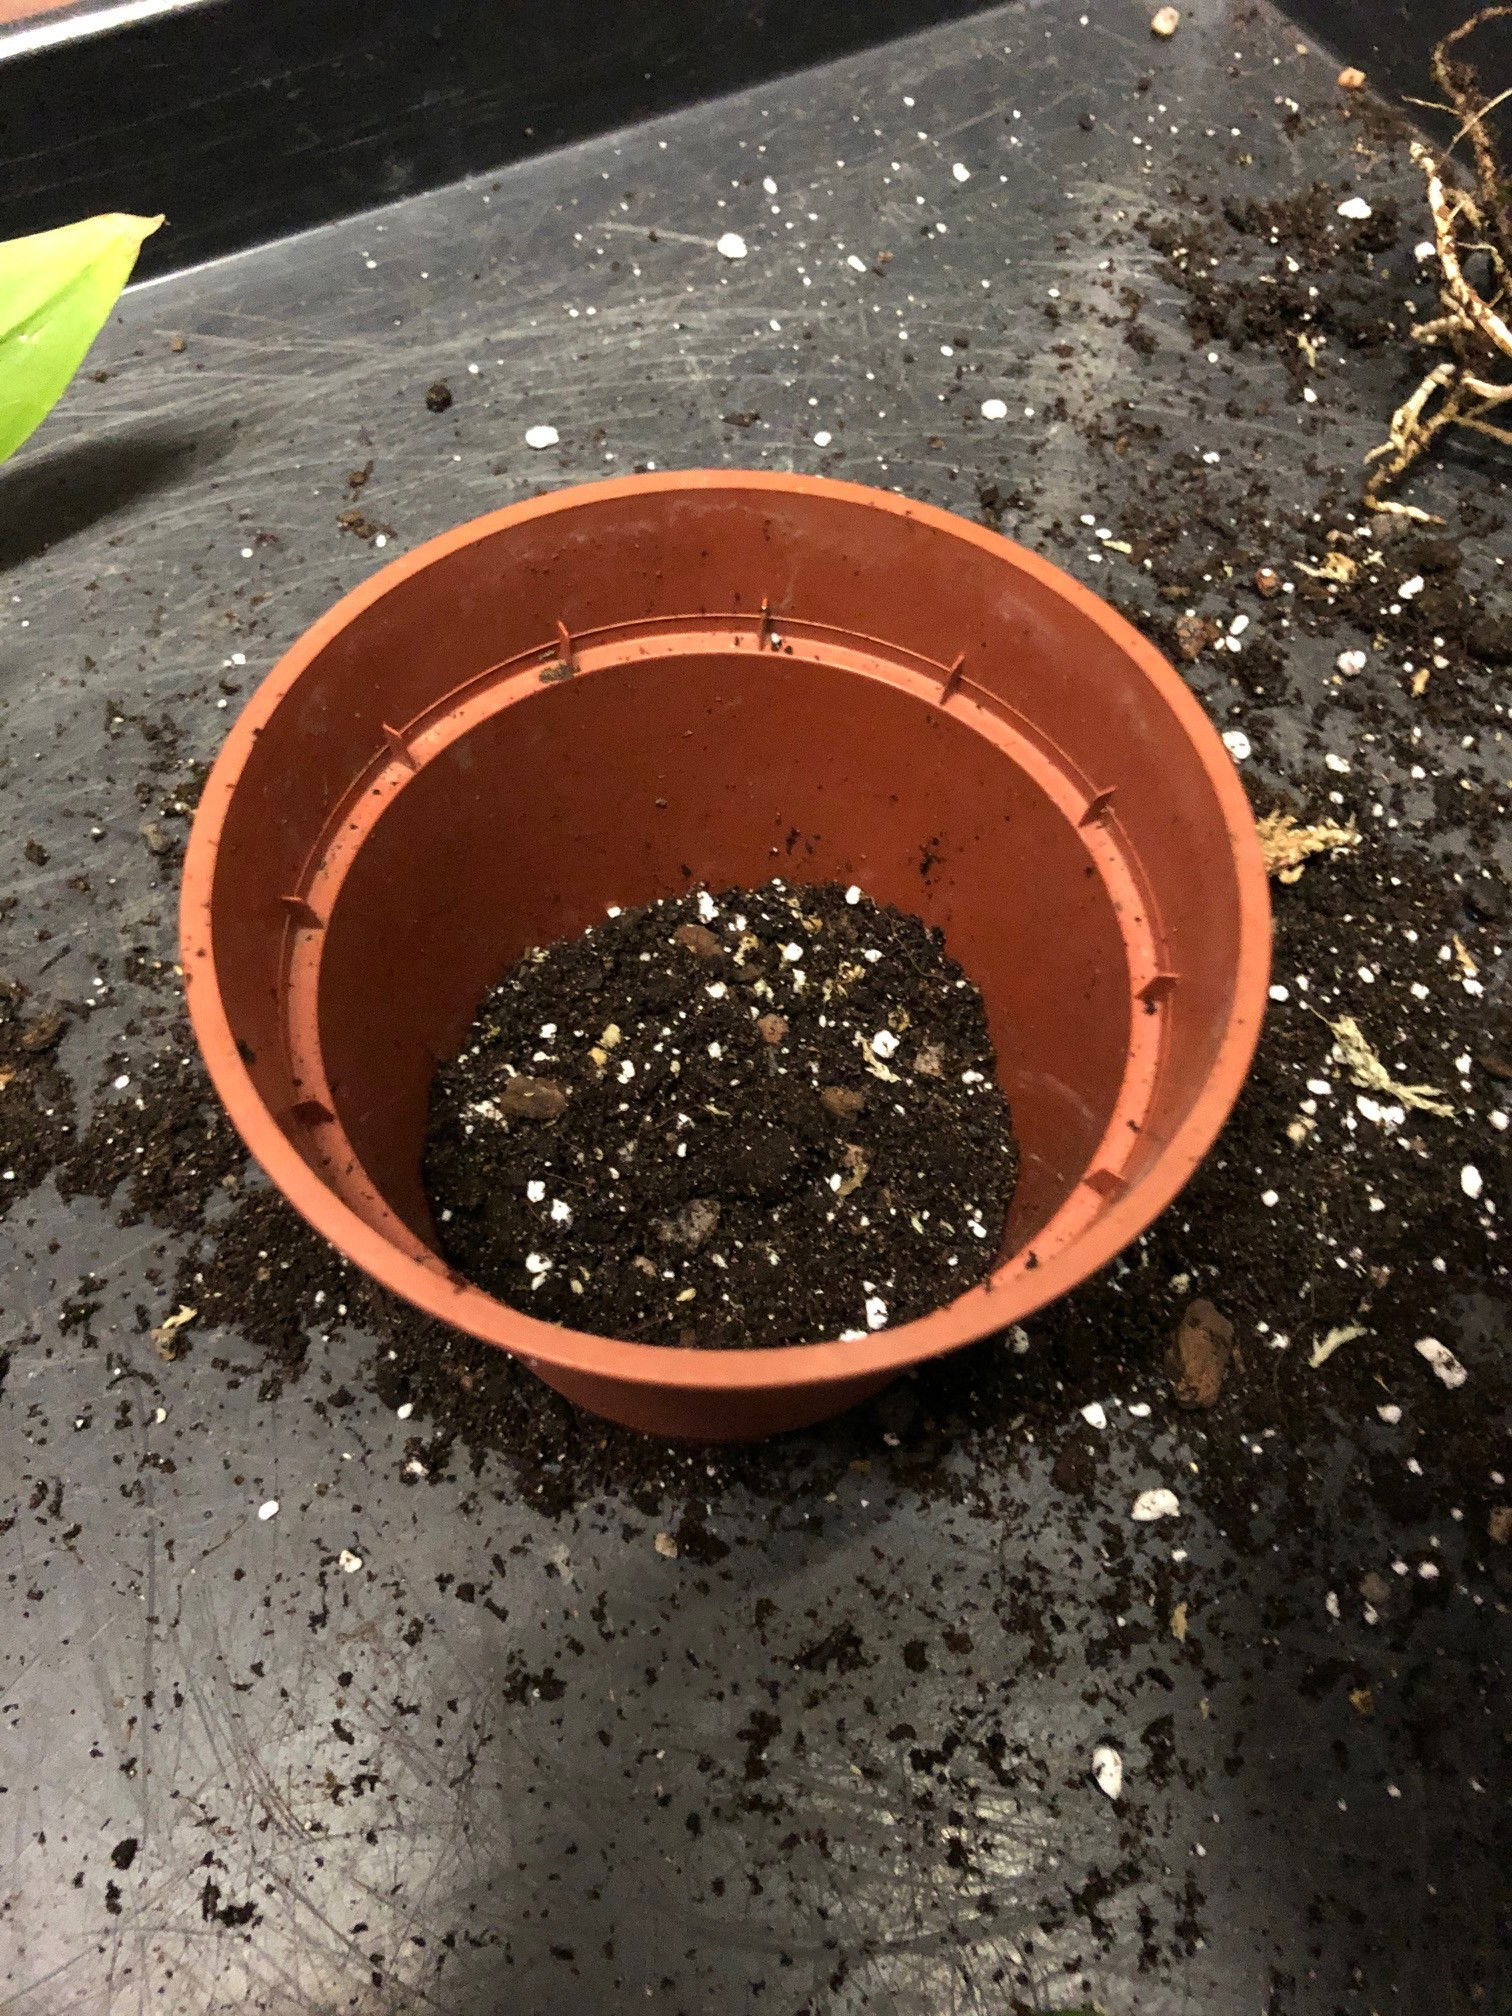
Once the roots surpass 3cm, you can safely pot them up. For both options, you must use an aerated soil that has a fluffy texture with some perlite, too. Never use a poorly stored bag of compost as it'll promote larvae or perennial seeds to arise. ukhouseplants would recommend using 'Houseplant Compost' as it has a great balance between being water-retentive, but still 'airy' enough to promote root growth. Use a 7cm (3 inches) pot that has adequate drainage holes. - Place a 2cm (0.8 inches) layer of soil at the bottom of the pot, and then rest the cutting vertically in the middle - you may have to hold it for support.
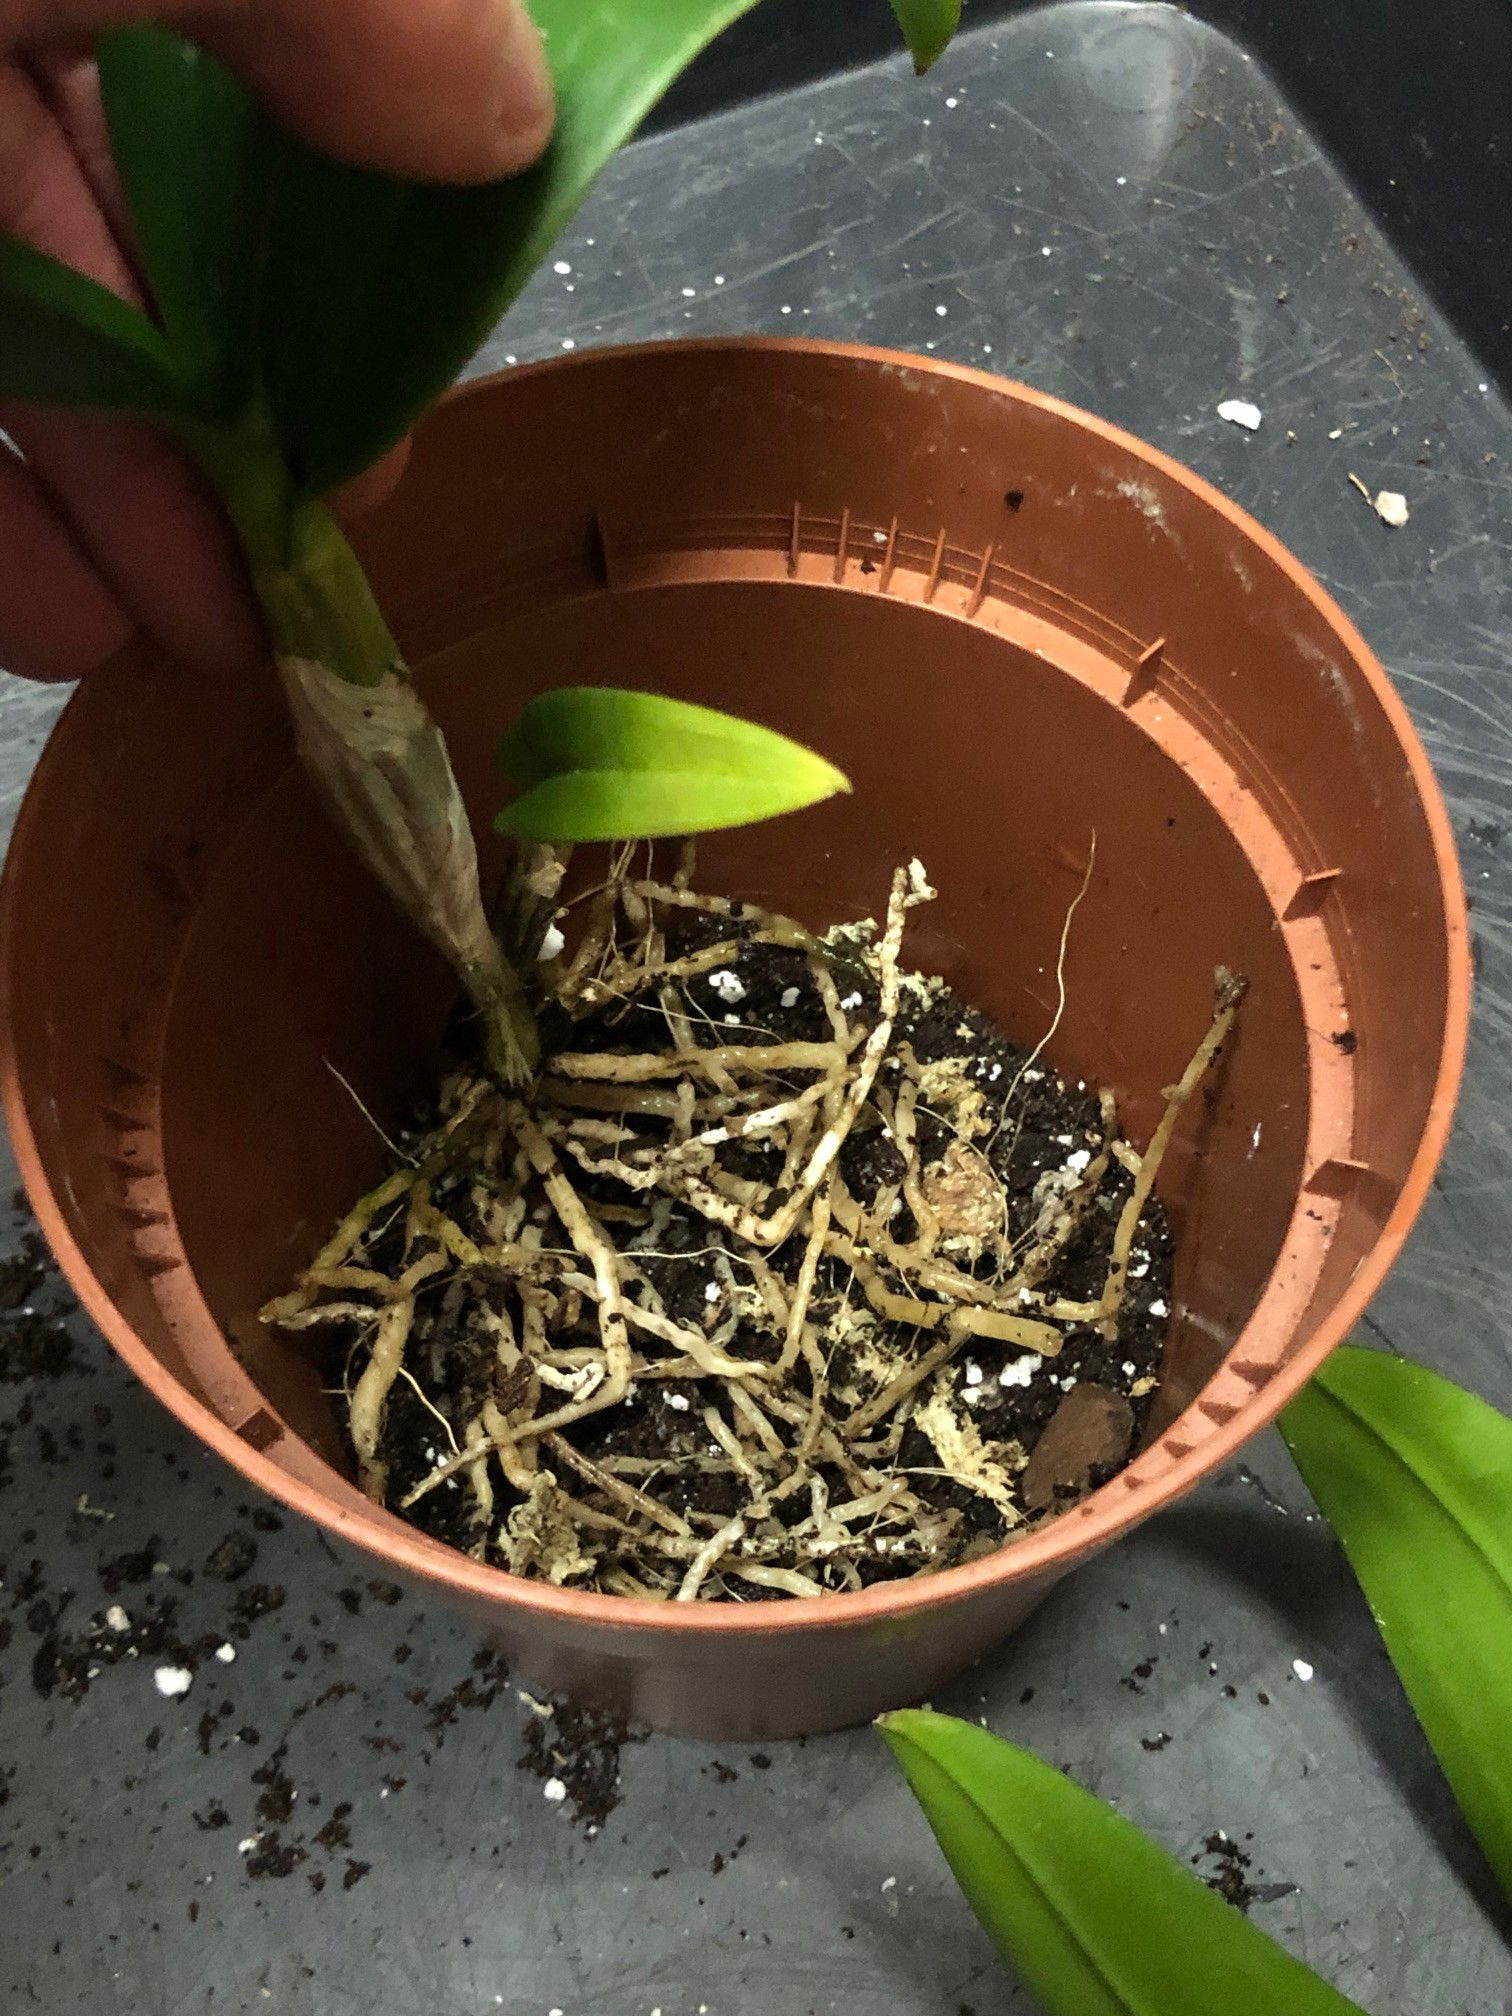 Dendrobium nobile
 - Fill the soil around the cutting, making sure that the bottom half is submerged. It's the same principles for vines, too'; place the bottom node into the soil, preventing the top node/leaf from being immersed into the soil.
- Do NOT press or compact the soil. Condensing the soil to support the cutting will push the oxygen above the soil line, suffocating the roots until they rot. If it needs support, introduce a cane or something that won't condense the soil when inserted!
- Place the potted cutting in a transparent bag or box. Because of the lack of roots, it'll start to lose stored water. A confided environment will lock-in the humidity and reduce the rate of respiration and transpiration considerably.
- You'll rarely have to water the soil due to the high humidity. If the soil compacts itself after the first irrigation, level it out by adding more compost.
- Open the bag every few days for fresh air. Be sure to keep the soil evenly moist, but NOT soggy - if it looks saturated, leaves it. The surrounding humidity in the container will do its job by hydrating the leaves.
- Situate in a bright, indirect location away from any heat sources (i.e. radiators). Keep the temperature around 18℃ (64℉) as this is the optimum temperature for root development - you can even use a bottom-heat pad to speed-up the process. The roots will develop BEFORE the foliage. You can safely remove the bag or box once new leaves emerge, as, at this point, there'll be a sufficient root system. Introduce a Pebble / Humidity Tray to maintain a good level of atmospheric saturation and to reduce the severity of environmental shock
- Keep the soil moist and maintain a bright, indirect location away from direct sunlight and other heat sources. After around four months, transplant into a slightly bigger pot, keeping in mind transplant shock (where the root hairs are damaged or over-touched). For more information on how to perform the perfect transplant, click here!
Book a 1-to-1 Consultation with THE HOUSEPLANT DOCTOR™
Need realtime advice for your houseplants? Book a video or message consultation with expert Joe Bagley, THE HOUSEPLANT DOCTOR™ (author or ukhouseplants.com). Choose between a ten or thirty-minute session & a platform of your choice (WhatsApp, FaceTime, Facebook Messenger or Zoom). Ask unlimited questions in one session, including queries on your dying/challenging plants, pests eradication, terrariums, repotting advice & everything in between! Available worldwide.
Comments