Callisia repens
For String of Turtles (succulent), click here!
This article is for Callisia; common names of this genus are Basket Plants, Bolivian Jew, Inch Plants & Turtle Vines.
Contents
- Top Tips
- Location, Water, Humidity & Fertilisation
- Common Issues
- Origins, Temperature, Propagation, Repotting & Toxicity
Need the answer to a specific plant query? Book a 1-to-1 video call with THE HOUSEPLANT DOCTOR™, the website's friendly author, to overcome and address your niggling problem! Available on iMessage, WhatsApp, Facebook Messenger & more.
Top Tips & Info
- Care Difficulty - Easy to Moderate
- Bright indirect light is optimal, avoiding prolonged exposure to the sun, especially in the summer. Those located in darker areas may lead to soil mould if kept too moist.
- Maintain evenly moist soil at almost all times - never prolonged droughts due to the high risk of dehydration and death.
- Fertilise using a 'Houseplant' labelled feed every four waters in the spring and summer, reducing this to every six in the colder months.
- Repot every three years with a 'Houseplant' labelled potting mix; be sure to respect the roots as transplant shock is a big issue that could cause wilting, sudden leaf loss or even death.
- Keep an eye out for Aphids that'll attack the juvenile growth of the plant.
- This plant is perfect for tropical-themed Terrariums or displays due to the ground-cover growth habits!
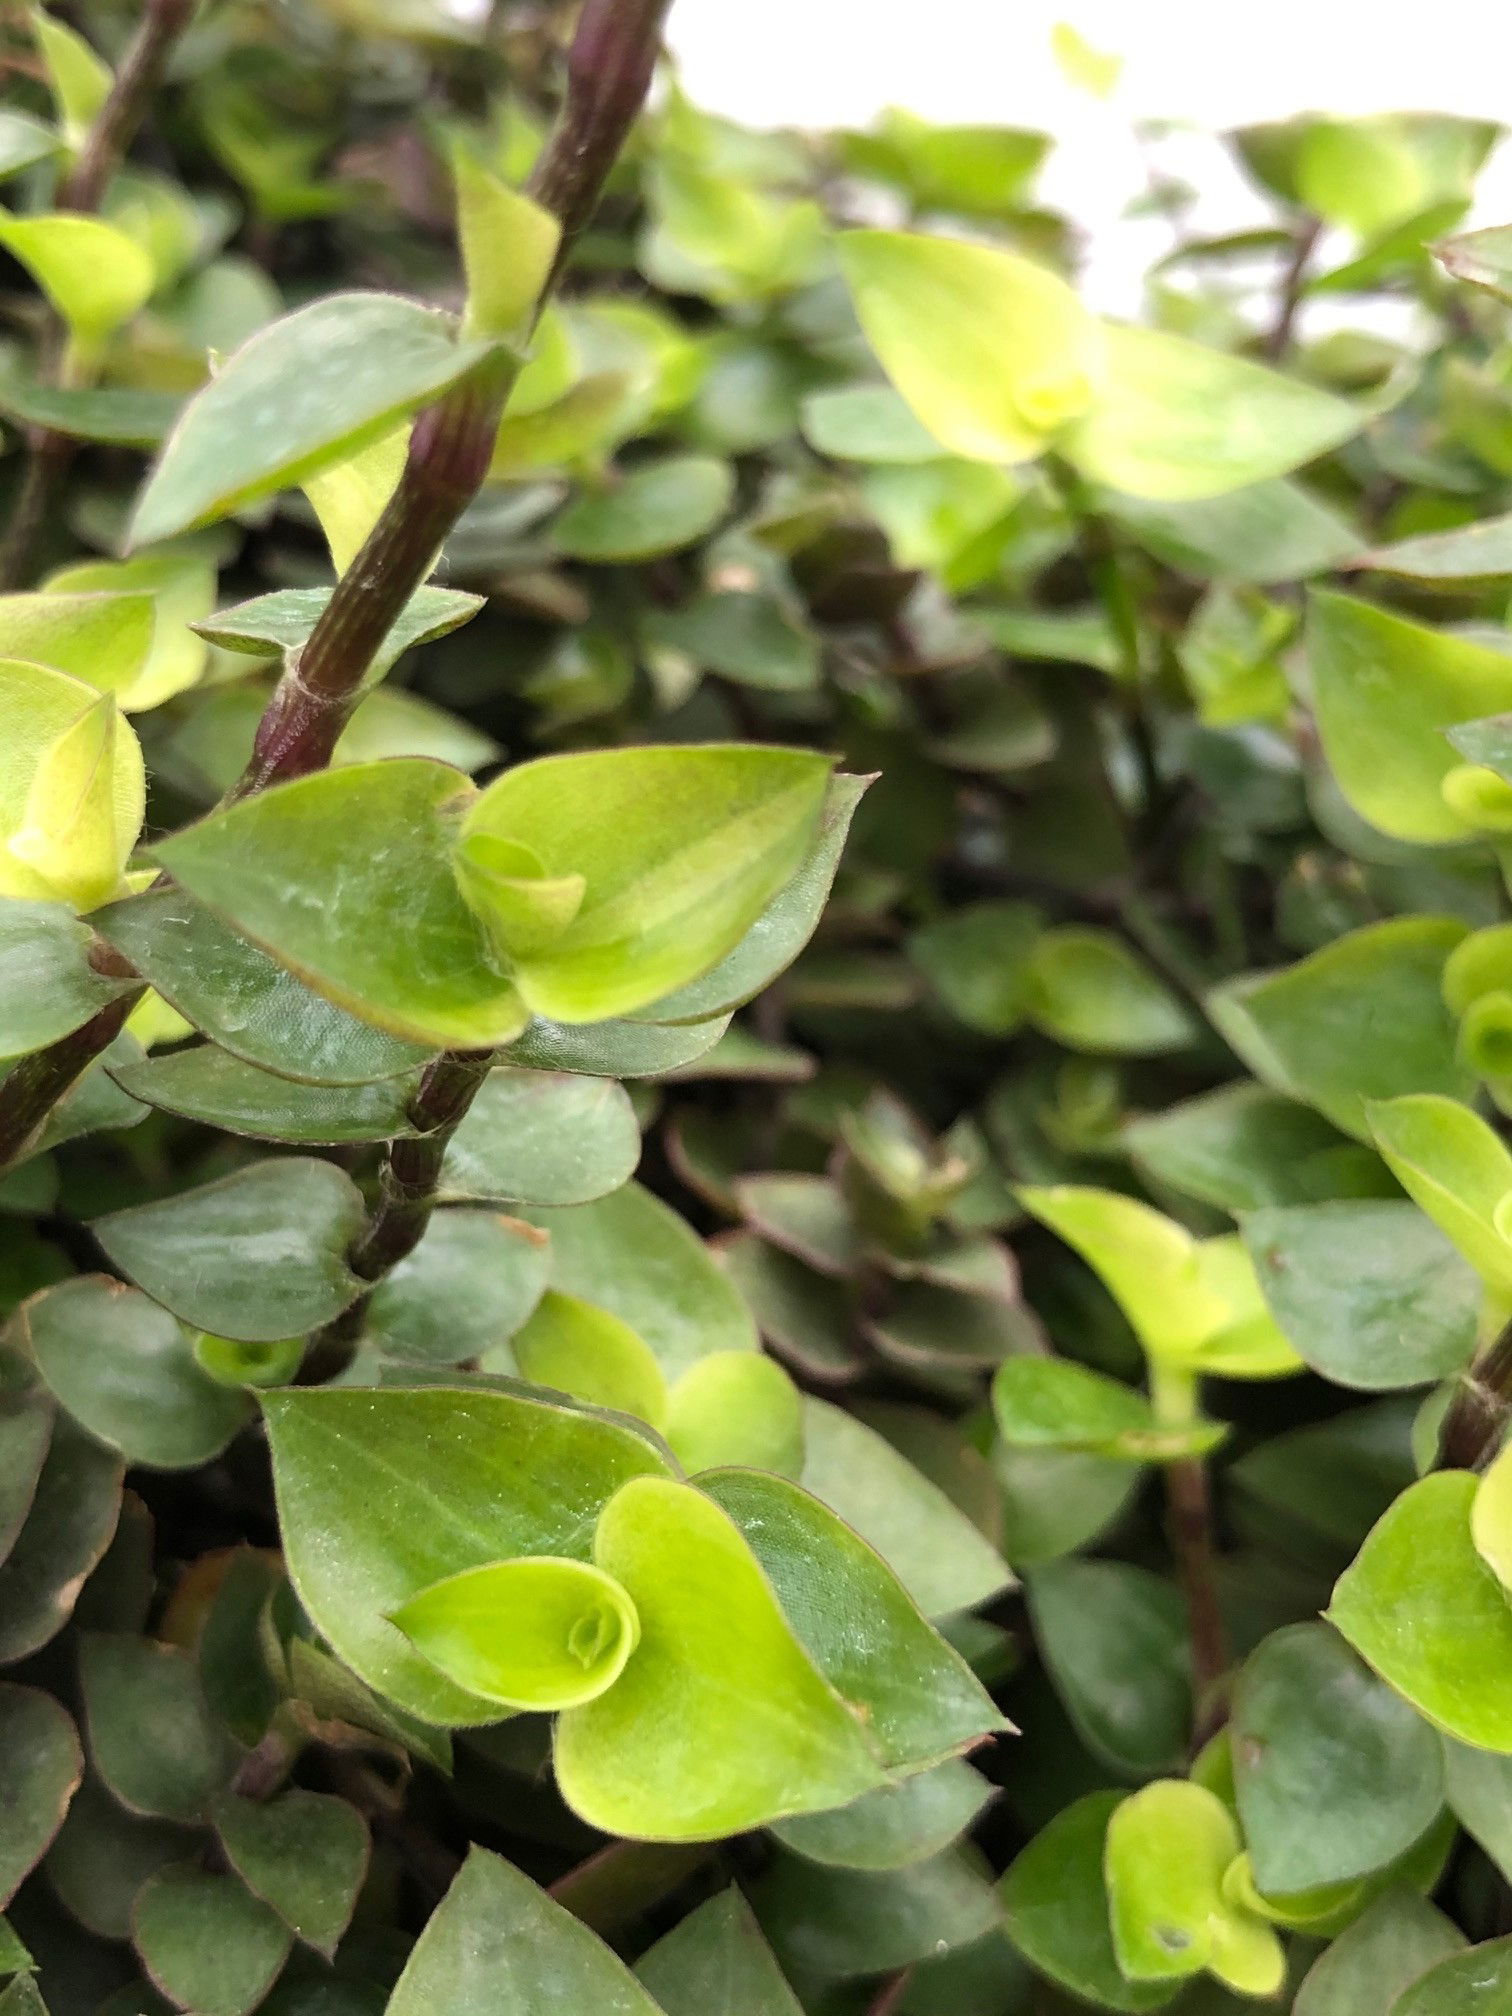
- If your Callisia has become leggy with bare/leafless stems above the soil, take stem cuttings and root in water for a few weeks. Scroll down to the 'Pruning' & 'Propagation' sections to learn more!
Location & Light - 🔸🔸
Bright indirect light is best. The combination of good soil moisture and a well-lit location will provide the best results for your plant.
Sunny locations should be avoided at all costs; prolonged exposure to the sun or dry soil will result in pale leaves, stunted growth and crisping foliage. Remember, if it's too hot for a chocolate bar, it'll be too hot for the plant, too!
Alternatively, lower-lit areas should only be used, if wholly necessary. Although Callisia can thrive in shady locations, the reduced rates of photosynthesis and too moist soil will lead to a weakened plant, along with the chance of developing root rot and soil mould. Variegated specimens situated in these areas will slowly revert to a full green appearance, too.
Water - 🔸🔸
Callisia love moist soil. Once the pot begins to feel light when lifted, it's time for another water. Although pouring water directly through the foliage is acceptable if situated in a bright location, irrigate using the bottom-up method to be extra cautious. Place the pot on a saucer of water (20% submerged) until thorough absorption to provide deep hydration. Wetting the foliage every time you come to hydrate the plant will allow excess moisture to settle, causing the leaves to yellow and rot away. Under-watering symptoms include crispy/curling leaves, a grey, washed-out appearance, yellowing leaves and a lack of new growth. These issues are commonly down to either too much heat/light forgetfulness. Dehydration is the number one issue among growers, so always keep an eye out for drying soil. Over-watering symptoms, on the other hand, include yellowing lower leaves, little to no growth and a rotting stem or leaves. Never allow a Callisia to endure long periods of soggy soil or a dark location as both will significantly increase the chance of over-watering and death. Finally, if you water your specimen from the top (over its foliage into the soil), be sure to blow the excess moisture from the leaves' cubbyholes to avert the risk of rotten foliage.
Humidity - 🔸
Average humidity found in the home is more than enough to occupy a Callisia. If the leaf-tips begin to brown over, it could be a sign of too low humidity; either finely mist the foliage weekly or introduce a humidity tray to keep life happy.
Fertilisation - 🔸🔸
Feed every four waters during the growing period and every six in the autumn and winter, using a 'Houseplant' labelled fertiliser. Never apply a 'Ready to Use’ product into the soil without a pre-water first, as it may burn the roots and lead to yellowed leaves.
Common Issues with Callisia
Leggy, leafless stems that have only a few leaves at the ends of each vine is perfectly natural. Callisia are 'creepers' that'll rapidly cover the forest floor with hundreds of long vines, thus going through a quick 'cycle' of leaves. The older foliage will be sacrificed in order for the plant to focus on its new growth at the tips of each stem, so never worry about yours becoming leggy as it's natural! Scroll down to 'Pruning' and 'Propagation' to learn more on addressing this.
Under-watering is the biggest issue. Typical signs of this include wilting, sunken and yellowed leaves and stunted growth. If the plant is in direct sunlight, relocate it to a slightly shadier area. Increase the number of waters, as Callisia tend to grow along moist forest floors that rarely promote droughts. As long as you keep an eye out for drying soil, success is inevitable.
Those situated in direct sunlight or within three metres of a radiator are most likely to suffer from this issue.
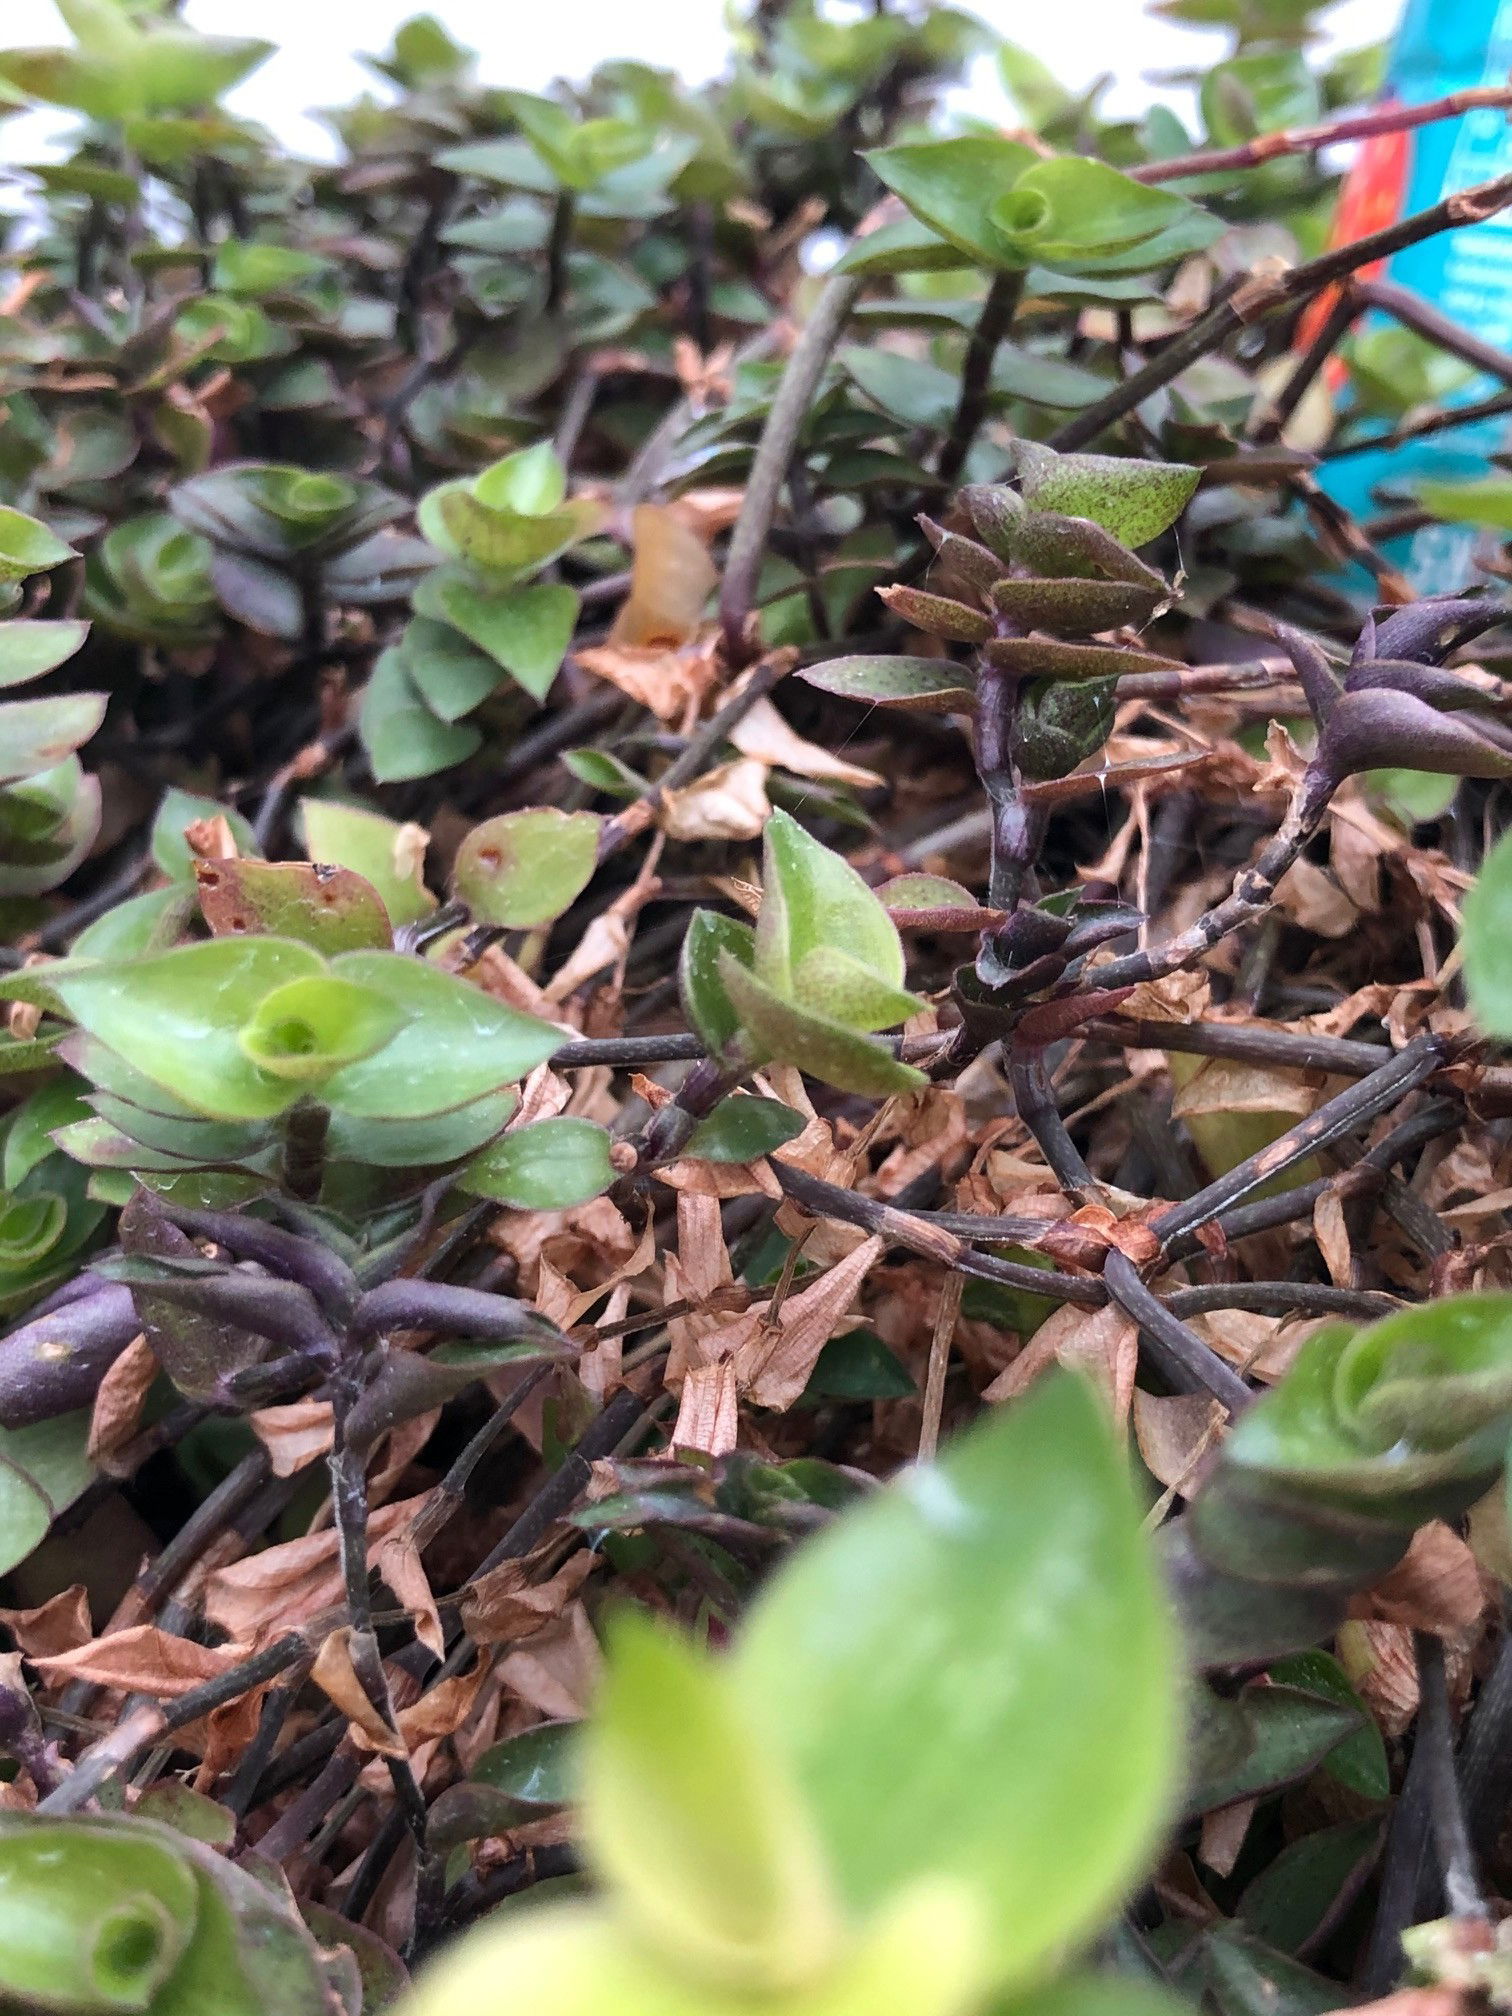 Typical symptoms of under-watering.
Too much sunlight will lead to sun scorch, with typical signs including browning or crispy leaves, dry leaf-edges, sunken leaves or stunted growth. Although too little light will cause over-watering issues, too much sunlight will be a detriment, too. If yours has fallen short of this, reduce the amount of the sun considerably and always be mindful of environmental shock (when two locations offer too different growing conditions). Remove some of the affected leaves and increase waters slightly.
Never situate it within four metres of an operating heat source, for instance, a heater or fireplace. Due to the heightened temperature, the plant will soak up far more moisture than those situated in cooler locations, increasing the chance of droughts and browning leaf-edges.
A loss of variegations and leggy inter-nodes are caused by too little light. Although Callisia can be used in shady locations, it'll come at the cost of the variegations. If you're not entirely bothered about this, simply skip this step. Move the plant into a brighter location to allow the patterns to re-develop on the new growth. Alternatively, extreme variegations that hinder the plant's green appearance is caused by too much sunlight.
Root rot is another common issue. Typical symptoms include rapidly yellowing leaves, stunted growth and stem collapse. Those situated in darker locations and/or too-soggy soil are most likely to be hit with this issue. Take the plant out of the pot and inspect its root systems - if they sport a yellow appearance, you're okay, but if they're brown and mushy, action must be taken immediately. More information about addressing root rot can be found on this link.
Too-low humidity will cause the browning of leaf tips with yellow halos, commonly caused by nearby operating radiators. As dry air is a big issue among households during the colder months, introducing a humidity/pebble tray will help deter this issue, along with providing better growth. Although this won't help with the already-affected leaves, its new growth will look as good as new. The use of artificial humidifiers is only needed whilst the radiators are operating.
Yellowing older leaves is a clear sign of over-watering, usually caused by too little light. Although they can do well in darker locations, the frequency of irrigations must be reduced to counteract the chance of root rot. People don't realise that a plant's root system needs access to oxygen too, so when the soil is overly-saturated, the roots will suffocate and therefore will begin to breakdown. Click on this link to learn more about root rot and how to address it.
Small flies hovering around your plant or soil is entirely natural and may just indicate you're watering a little too often. Fungus Gnats are a common 'pest' with Turtle Vined Callisia due to its dependency to reliable soil moisture, but won't pose any risk to the plant's health. Simply replace the top quarter of the plant's potting mix for a fresh batch of 'Houseplant' labelled compost, typical found at most garden centres.
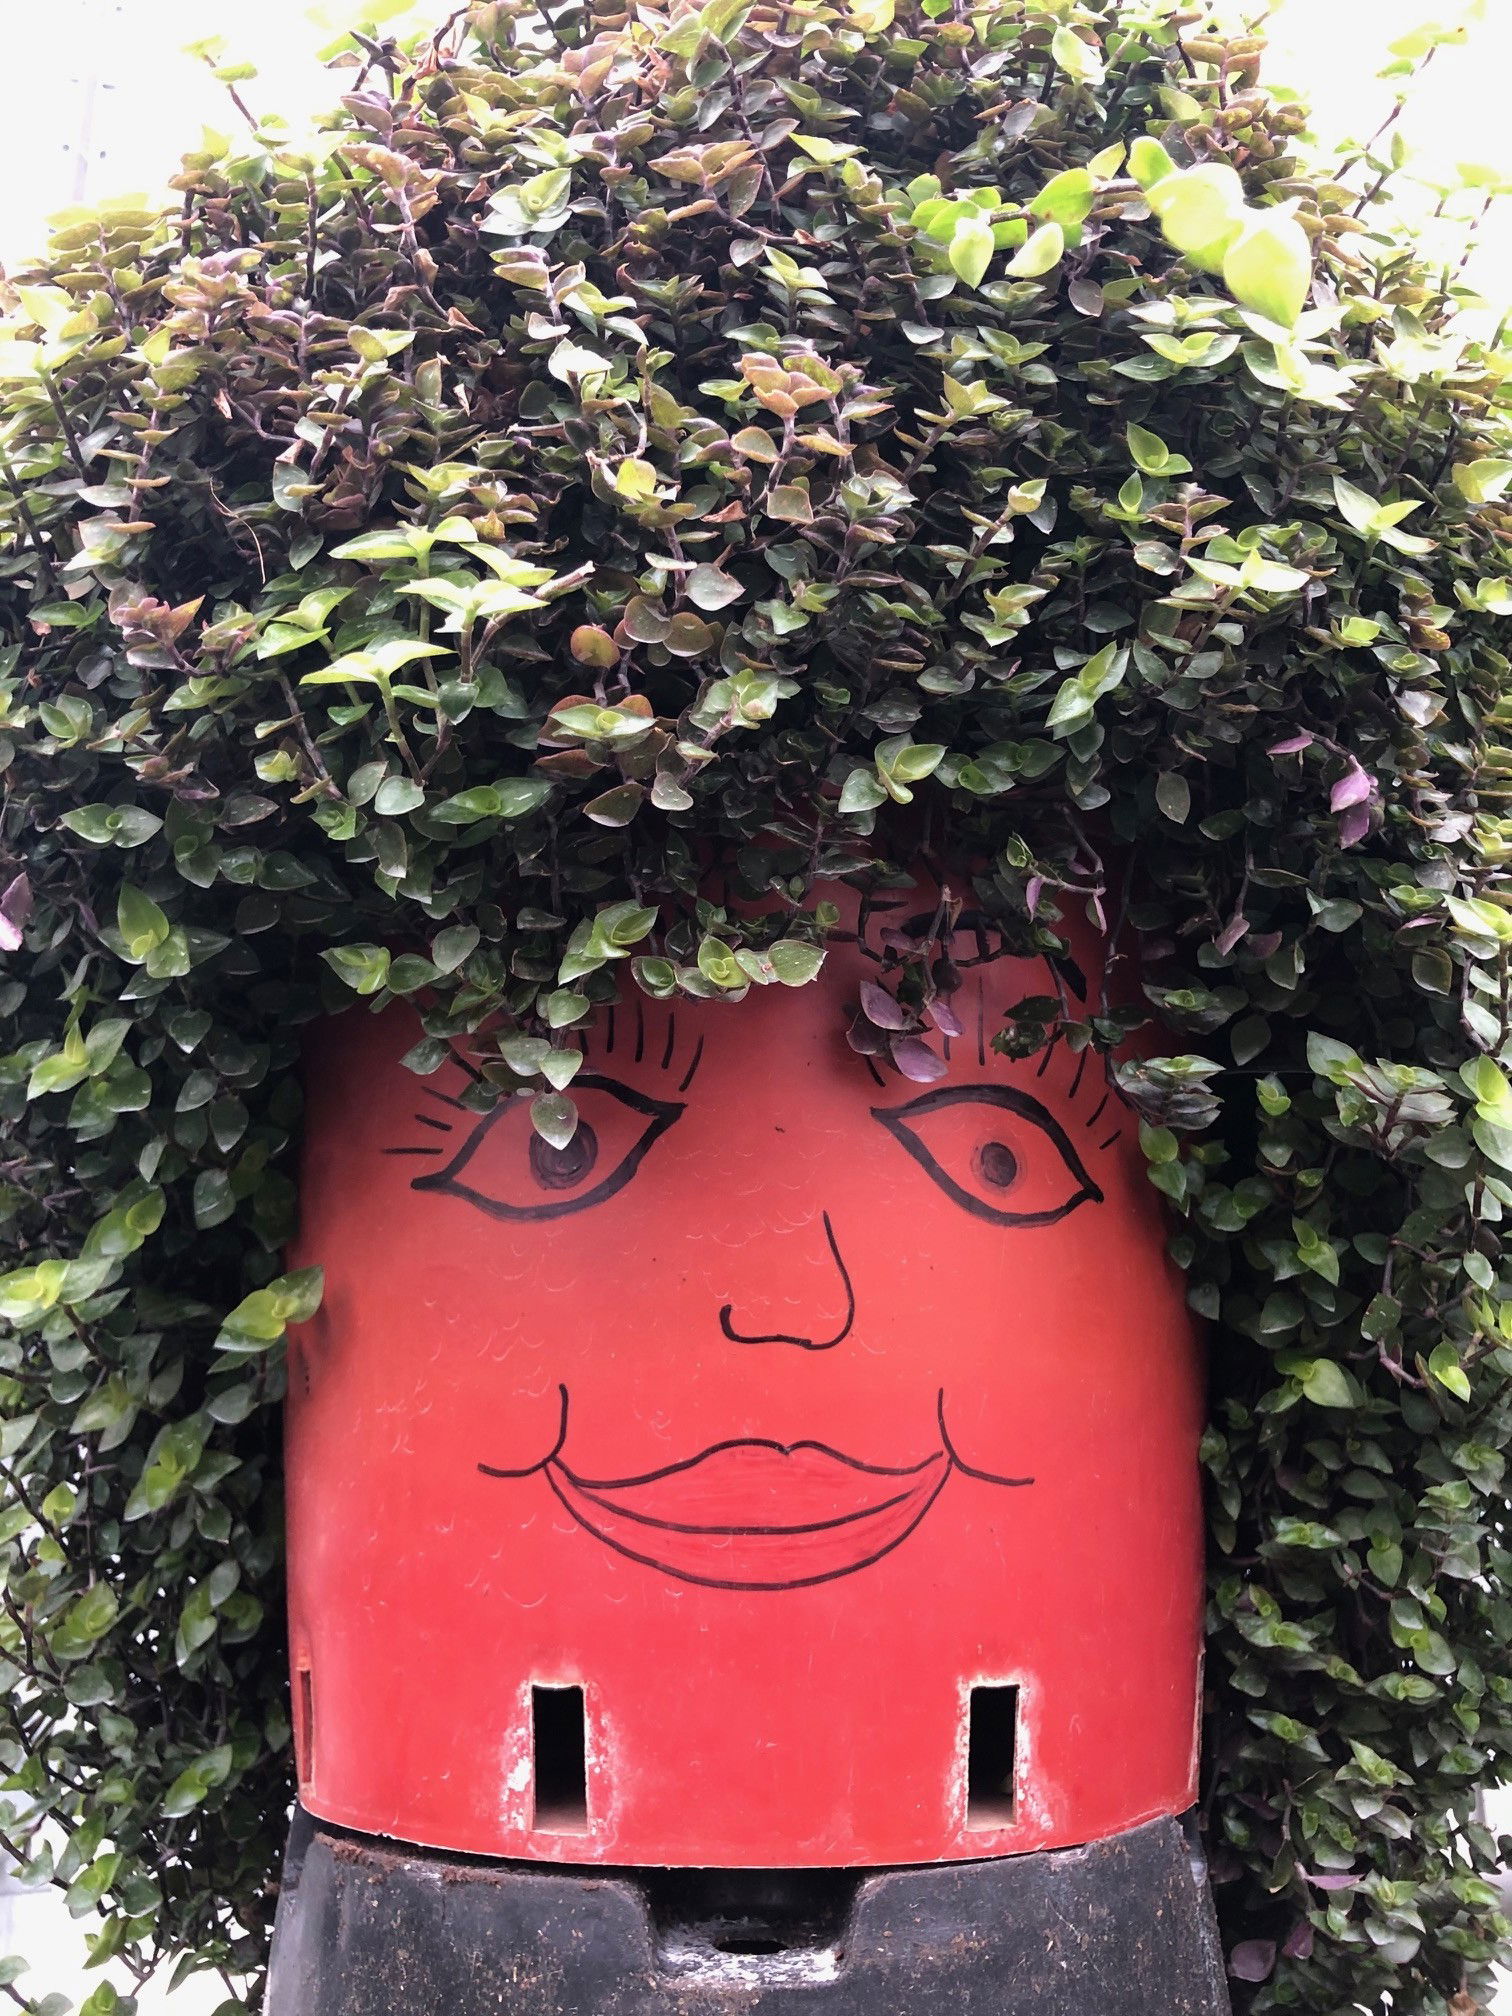 Why not use Turtle Vines as hair for head/face plant pots?
Origins
There are over nineteen species of Callisia that originate right across the Americas. The genus was first described in the 1720s by Pehr Löfling, using the Greek word for 'beauty' in reference to some of the species' foliar appearance. Some popular species within the genus are the C. elegans, C. fragrans and C. repens - scroll down to 'Flowers' to learn when each produce blooms.
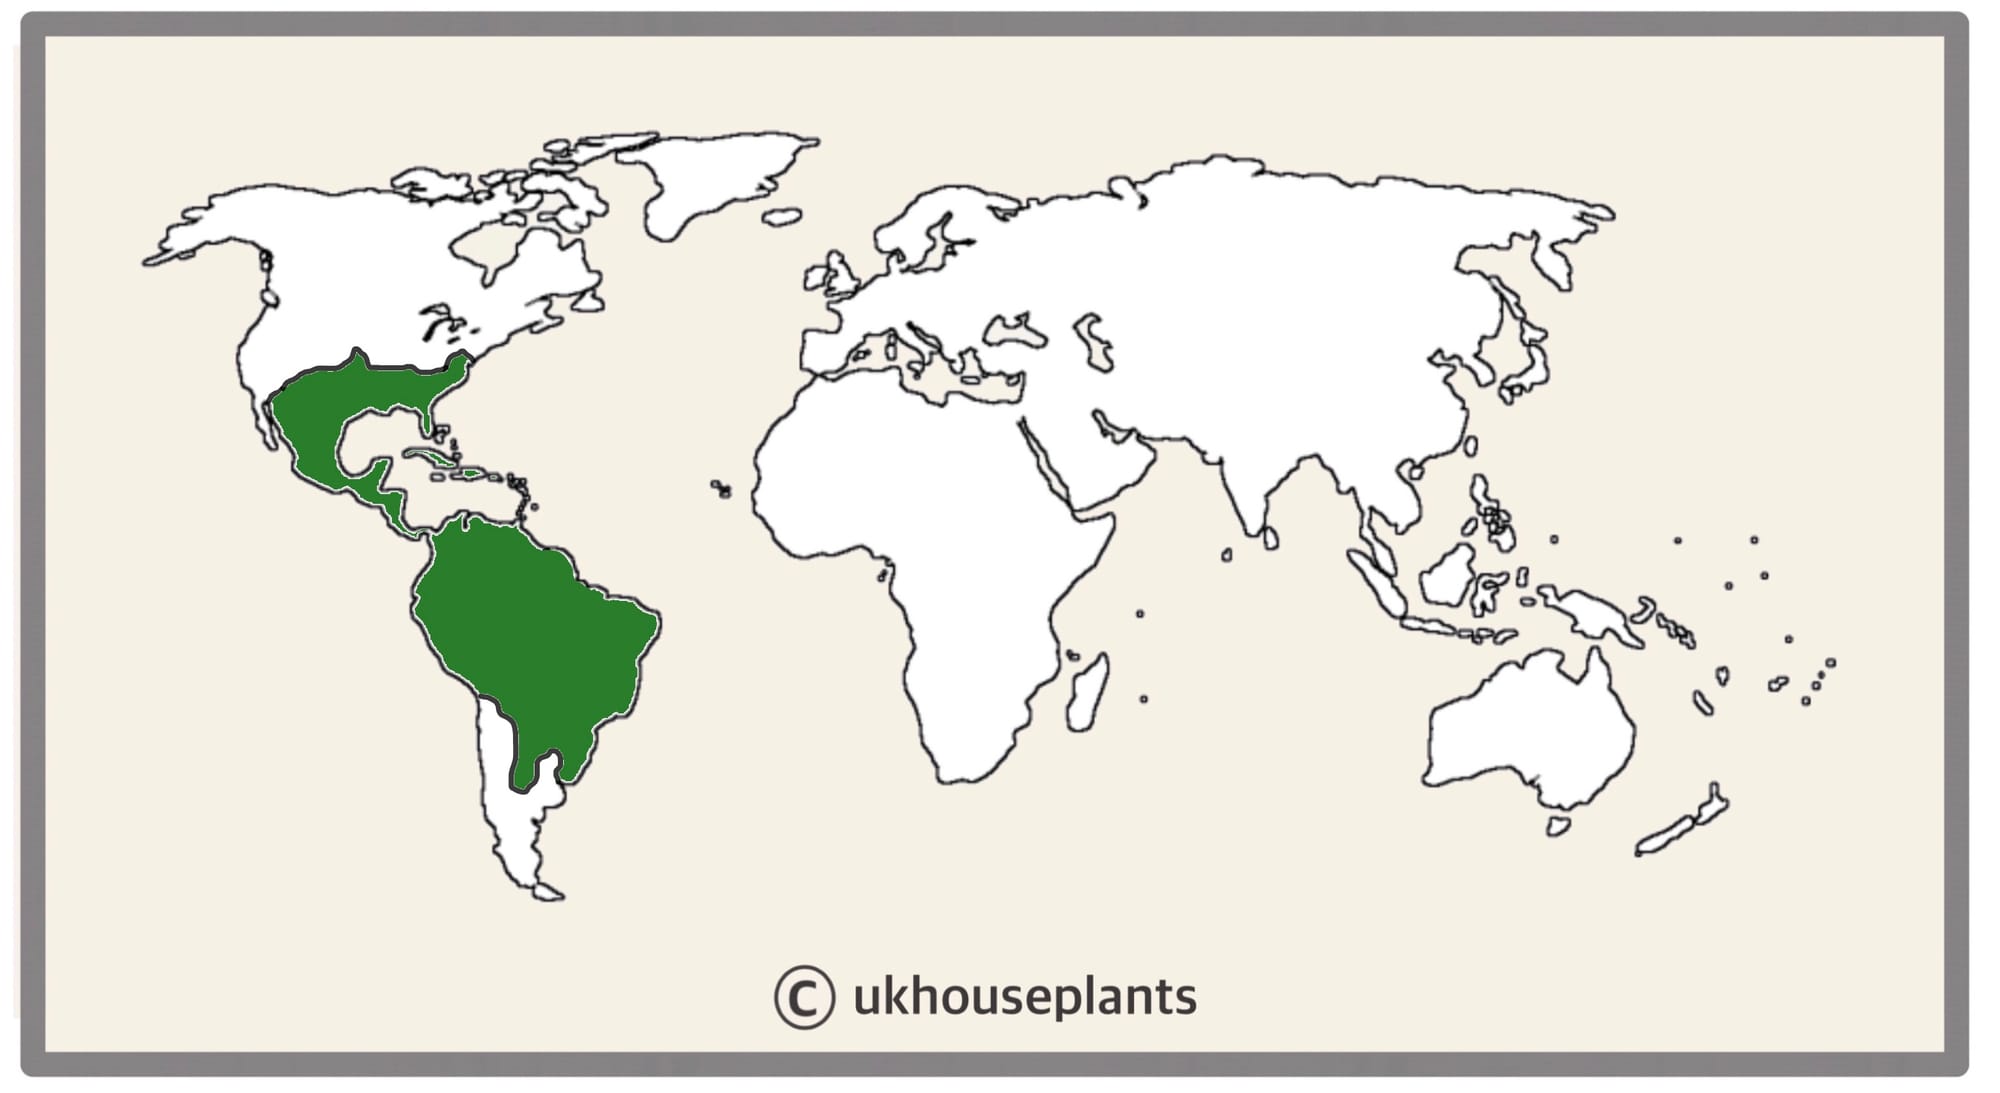 The Distribution of Callisia.
Temperature
10° - 30°C (50° - 86°F)
H1b (Hardiness Zone 12) - Can be grown outdoors during the summer in a sheltered location with temperatures above 12℃ (54℉), but is fine to remain indoors, too. If you decide to bring this plant outdoors, don't allow it to endure any direct sunlight as it may result in sun-scorch and dehydration. Regularly keep an eye out for pests, especially when re-introducing it back indoors.
Spread
Up to 3m in length and width, when given enough space. The ultimate height will take between 3 - 6 years to achieve. The growth rate is rapid - some cases can see specimens grow up to 50cm per year!
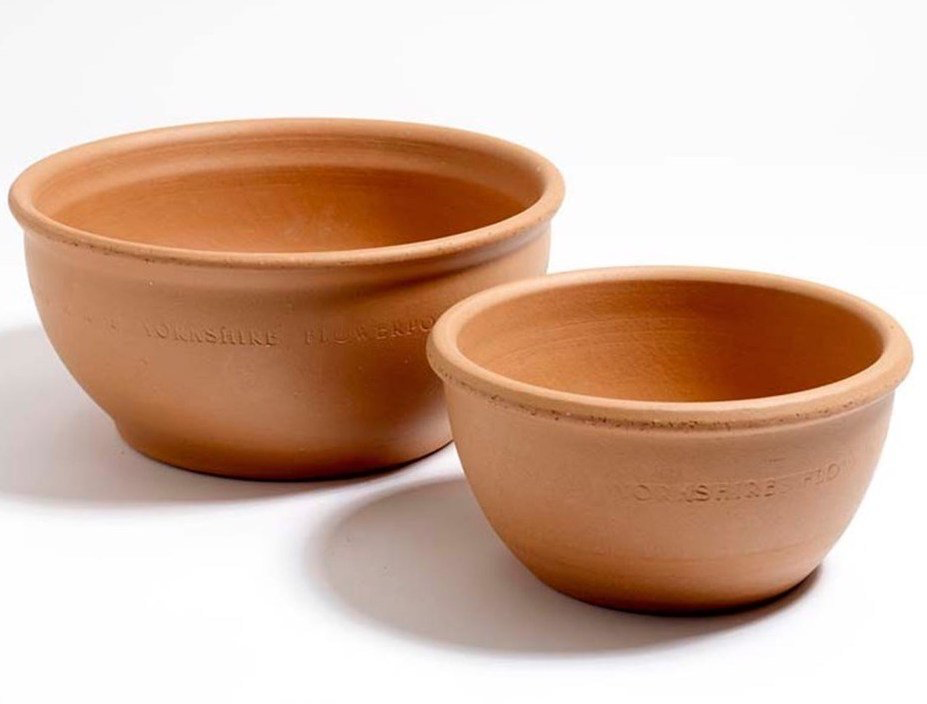
If you're interested in promoting equal growth (i.e. all-rounded foliage), use a terracotta bulb bowl to complement the plants' explorative horizontal nature. These can be purchased at most garden centres for very low prices. Copyright: Crocus
Pruning & Maintenance
During the spring, cut each stem back by a third to reduce the chance of your Callisia becoming leggy. Take the prunings and propagate them in a jar of water until they root, before placing them back into the mother plant's soil to promote a bushier appearance. Scroll down to the next section to learn more on propagation.
Propagation
Via Seed or Vine Cuttings.
Vine Cuttings
- This method of propagation is very easy. Choose the healthiest, most established vines from the leading growths. This method can be taken from spring to summer, using between three to six leaves, with the vine being at least 8cm (3 inches) in length. Remove the bottom half of the leaves to aid the production of roots.
- Cut directly below a node (leaf), using a clean knife to reduce bacteria count.
- Place the bottom half of the cutting into water to root - this process will be quick and should only take a few weeks. Once small roots surpass 3cm in length (1 inch), it's time to prepare the soil and pot.
- Use a 7cm pot (2.75 inches) that has good drainage holes - plastic or terracotta are both acceptable in this instance.
- Set the cutting's rooted half into a well-draining compost, (i.e. 'Houseplant' labelled compost), keeping the foliage above the soil line.
- Avoid direct sunlight and offer good humidity by placing the potted plants into a transparent plastic bag for the first couple of weeks.
- Open the bag every two days for half an hour for the prevention of disease. After a month of being placed in soil, remove it from the bag and treat like an mature specimen with the care advice written above.
Flowers
Achieving blooms every year is very easy - just provide a good dormancy period over the winter that consists of cooler nights (12⁰C, 59⁰F), drier soil & less fertilisation, and you'll succeed!
C. elegans - Produces white flowers along a 20cm shaft during late winter.
C. fragrans - Commonly called the 'Basket Plant' due to the cup-shaped sepals that resemble a woven container. Flowers during late summer and will produce white honey-scented blooms that'll last for several weeks.
C. repens - A cluster of white flowers above the will develop in the summer months, lasting several days once opened.
Repotting
Repot every three years in spring using a 'Houseplant' labelled compost and the next sized pot with adequate drainage. Callisia are far better being potbound for several years due to the heightened risk of root rot and repotting-issues (like transplant shock), so only repot if you feel it's wholly necessary - restricted root growth will also increase the chance of blooms, too.
Hydrate the plant 24hrs before tinkering with the roots to prevent the risk of transplant shock. For those situated in a darker location, introduce an extra amount of perlite and grit into the deeper portion of the pot to downplay over-watering risks. Click here for a detailed step-by-step guide on transplantation, or via this link to learn about repotting with root rot.
Book a 1-to-1 video call with Joe Bagley if you'd like a personal guide to repotting your houseplant. This will include recommending the right branded-compost and pot size, followed by a live video call whilst you transplant the specimen for step-by-step guidance and answer any further questions!
Pests & Diseases
Keep an eye out for spider mites, mealybugs, aphids, whitefly, root mealybugs, scale & thrips. Typical diseases associated with Callisia are leaf-spot disease, botrytis, powdery mildew & root rot. Click here for more information about how to identify and address any of these issues.
Toxicity
This plant is classified as poisonous; if large quantities of the plant is eaten, vomiting, nausea and a loss of appetite may occur, especially with dogs.
Retail Locations
Online Stores. Some garden centres will stock small 5.5cm 'tot' plants from time to time.
Book a 1-to-1 Call with THE HOUSEPLANT DOCTOR™
If you need further advice with your houseplants, book an advice call with ukhouseplants' friendly and expert writer today! This can be done via a video or audio call on most apps, including Facebook, FaceTime & Skype. A ten-minute call costs £5.99 (US$7), or £15.99 for thirty minutes. You can ask multiple questions, including queries on plants, pests, terrariums, repotting advice and anything in between. Please consider supporting this service to keep ukhouseplants thriving!
Comments