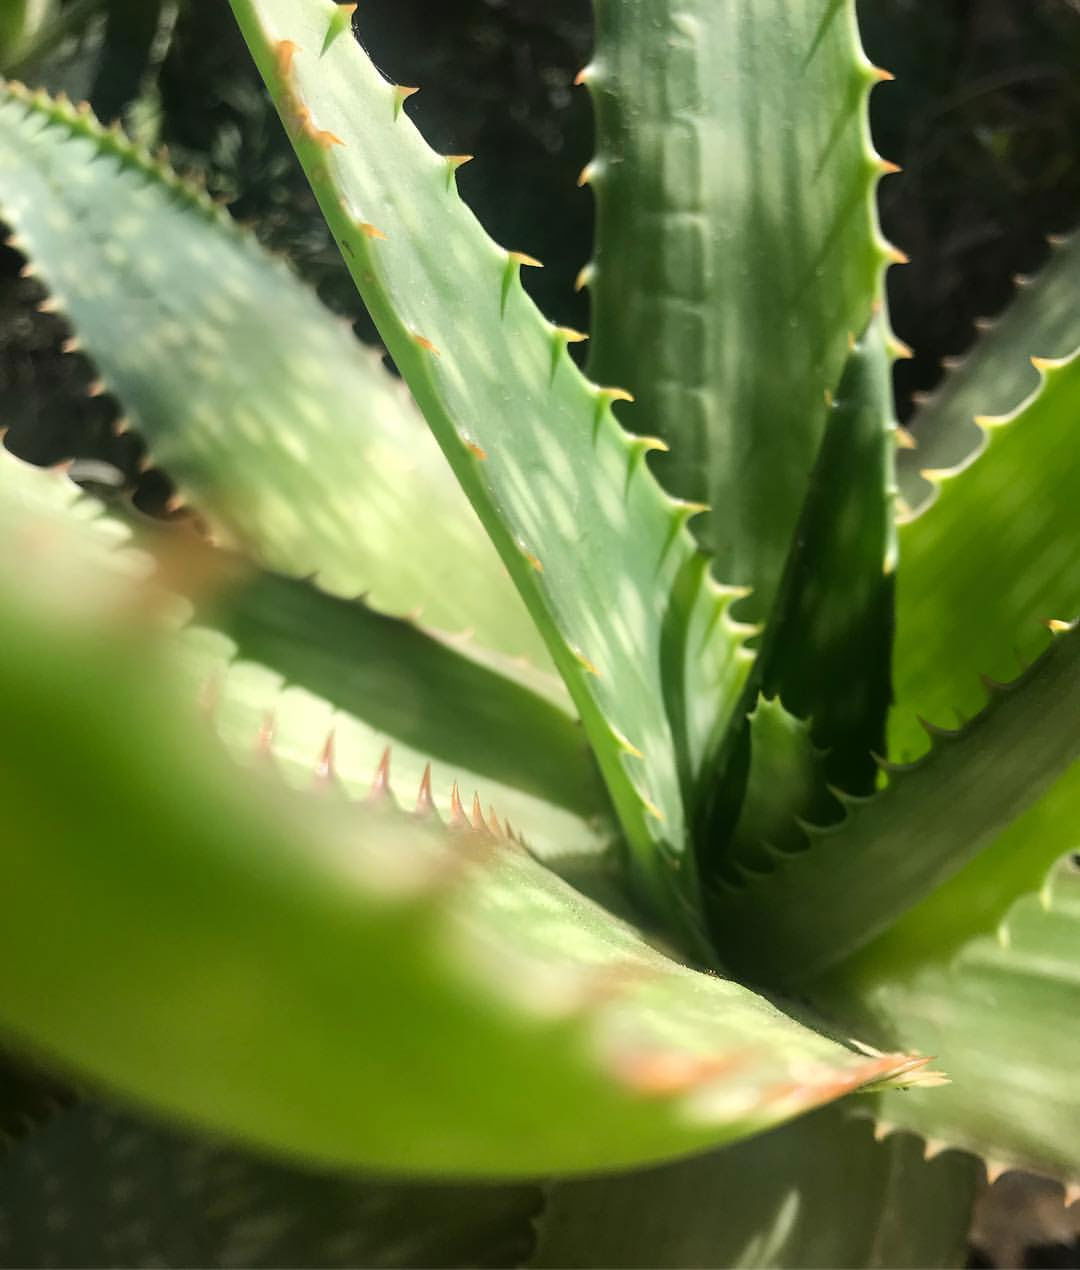
Aloe vera
Listen to our Aloe Vera Podcast here!
Contents
- Top Tips
- Location, Water, Humidity & Fertilisation
- Common Issues
- Origins, Temperature, Propagation, Repotting & Toxicity
Need the answer to a specific plant query? Book a 1-to-1 video call with THE HOUSEPLANT DOCTOR™, the website's friendly author, to overcome and address your niggling problem! Available on iMessage, WhatsApp, Facebook Messenger & more.
Top Tips & Info
- Care Difficulty - Easy
- Aloe vera must endure periods of droughts in between waters - if you're stuck with when to water it, think of the ukhouseplants' phrase of 'Drenches Between Droughts'.
- Be careful when watering - allowing excess moisture to sit in the cubbyholes of the stem will result in diseases like southern blight and 'heart rot'.
- A few hours of morning or evening sun is mandatory, especially in the winter months.
- Avoid situating in a dark location due to the heightened chance of diseases mentioned above.
- Supplement every six to ten weeks, using either a 'Cactus & Succulent' or 'Houseplant' labelled fertiliser.
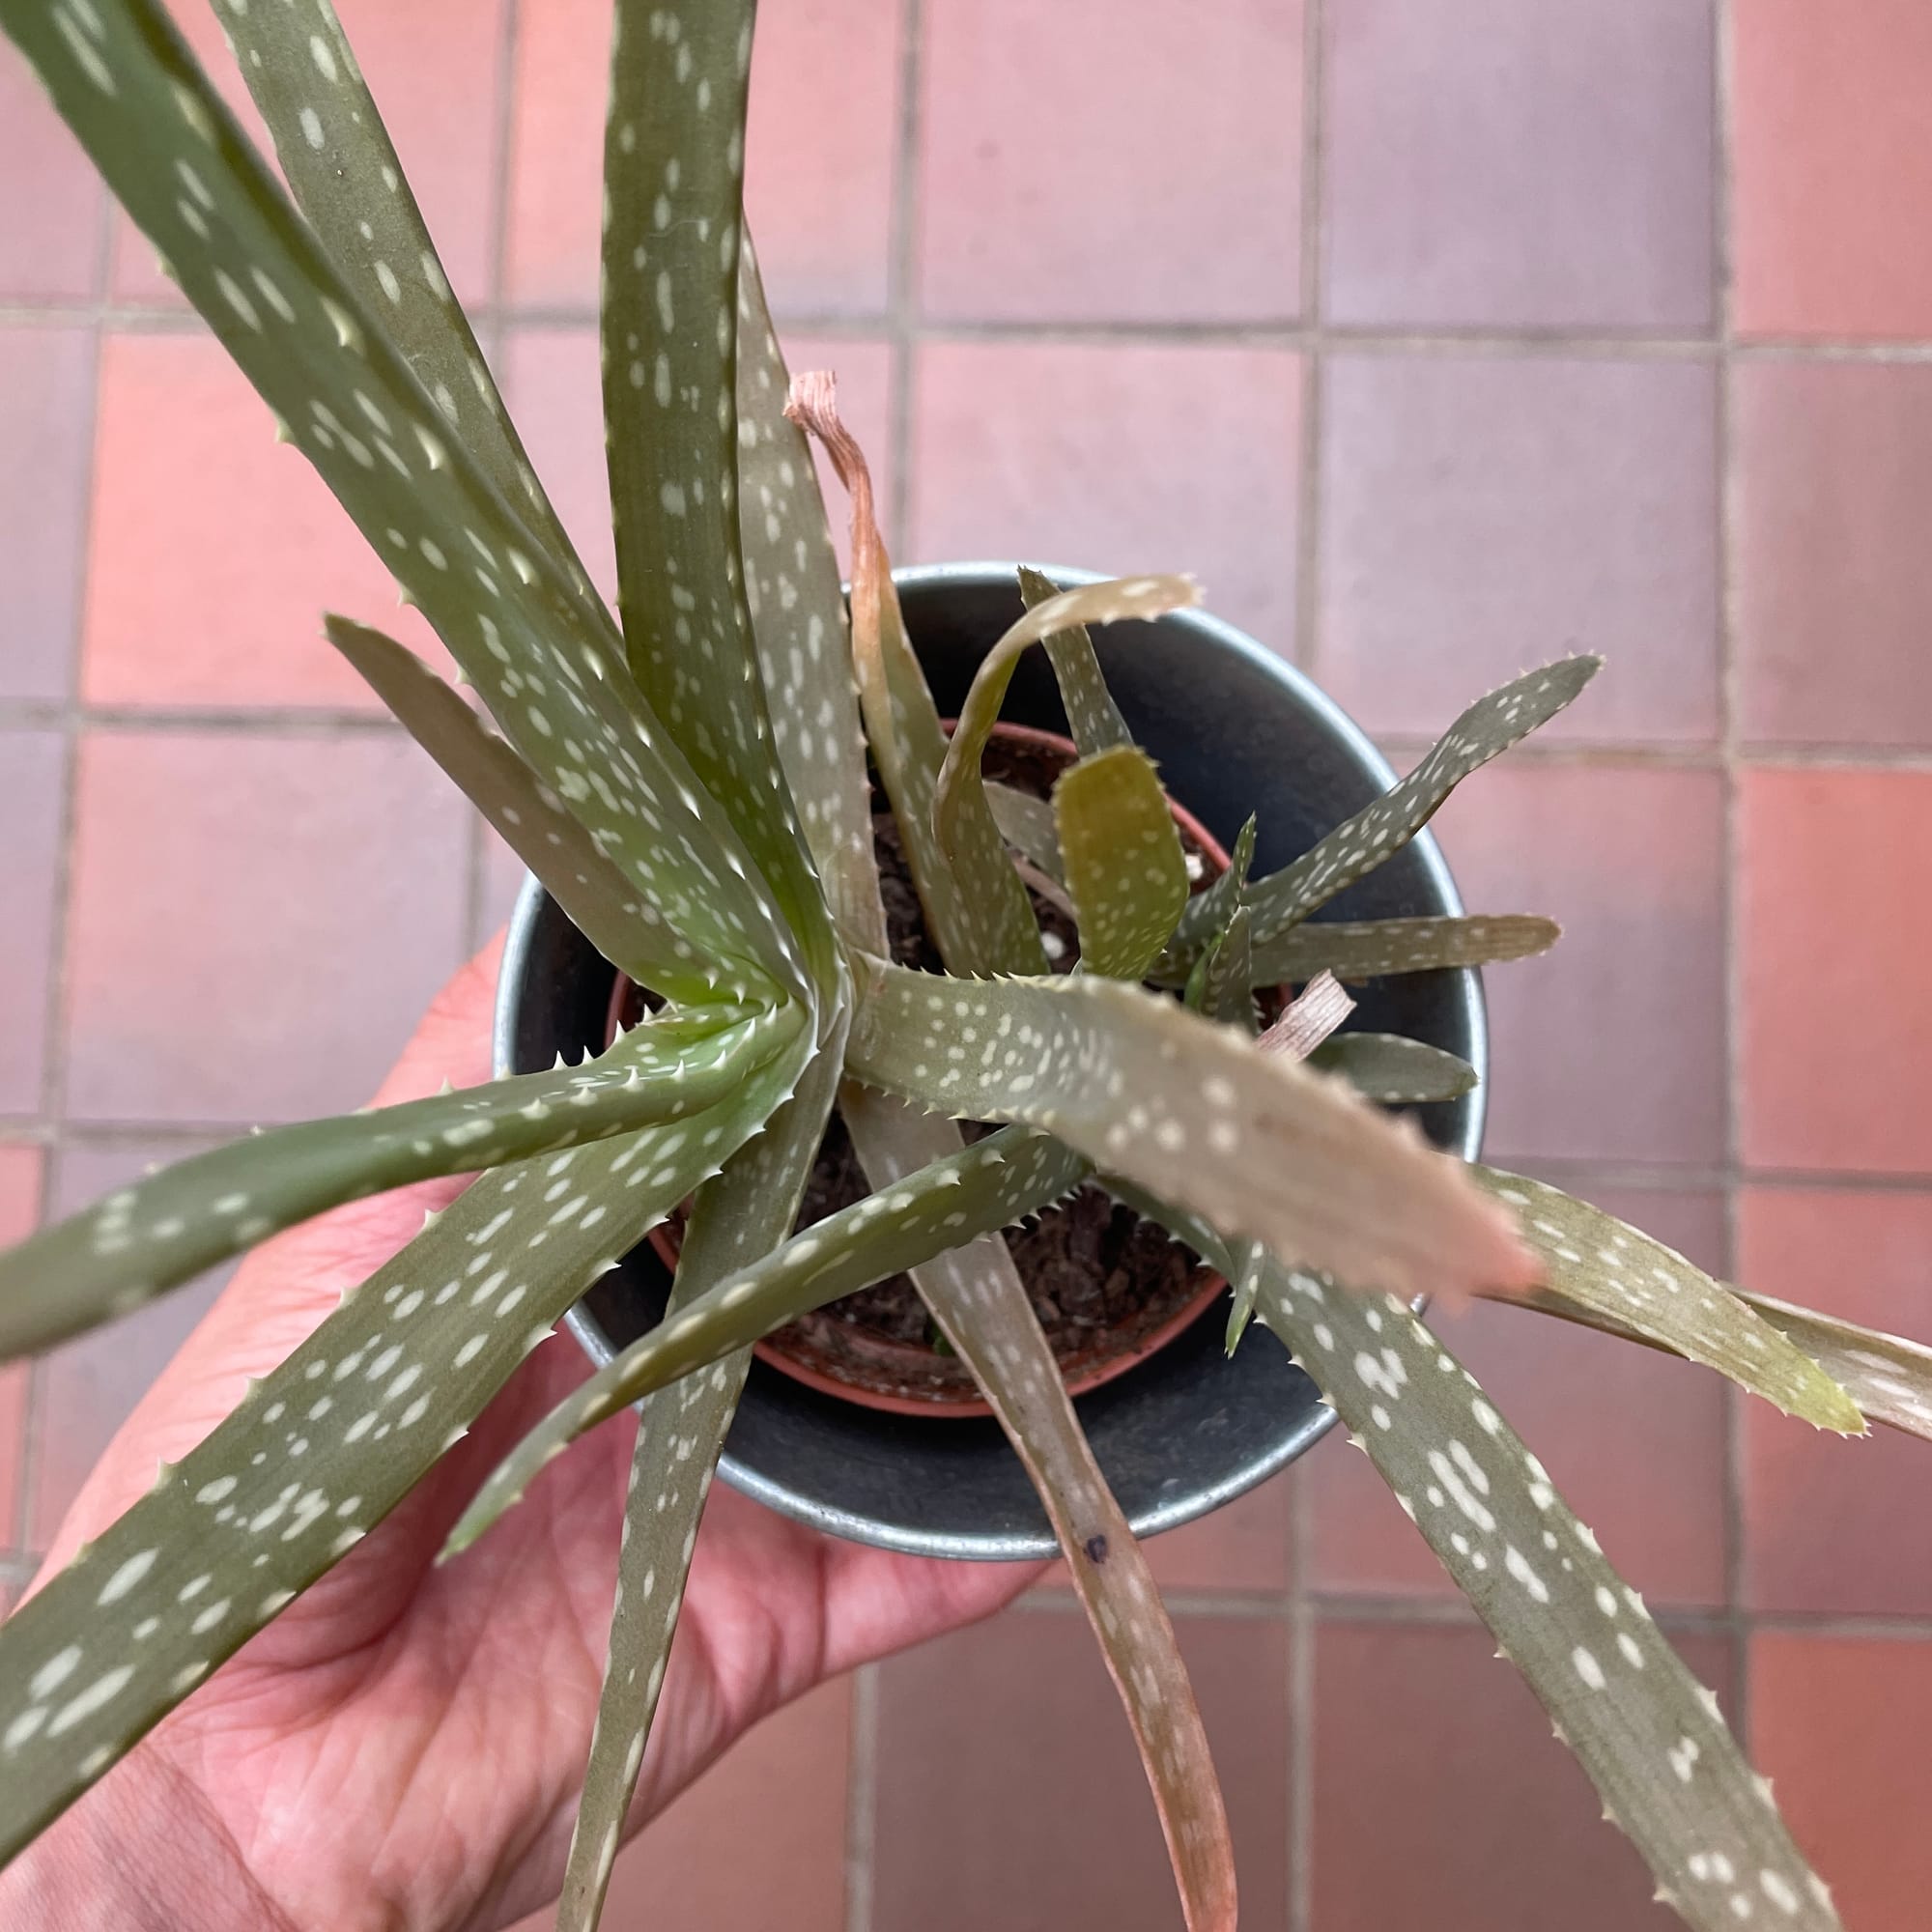
- Repot every three years during the spring, using a 'Cactus & Succulent' compost; this is the perfect time to propagate the small offshoots that'll form at the crown's base.
- Does your Aloe Vera need a pick-me-up? Why not buy our top-selling Soil Mix to give your green friend a new lease of life? We have sold over 3,200 batches in the last year alone, so click here to find out more...
Location & Light - 🔸🔸🔸
A few hours of direct sunlight is a must; shady locations could lead to diseases associated with over-watering. The frequencies of irrigations solely rely on the amount of the sun received. If the Aloe begins to develop a discoloured white crown, this is typically down to too little light. Newly-propagated 'pups' must not receive any sunlight as their insufficient root systems will not soak up enough moisture to survive the harsh rays.
Water - 🔸
During the growing period, thoroughly water the soil every ten to fourteen days, allowing the soil to dry out in between. Winterising any Aloe is essential to maintain good health; keep the plant 'ticking over' by reducing the number of irrigations to every three weeks and avoid over-fertilisation. One word of advice is to prevent excess moisture from settling either in the actual crown of the plant or underneath the pot, as both will cause southern blight or root rot. Under-watering symptoms include drooping leaves, stunted growth, and drying leaves; these can be a range of different issues, including forgetfulness, too much sunlight, or the plant being pot-bound. Over-watering symptoms include yellowing lower leaves, a rotting base, or sudden plant death. Aloes must have sufficient light levels (at least two hours of direct sunlight a day) to counteract the chance of root rot. For more severe cases, hit the link below to learn about how to address root rot.
Humidity -
This is not a factor; however, if the Aloe is situated indoors, a quick hose down from time to time will reduce the number of dust particles covering its leaves. Do not saturate foliage at night due to the heightened chance of powdery mildew.
Fertilisation - 🔸🔸
Supplement every six weeks in the spring and summer, using either a 'Cactus & Succulent' or 'Houseplant' labelled feed. Reduce this to every ten weeks in the autumn and winter to replicate its dormancy period. 'Ready to pour' fertilisers may burn the roots if implemented in dry soil, so pre-moisten the compost with water a few minutes beforehand.
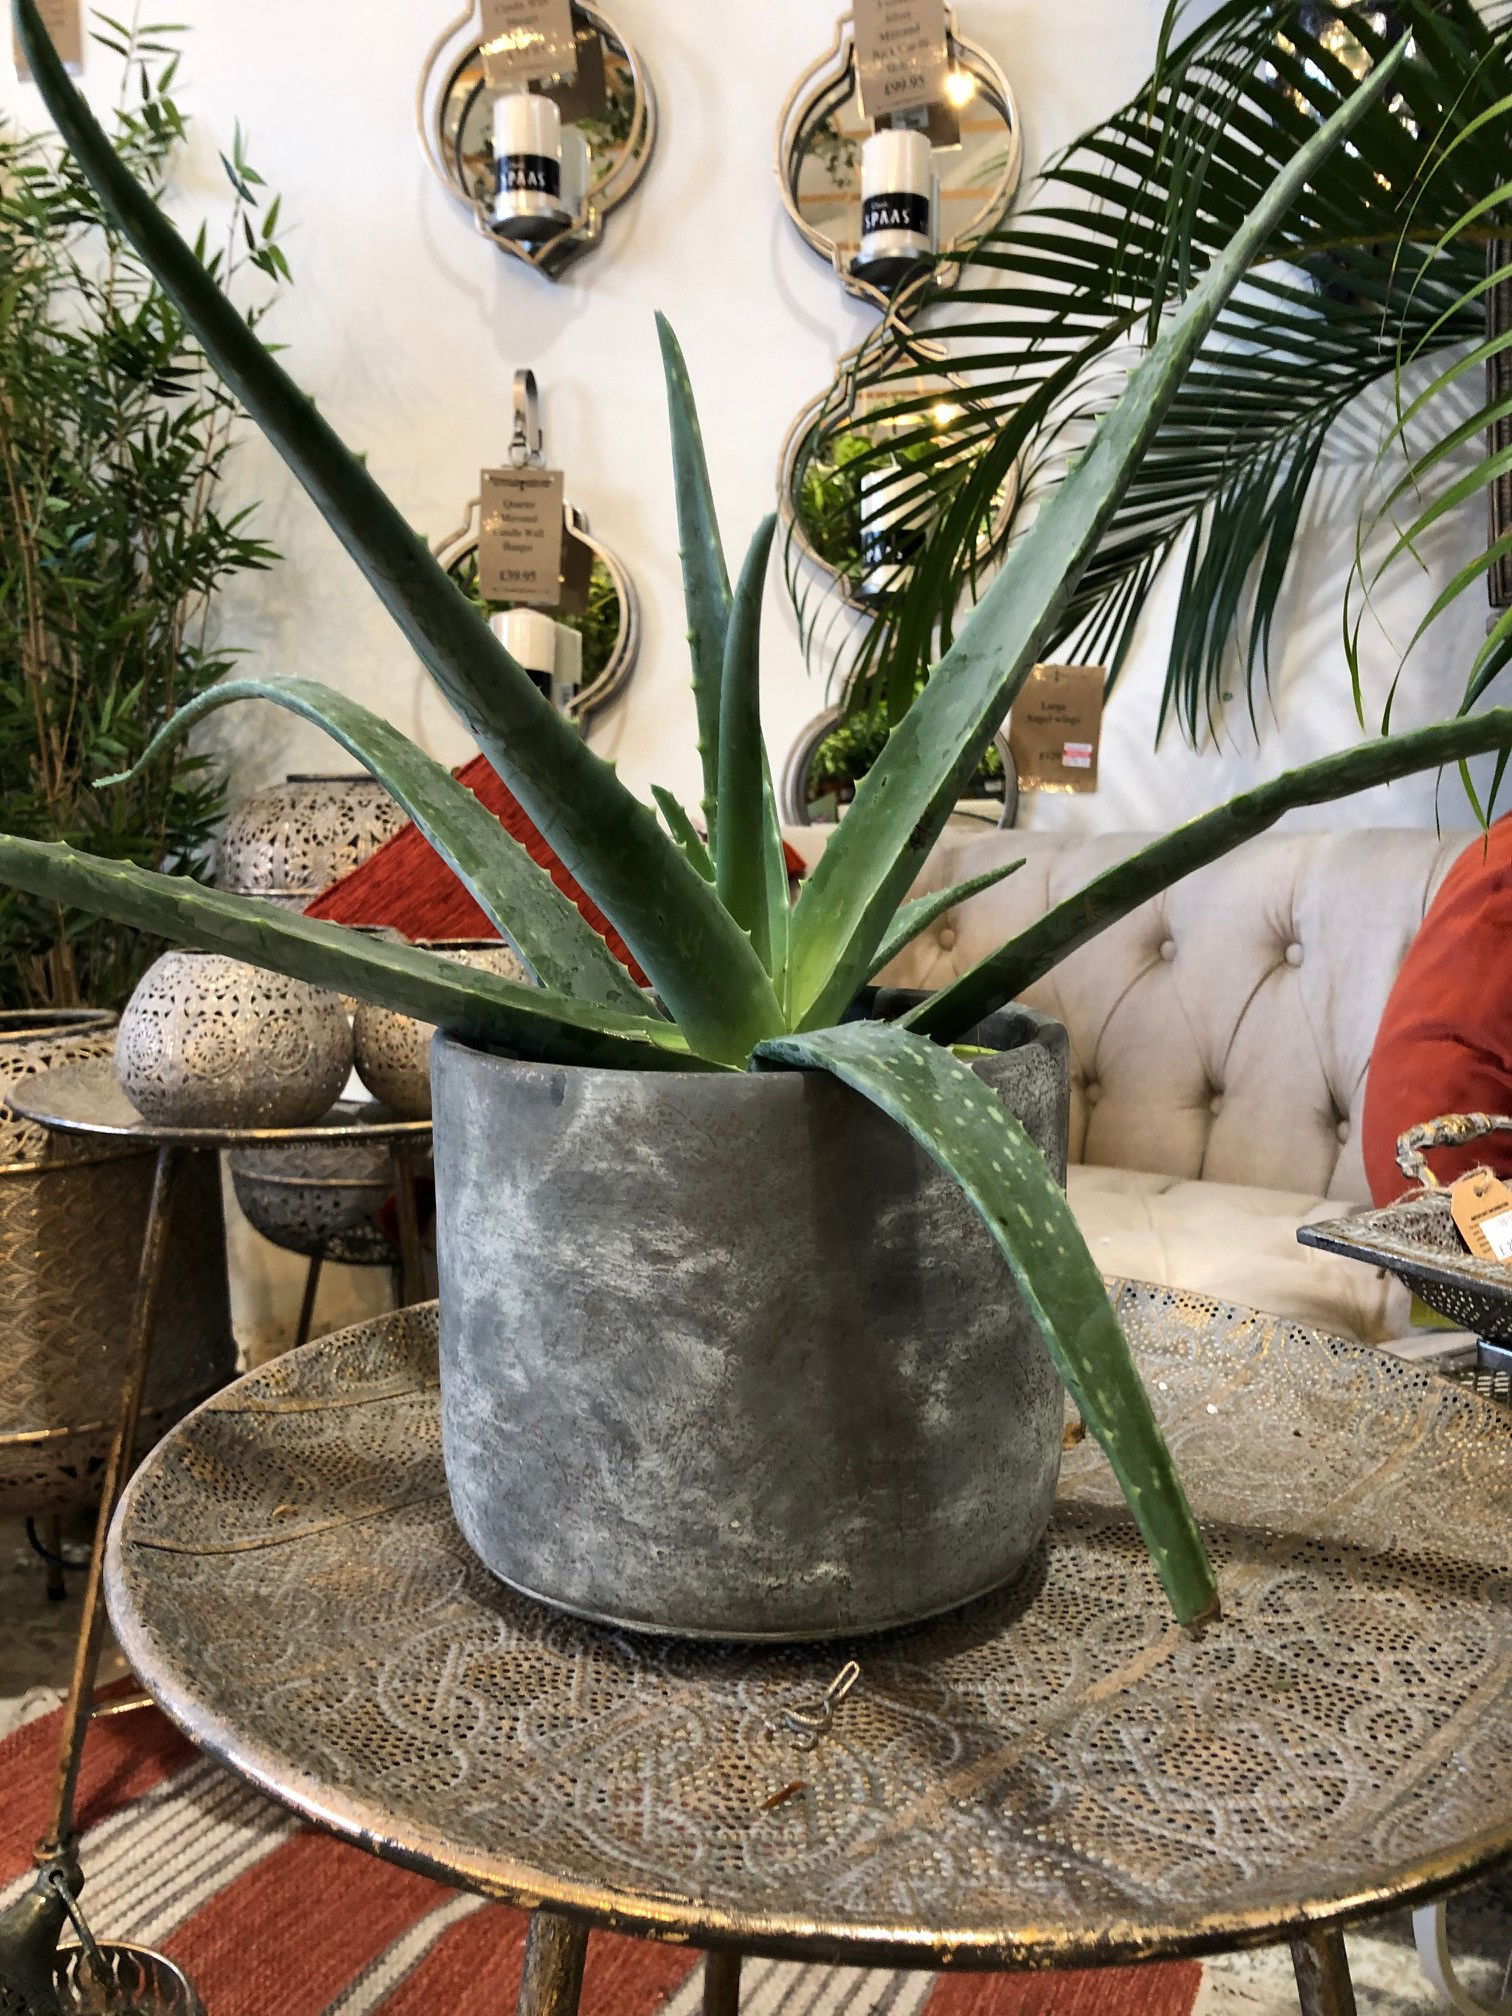 The typical size that garden centres will stock, costing roughly around £15.
Common Issues with Aloe Vera
Over-watering is the biggest issue when it comes to an Aloe vera; typical signs include brown leaves with soft spots on the under-leaves, basal/crown rot or mould development on the soil. Not only do you have to be mindful of root rot, but you'll also have to think about which plant parts to keep dry. The soil must have periods of droughts to imitate the habitats of south Arabian deserts, along with limiting the chance of root rot. Its central crown must also remain dry at all times to prevent the development of basal rot. For any more information about over-watering related issues, be sure to click on this link.
A pale central crown is a typical sign of too little light. As the species originates in arid locations, replicate their habitats by offering at least two hours of direct sunlight a day, especially during the height of winter.
Reddened leaves and crispy brown edges are the result of too little water and over-exposure to the sun. Although all Aloes are a superb choice for plants in sunny locations, those that haven't acclimatised to the harsh rays will show signs of sun-scorch and environmental shock. Prolonged exposure will significantly speed the process of dehydration, so consider repotting it into a bigger pot (during the spring) to wrap the roots around moister soil. If your Aloe doesn't show signs of improvement in two months, relocate into a slightly shadier location.
Alternatively, too much sunlight will lead to sun-scorch, with typical signs including browning or crispy leaves, dry leaf-edges, sunken leaves, stunted growth and 'pup' death. Although too little light will cause over-watering issues, too much sunlight will negatively affect the plant as well. A location that offers over two hours of sunlight a day will bring the optimum growth for the Aloe. If yours has fallen short of this issue, reduce the amount of the sun considerably and always be mindful of environmental shock (when two locations offer too different growing conditions). Remove some of the affected leaves and increase irrigations slightly.
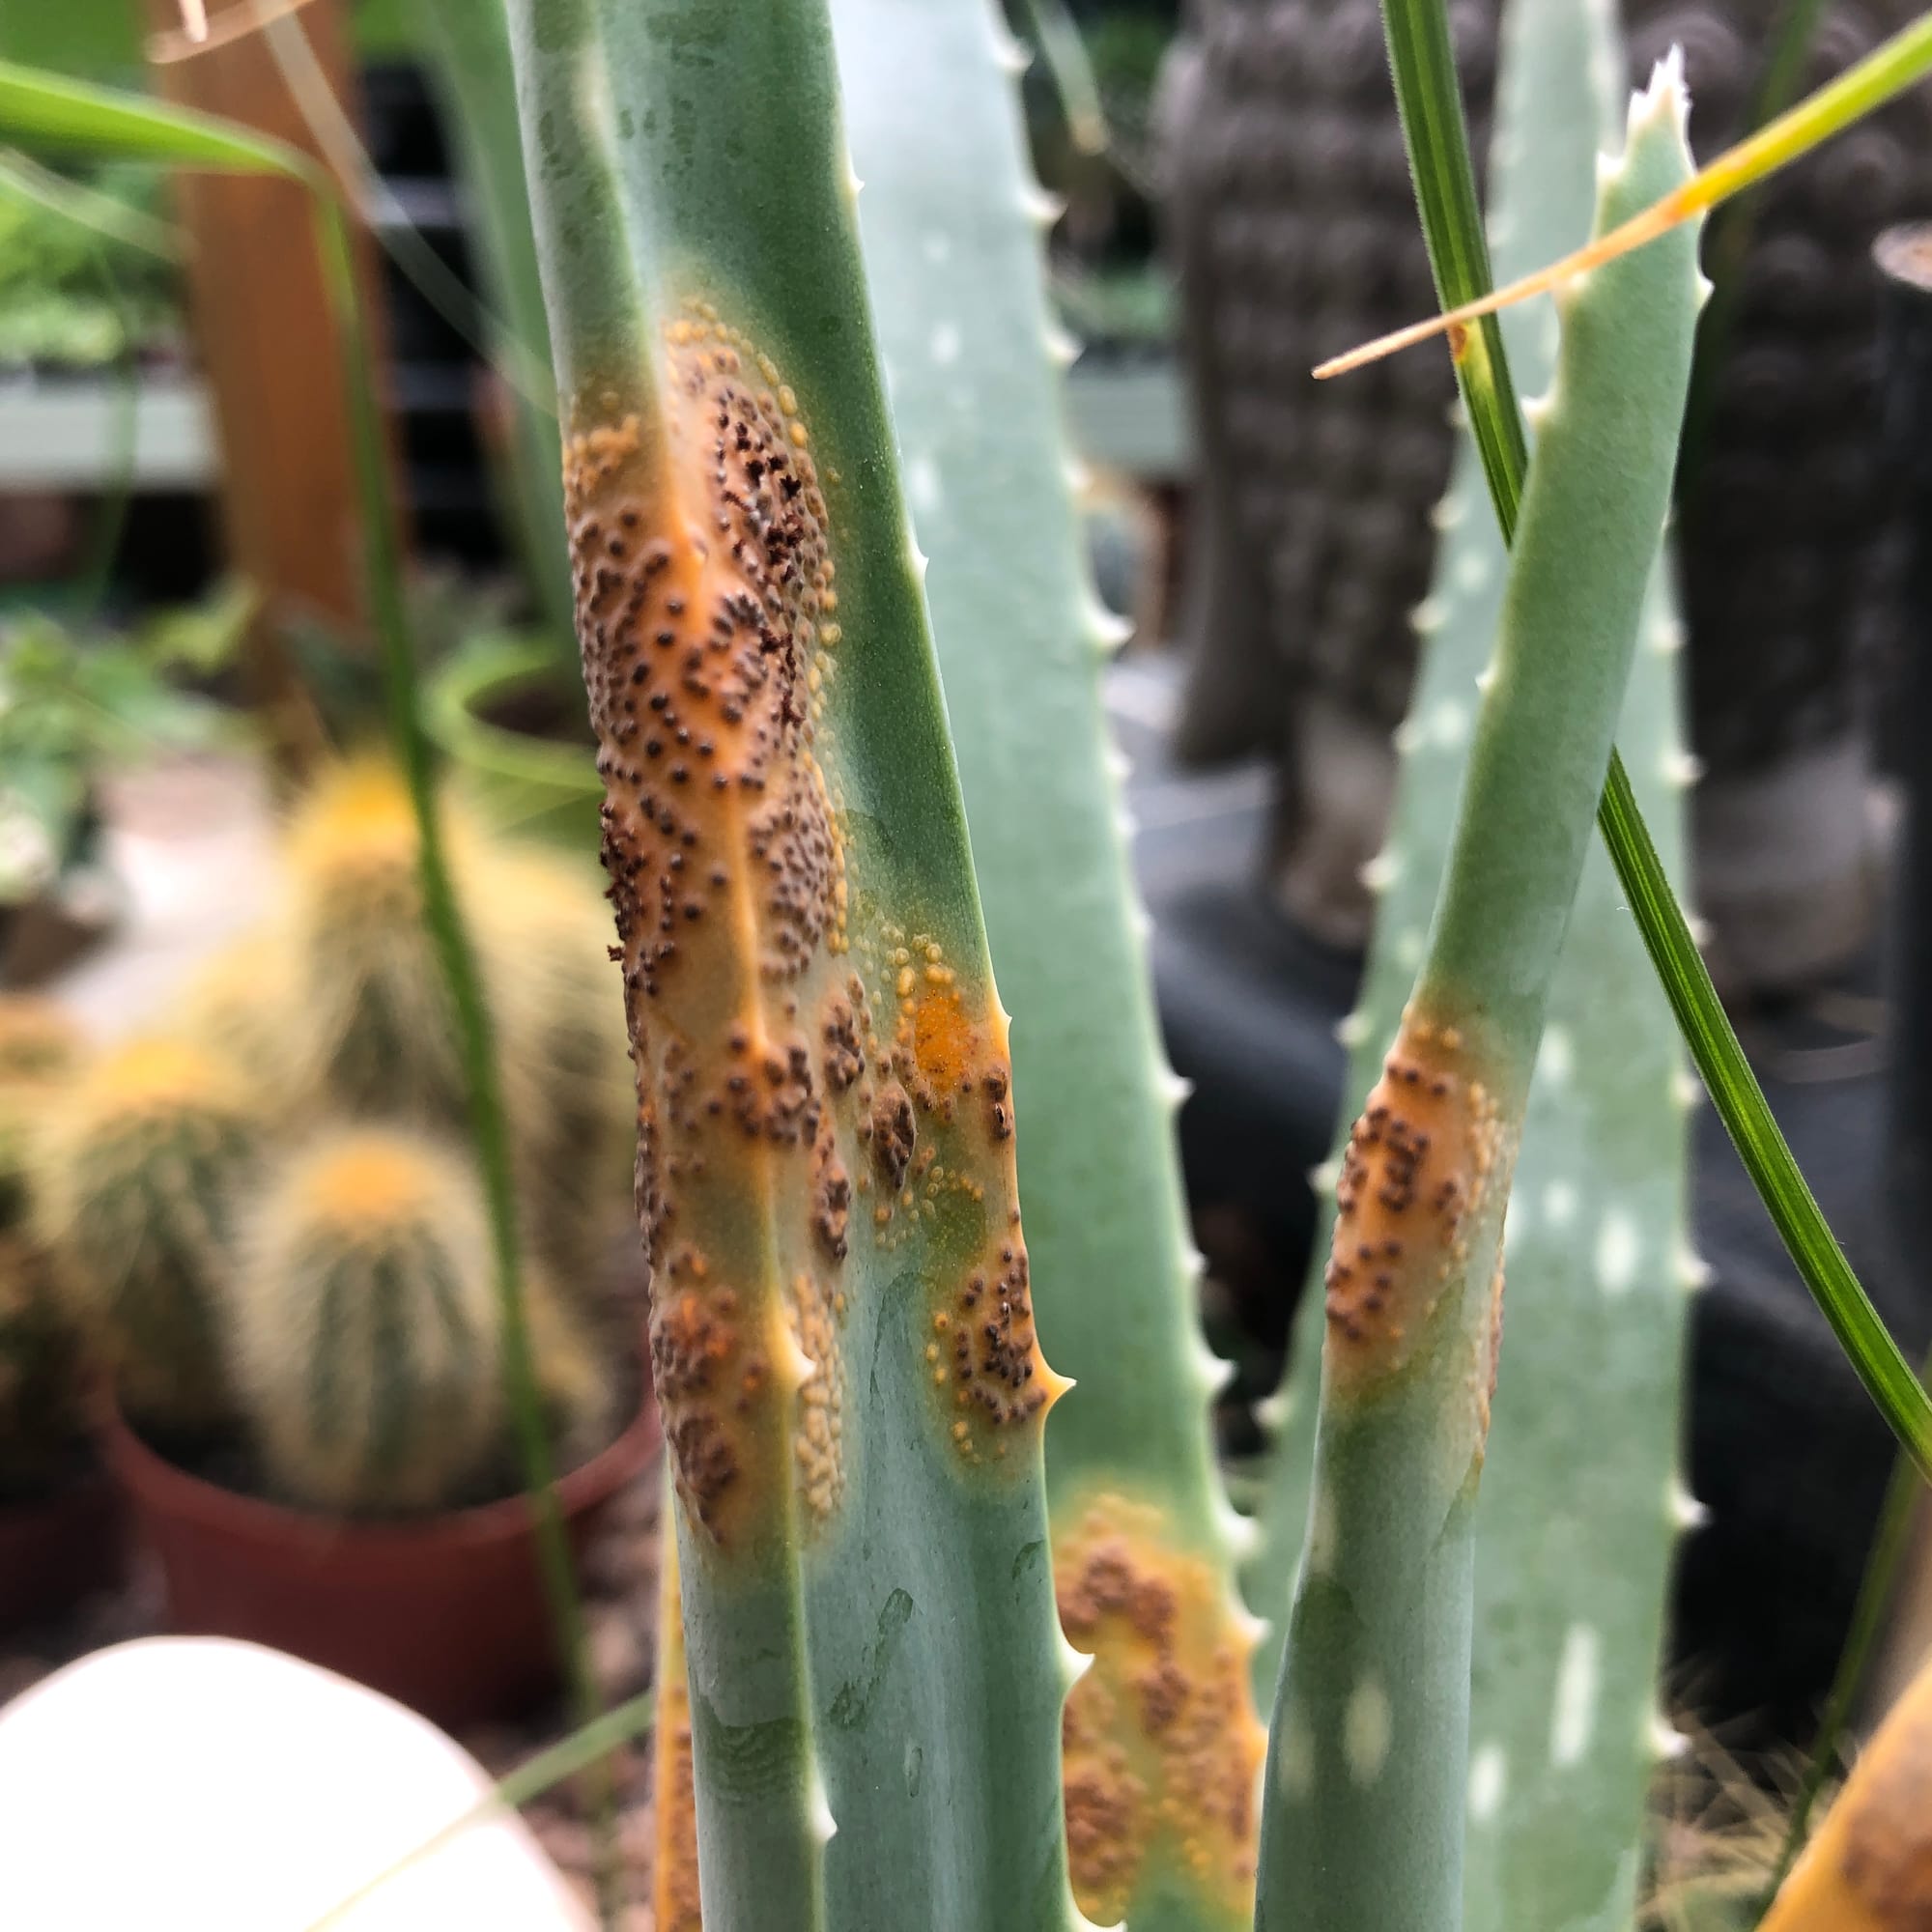 Brown or orange rust (Phakopsora pachyrhizi) is a serious disease that must be dealt with as soon as possible. Prune away the affected leaves back to their base and keep it away from other Aloe vera. Increase the light levels to promote fresh growth and fertilise every two months using a 'Houseplant' labelled feed. Clean the utensils immediately after use to avoid this issue spreading to other plants in your collection.
Over-supplementing an Aloe will bring nothing but grief in the likes of yellowing leaves and weak, dramatic growth. Although regular feeds are an excellent way to promote healthy, vigorous growth, dry soil and fine chemicals from the feeds will quickly lead to the burning of roots. The best advice for this issue is to pre-moisten the soil beforehand; not only will this remove the chemical-edge found in fertilisers, but it will also adversely remove the chance of root burns.
Origins
Since its formal classification by Carl Linnaeus in 1753 as Aloe perfoliata, this species has had many names in the 18th and 19th centuries, including A. lava, A. lanzae, and A. vulgaris. The species originate from the Arabian Peninsula but has been naturalised in Africa in recent times. The common name, Aloe vera, was penned by Nicolaas Burman in 1768, with the epithet vera meaning 'true' in Latin. In the first century AD, the species was included in Dioscorides' De Materia Medica stating about its medical benefits.
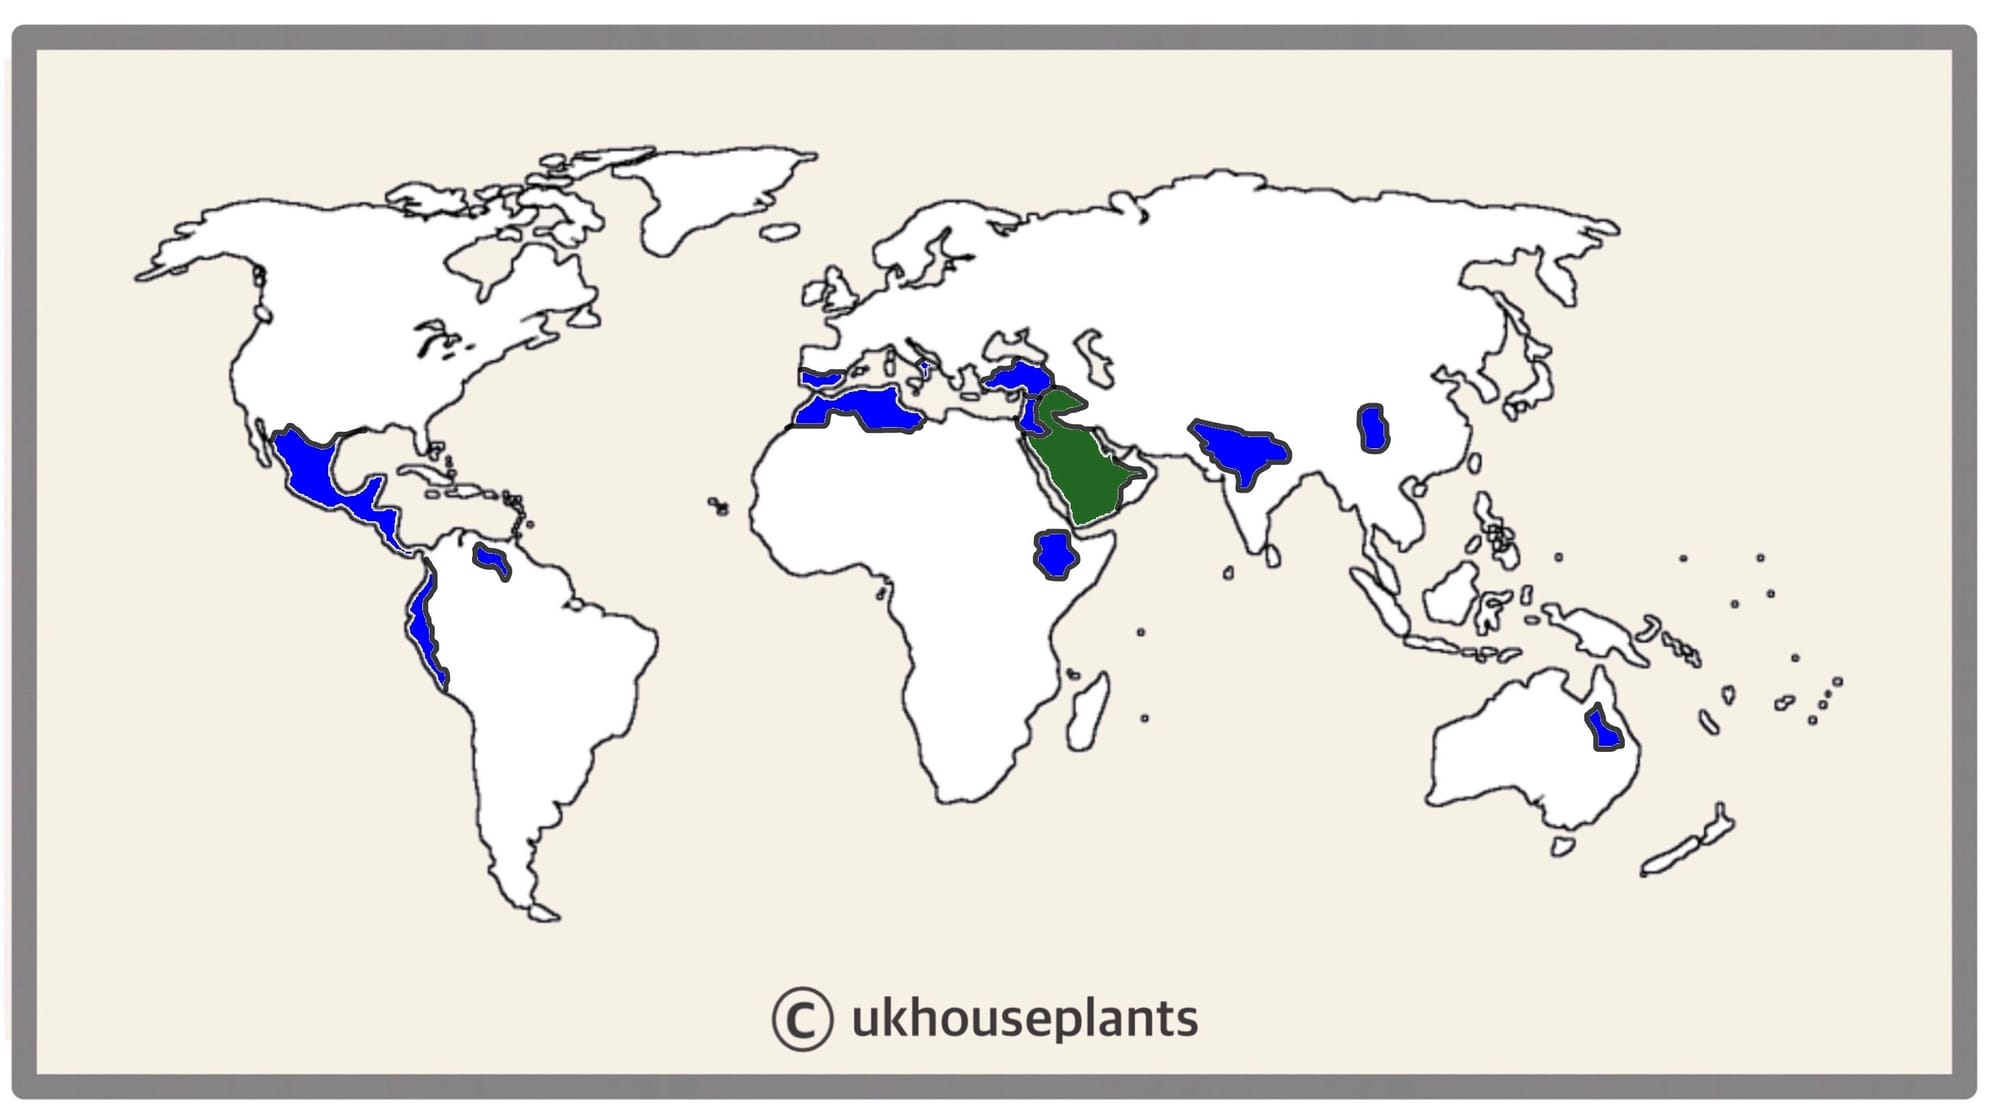 The Distribution of Aloe vera in Green & Artificial Introduction in Blue.
Temperature
8° - 25°C (46° - 78°F)
H1c (Hardiness Zone 11) - Can be grown outdoors between late spring and summer throughout most of the UK while nighttime temperatures are above 8℃ (46℉). If you decide to bring the plant outdoors, don't allow it to endure more than an hour of direct sunlight a day as it may result in sun-scorch. Regularly keep an eye out for pests, especially when re-introducing back indoors.
Spread
Up to 0.7m in height and 1m in width, with the ultimate height taking between 5 - 8 years to achieve.
Pruning
Remove yellow or dying leaves, and plant debris to encourage better-growing conditions. While pruning, always use clean scissors or shears to reduce the chance of bacterial and fungal diseases. Never cut through yellowed tissue as this may cause further damage in the likes of diseases or bacterial infections. Remember to make clean incisions as too-damaged wounds may shock the plant, causing weakened growth and a decline in health.
Propagation
Via Seed, Offset Division via 'Pups' & Stem Cuttings.
Seeds (Easy) - Soak the seeds in lukewarm water for around 24hrs in a dark location, preferably on top of an operating radiator. The best soil to use is a 'Cactus & Succulent' labelled potting mix; however, multipurpose compost with added perlite, grit and sand is also acceptable. Set the seeds around 2cm (1 inch) into the potting mix, resisting the temptation to compact the soil too much. Maintain evenly moist soil and allow the excess water to freely drain from the pot's base to prevent water-logged conditions. The ideal location for successful germination is in a bright, indirect setting with temperatures above 18℃ (64℉) with bottom-heat. Keep the pot in a transparent bag to provide a stable level of humidity, along with longer-lasting soil moisture. Germination may take up to three months, so don't discard any unsuccessful seeds until this threshold has been surpassed. Remove the bag once the seedlings produce their second leaf and then split them up into their own 5cm (2 inches) pots.
Basal Offset Division (Easy) - Your plant will produce several basal offsets that can be separated once they have a sufficient root system, and surpass 8cm in height. If possible, water the soil 24hrs before the main event to reduce the risk of transplant shock, when its dry root systems are over-fingered. Take the plant out of its pot and place your fingers close to the nodal junction - soil may have to be removed for better access. Push the chosen offset downwards until you hear a snap. Separate the foliage and its root system away from the mother plant, mentally noting the high risk of damage - transplant in the appropriate sized pot with a fresh batch of 'Cactus & Succulent' compost. Maintain evenly moist soil and situate it in a bright, indirect location away from any direct sunlight. After four weeks, treat it like a standard specimen, following the care tips above!
Stem Cuttings (Easy) can be taken at the start of spring when there's more than 20cm (7.8 inches) of semi-wooded stem. This will take a while, as the plant will need to reach a certain level of maturity before its base becomes ready. Using clean secateurs, remove the top 20cm of the stem just above the leaves. Set the bottom half of the stem into water for root development, and after three inches of root growth, set the rooted portion into a moist, well-draining potting mix. Although we'd recommend using a 'Cactus & Succulent' labelled soil, a general-purpose compost with added perlite and sand will work wonders, too. As long as there is a splash of perlite introduced into the mix, oxygen will flow liberally around the cutting's base to reduce the risk of basal rot. Wrap the plant (& its pot) in a transparent bag with small holes to maintain high humidity, to avoid hydration from the rapid moisture loss within the stem. Provide a bright, indirect location with continual soil moisture to quicken the rate of root development. Remove the bag after three weeks and follow the care advice provided at the top of the article.
Flowers
Yellow flowers are held by a spike that'll develop each year, reaching up to 70cm in height. Each flower can last up to several days, with the blooming process lasting several weeks. Ensure to keep the plant sufficiently hydrated with a fortnightly feed of Cactus Feed during this time to prolong this period.
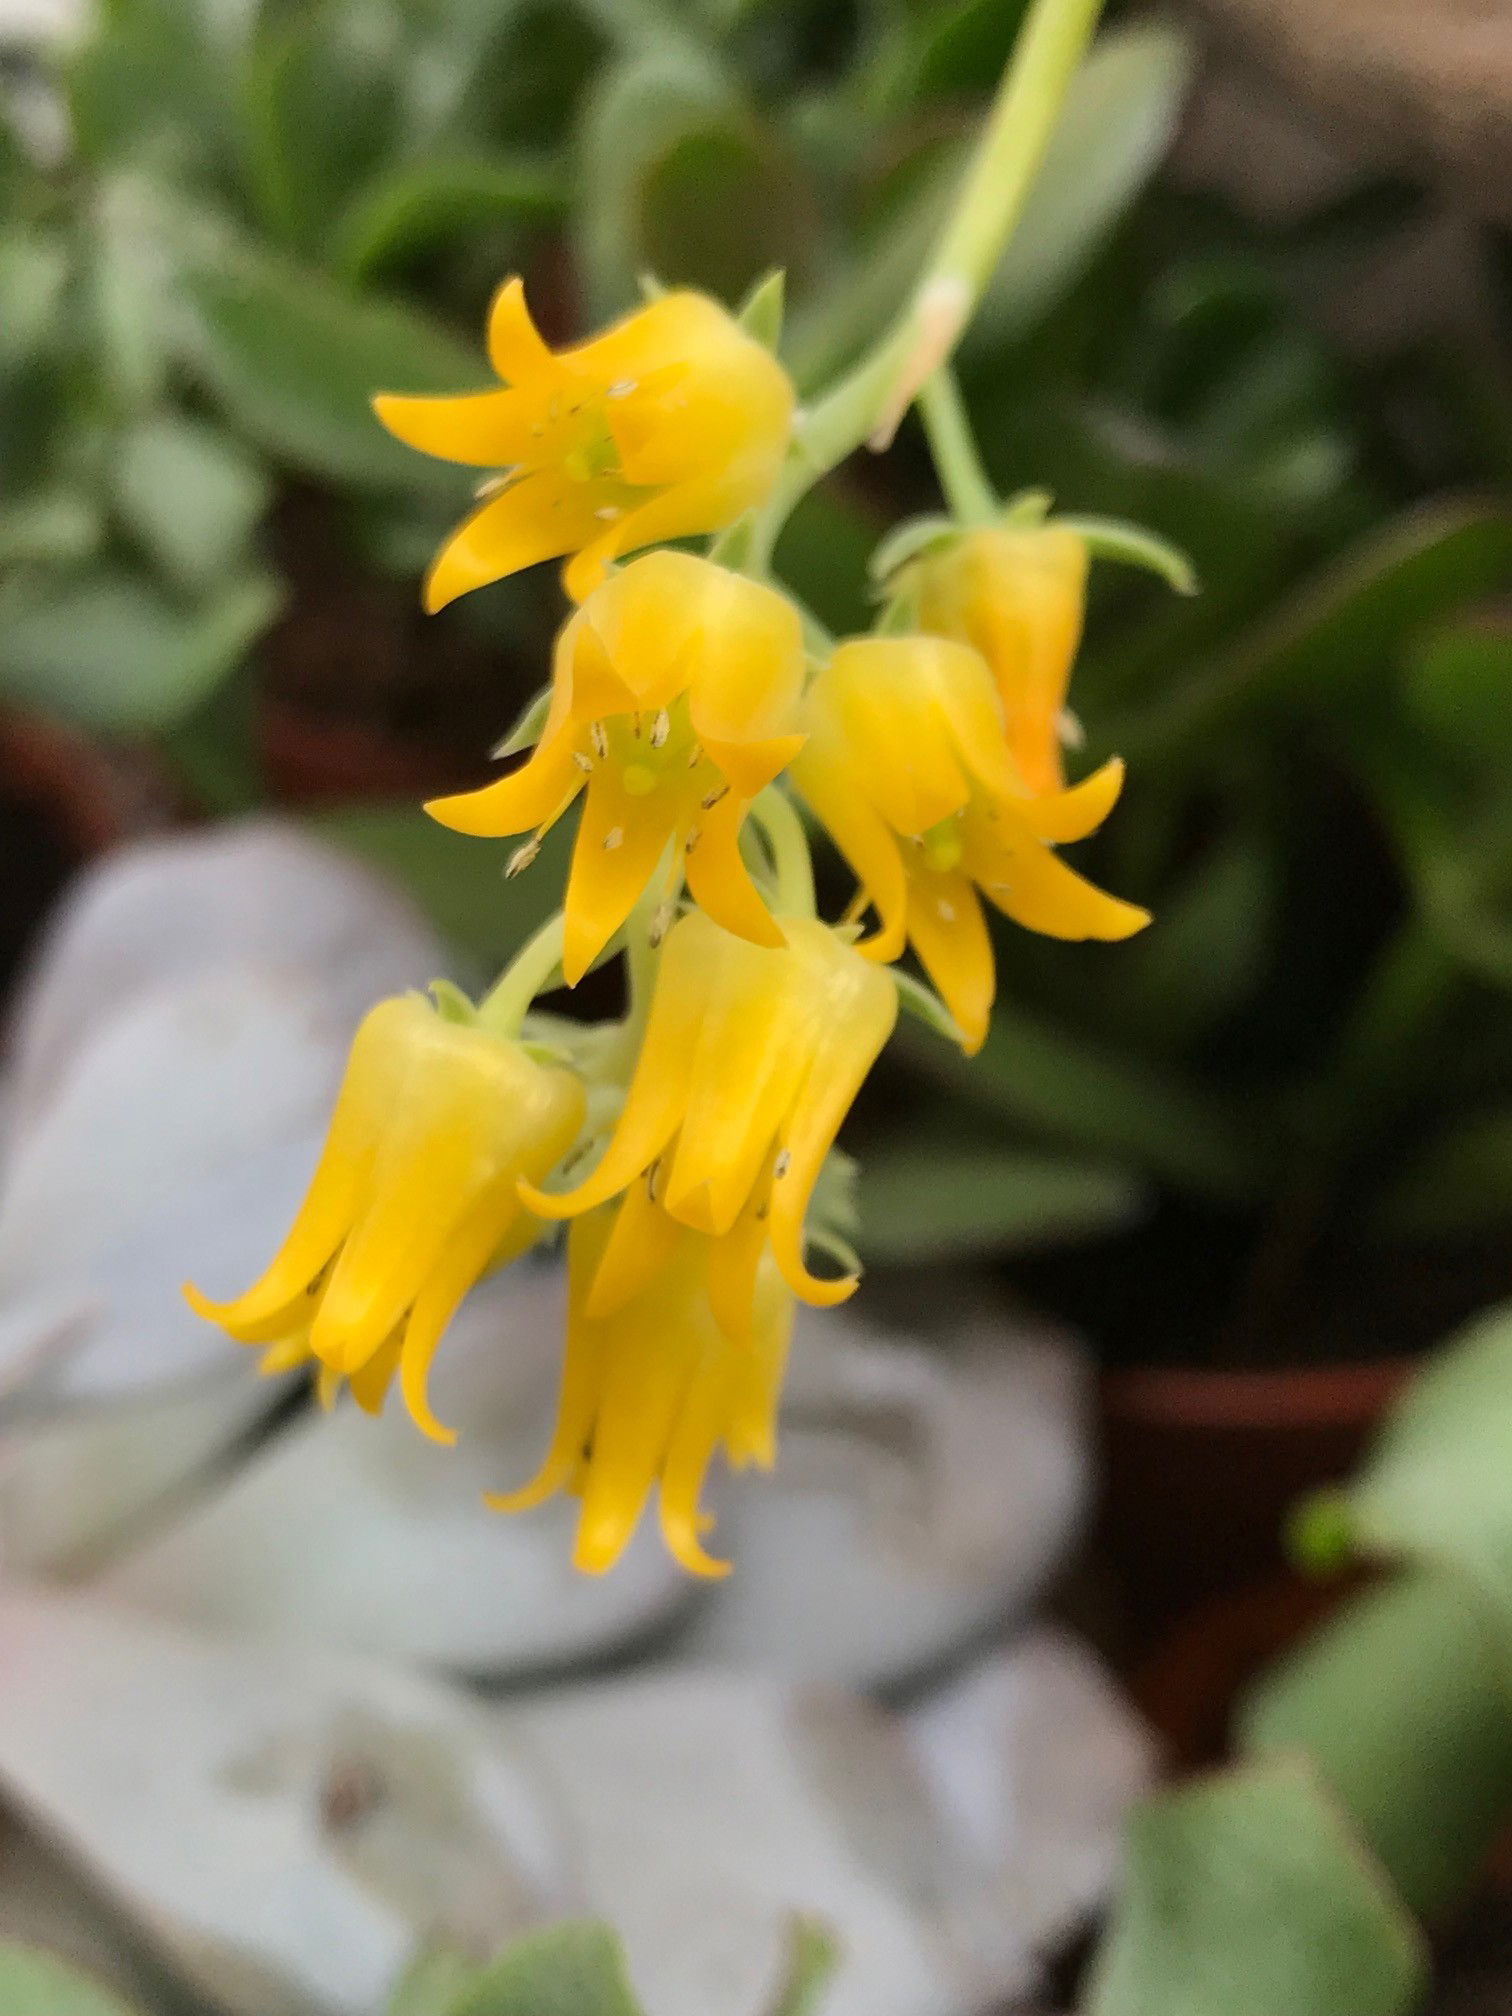 Pendulous flowers will appear in late spring, lasting several weeks.
Repotting
Repot every three years in spring using a 'Cactus & Succulent' labelled potting mix and the next sized pot with adequate drainage. Aloe vera is a 'family plant' and therefore the mother plant can happily grow with its pups for many years, even if this means over-filling the pot. They prefer to be potbound as this will downplay the risk of over-watering (& root rot), so only repot if necessary or if you're propagating the offsets (pups).
If you were to repot your Aloe, hydrate the soil 24hrs before tinkering with the roots to prevent the risk of transplant shock. Use a 'Cactus & Succulent' labelled potting mix and the next sized pot, unless the rootball is significantly reduced due to the propagation of pups. We recommend using a terracotta pot as this will help with drainage and moisture absorption.
Book a 1-to-1 video call with THE HOUSEPLANT DOCTOR™ (Author of ukhouseplants.com) if you'd like a personal guide to repotting your houseplant. This will include recommending the right branded-compost and pot size, followed by a live video call whilst you transplant the specimen for step-by-step guidance and answer any further questions!
Pests & Diseases
Keep an eye out for mealybugs, spider mites, scale, thrips, whitefly, vine weevils & root mealybugs that'll locate themselves in the cubbyholes and undersides of the leaves, with the exception of the latter two in the soil. Common diseases associated with Aloe vera are root rot, leaf-spot disease, botrytis, rust, powdery mildew & southern blight - click here to learn more about these issues.
Toxicity
This plant is classified as poisonous. If parts of the plants are eaten, vomiting, nausea and a loss of appetite could occur. Consumption of large quantities must be dealt with quickly; acquire medical assistance for further information.
Retail Locations
B&Q, Dobbies, Homebase, IKEA, Online Stores.
Book a 1-to-1 Call with THE HOUSEPLANT DOCTOR™
If you need further advice with your houseplants, book an advice call with ukhouseplants' friendly and expert writer today! This can be done via a video or audio call on most apps, including Facebook, FaceTime & Skype. A ten-minute call costs £5.99 (US$7), or £15.99 for thirty minutes. You can ask multiple questions, including queries on plants, pests, terrariums, repotting advice and anything in between. Please consider supporting this service to keep ukhouseplants thriving!
Comments