
Pelargonium × hortorum. Copyright: My Gardening Life
Contents
- Top Tips
- Location, Water, Humidity & Fertilisation
- Converting an Outdoor Geranium to the Indoors
- Dormancy Care & Annual Flowers
- Common Issues
- Origins, Temperature, Propagation, Repotting & Toxicity.
Need the answer to a specific plant query? Book a 1-to-1 video call with Joe Bagley, the website's friendly author to overcome and address your niggling problem! Available on iMessage, WhatsApp, Facebook Messenger & more.
Top Tips & Info
- Care Difficulty - Easy
- This plant is best suited for a bright windowsill or room that offers a few hours of either morning or evening sunlight.
- Geraniums soak-up moisture rather quickly in the sun's heat, so it's important to hydrate your specimen frequently. Allow the top third to dry out in between waters, reducing this slightly in the autumn and winter. We'd say once every 5 - 7 days in the spring and summer will be acceptable.
- With a 'Houseplant' labelled fertiliser, feed every third water in the spring and summer, while reducing this to every fourth water during the autumn and winter.
- Repot every two years during the spring, using a 'Houseplant' labelled potting mix and the next sized pot with drainage holes.
- Geranium are mostly evergreen without the risk of frosts, so expect little to no leaf loss over the autumn and winter period unlike those grown outdoors!
- Note: Plants sold outdoors in garden centres are still acceptable to come indoors, as long as you check for pests (Aphids or Slugs). Be sure to provide a bright, sun-filled location to downplay the severity of environmental shock and sudden flower loss.
Location & Light - 🔸🔸🔸
Place your Geranium in a relatively bright location that offers a few hours of off-peak sunlight. Exposure to the sun will not only reduce the risk of over-watering, but it'll also sweeten the leaf's scent and longevity of its flowers. Due to its intolerance of low light, situations, where a newspaper can't be read without the use of artificial light, must be avoided at all costs.
Remember, those kept in brighter or warmer locations are more susceptible to dehydration and sun-scorch, so be sure to note when your specimen needs water mentally. For the ideal location, we'd recommend a conservatory, porch or south-facing window for optimum growth and health.
Water - 🔸🔸
Maintain evenly moist soil, allowing the compost's top third to dry out in between waters. It's important not to promote what's known as 'irrigation abuse', whereby the specimen is subjected to periods of droughts, followed by floods of hydrations. Not only will this promote unreliable foliar growth, but it could also result in yellowed older leaves. Under-watering symptoms include weak growth, sunken or yellowed leaves, little to no growth and dry, crispy legions forming on the leaves. These issues are typically caused by too much light/heat or forgetfulness. Remember, the brighter the location, the more watering you'll need to do. Over-watering symptoms include a weakened or rotten stem, no new growth, yellowing lower leaves and eventual plant death. Click here to learn more about root rot and how to address it!
Humidity - 🔸🔸🔸
Average room humidity is excellent for this plant. At monthly intervals, perform a gentle hose-down to hydrate its leaves and reduce the number of dust particles resting on its foliage.
Fertilisation - 🔸🔸
Supplement once a fortnight using a houseplant-labelled fertiliser, reducing this to monthly in the autumn and winter. Try not to under-feed your specimen as its rate of growth and lifespan of its individual leaves may be hindered. Further, If the foliage is showing signs of dullness or leaf-spots, be sure to increase fertilisations to give the plant a 'pick-me-up' with additional energy.
Converting an Outdoor Geranium to the Indoors
Geraniums can do very well in a domestic environment, as long as its location and care requirements are top-notch. Although the flowering times may reduce slightly compared to those kept outdoors, you'll be rewarded with a slight pepper-like aroma throughout the autumn and winter. This section will talk you through the critical elements to ace its transition from the outdoors, into a new life behind the window.
- Choose the best specimen at the right time. Geraniums are commonly sold from the mid-spring onwards, so purchasing yours early is best for the longevity of its flowers. Further, exposure to outdoor pests will significantly lessen as the time spent outdoors is reduced, too.
- Check for any potential pests. Common areas for an attack include under the leaves, across the petiole and stems and below the soil line. Aphids & Greenfly are most likely to infest the juvenile leaves, as their mouthparts are somewhat too weak to penetrate the mature foliage. Slugs, on the other hand, are more inclined to destroy its way through any leaves, whether they're young, old or even diseased. If there are signs of circular 'bite' marks across its foliage, which could be both Slugs and Vine Weevils, leave it on the table and continue your search for a better alternative.
- Once you've chosen a suitable plant, locate it in a bright location that offers a splash of either morning or evening sun. Geraniums are well-equipped for sun exposure due to their period in the outdoors. A conservatory, porch, or windowsill are best for Geranium to 'sweeten' its scent and lifespan of its flowers.
- Finally, get into a habit of checking for soil moisture. Because of the heightened temperatures and the time of year, your Geranium will soak large quantities of water within a short period. Remember to keep the soil relatively moist throughout the spring and summer, and only begin to decrease its frequency once the final flower elapses in the late autumn.
Dormancy Care & Annual Flowers
Provide a bright, and cool autumn and winter period around 12℃ (54℉) to reinforce its dormancy. Keep the roots pot-bound to add further stress onto the specimen, which in turn will significantly heighten the chance of flowering. Blooms will generally appear in the summer, during the active growth season.
The following steps should be taken from early autumn until the end of winter.
Sunlight & Location
Be sure to provide a bright location with little to no direct sunlight. Although the winter rays won't necessarily hurt the plant, be careful not to fall in the trap of sun-scorch and severe dehydration. Avoid deep shade and the use of artificial lighting at night or locations that boast temperatures higher than 16℃ (62℉).
Hydration
Reduce waters so that at least half of the soil becomes dry. It's essential to keep them on the drier side to life, as they'll think that hard times are ahead and therefore will need to pass its genes on to the next generation.
Occasional Feeds
During the autumn and winter, fertilisation should be performed at monthly intervals with a 'houseplant' feed. While the flowers are in development or in bloom, use a Tomato fertiliser to provide fortnightly nourishment of potassium.
Reduce Everything
This is to remind you that everything needs to be reduced - especially the temperature.
Temperature
This is the most significant step; reduce the temperature down by around 5℃ compared to the summertime or place in a room that's between 12º - 15℃ (54º - 69℉). You'll be at a significant disadvantage if the ambient temperature is kept constant throughout the year, as Geraniums will only respond in locations that have daily fluctuations of around 6℃. Never exceed the minimum temperature as it may lead to plant death or yellowed foliage at a bare minimum. If these steps are followed successfully, you could see a show of blooms in the following spring and summer - but remember, dealing with nature may not always provide the results you'd relish...
Common Issues with Geraniums
A lack of flowers is caused by an insufficient dormancy period, where the temperatures are kept more or less the same over the year. Reduce the temperature by a couple of degrees over the autumn and winter months, along with fewer irrigations to ensure a well-spent dormancy. As spring arrives, the natural temperature will begin to increase, with this is being the perfect time to increase waters and fertilisation. Remember, the warmer the summer days are, the more likely a specimen is to reflower.
A sudden loss of older flowers with a yellowed stalk is a sign of prolonged droughts. Especially during the flowering process in a sun-filled location, continuous moist soil is mandatory for extended blooms, so avoid persistent dry spells if possible. Other situations could be over-watering (accompanied by mouldy or heavy soil) or an inappropriate location with too little light.
Yellow or dull older leaves could be the product of irregular watering, along with a nutrient deficiency, too. If you're having issues of persistent droughts, followed by periods of over-watering, the specimen may begin to show signs of poor health with its foliage taking most of the brunt. You must also regularly feed the plant, as low nutrient levels within the soil could also result in weakened photosynthetic rates, thus further hurting the plant's wellbeing. Although the leaves won't revert to its former green glory, the juvenile growth will show better signs of health within the oncoming weeks.
Leggy or spindly leaves/stems are the result of low light. Increase your plant's light levels by relocating it to a windowsill that offers up to two hours of morning or evening sunlight. Don't prune the already-leggy foliage and instead wait for more compact growth that may take up to four weeks to grow.
Alternately, yellowing lower leaves could be a sign of over-watering, but equally is a byproduct of maturity. If the older leaves rapidly become yellow in quick succession, over-watering could be to blame. People don't realise that a plant's root system needs access to oxygen too; when soil is watered, the air will travel upwards and out of the potting mix. A lack of accessible oxygen for the roots will cause them to subsequently breakdown over the oncoming days. Click on this link to learn more about root rot and how to address it.
If your specimen is located in a dark environment with mould developing on the compost's top layer, use a chopstick to stab the soil in various areas gently. You should aim to enter the compost between the base of the plant and the pot's edge, as failure to do so may lead to damaging its lower portion. Leave the holes open for a few days before re-surfacing the soil to avoid it becoming overly dry. Not only will the gentle shift in the soil's structure mimic the work of small invertebrates in the wild (worms, etc.), but it'll also add oxygen back into the soil, thus reducing the risk of root rot. Repeat this monthly, or whenever you feel the potting-mix isn't drying out quickly enough.
Curled, pale leaves and brown leaf-edges are the result of too little water and over-exposure to the sun. Geraniums are best located in bright, indirect settings, and those that haven't acclimatised to the harsh rays will show signs of sun-scorch and environmental shock. A splash of winter sunlight is acceptable as long as the soil moisture is regularly observed, with complete avoidance once summer comes along.
Never situate it within four metres of an operating heat source, for instance, a heater or fireplace. Due to the heightened temperature, the plant will soak up far more moisture than those situated in cooler locations, increasing the chance of droughts and browning leaf-edges.
Origins
Geranium is a genus of around three hundred and fifty species, originating from most temperate locations across six continents. The difference between the Geranium and Pelargonium is within the structure of its flowers and frost tolerance. Geranium has actinomorphic flowers which 'radiate' outwards in an equal manner, whereas the latter is generally zygomorphic. Geranium derives from ancient Greek, translating to 'crane' that refers to the beak-like seed capsules shortly after successful pollination. For those wondering, Pelargonium was first described by Charles Louis L'Héritier de Brutelle in 1789, using the Greek term for the 'Stork' bird, Pelargos, which originates from Africa.
Temperature
-3° - 32℃ (26° - 90℉)
H3 (Hardiness Zone 9) - Tolerate to temperatures below freezing. Although it can survive frosts and thin snow, refrain from bringing it indoors overnight if the room temperature is above 5℃ (40℉), as a sudden change in temperature may cause environmental shock with weakened spring growth and a lack of flowers over the season's course. Instead, either leave it outdoors or in an unheated conservatory, brightly lit garage or a greenhouse until the risk of frost has elapsed.
Spread
The overall indoor size can be up to 1.2m (4ft) in height and 0.8m (2.5ft) in width. The ultimate size will take between 3 - 6 years to achieve when repotted biannually, with several new leaves unfurling per annum.
Pruning & Maintenance
Remove yellow or dying leaves, and plant debris to encourage better-growing conditions. While pruning, always use clean scissors or shears to reduce the chance of bacterial and fungal diseases. Never cut through yellowed tissue as this may cause further damage in the likes of diseases or bacterial infections. Remember to make clean incisions as too-damaged wounds may shock the plant, causing weakened growth and a decline in health.
Leggy specimens can be pruned by a third in the latter winter to promote less-wooded appearance, along with the heightened chance of better flowers in the summer.
Propagation
Via Seed or Stem & Eye Cuttings.
Stem & Eye Cuttings (Easy to Moderate) - This method of propagation is troublesome good water hygiene and a bright, suitable location. Choose the healthiest, most established stems that are slightly hardened, yet still juvenile enough to bend. Each cutting should be around 20cm (7 inches) in length for the best rates of root growth. Cut directly below a node using a clean pair of scissors to reduce bacteria count. Remove the older half of the leaves, and place the specimen into a glass of lukewarm tap water to allow the root caps to develop. Try not to submerge the leaves in the water as it may result in rot and therefore, bacteria development. After several weeks of solid root growth, which can take up to two months, place the specimen's lower third into a 10cm pot (4 inches) with 'Houseplant' labelled compost. Don't over-compact the soil as it'll strip oxygen from the soil when the plant is next watered, thus resulting in root rot. Maintain bright, indirect light and evenly moist soil with the avoidance of direct sun or cold draughts. After a further two months, follow the same care routines mentioned in the article's top half. Stem cuttings can take up to five months, so patience and the correct environment are paramount for success!
Flowers
Geranium will readily flower in spring and summer months if its previous dormancy period has been served well. Small spherical clusters of flowers will develop at the stems' terminals that can last up to several weeks. The quality of its blooms largely relies on the quality of the dormancy period served in the previous winter.
To replicate its dormancy period:
- Reduce temperatures down to around 10°C (50°F) from late autumn until early spring, with little hydrations or fertilisation.
- Allow all of the soil to dry out for at a fortnight in between irrigations thoroughly, and never apply cold water as this may damage the roots. Leggy specimens can be pruned by a third in the latter winter to promote less-wooded appearance.
- Provide a few hours of off-peak direct sunlight with one fertilisation throughout this period, until the first bud develops at the end of spring.
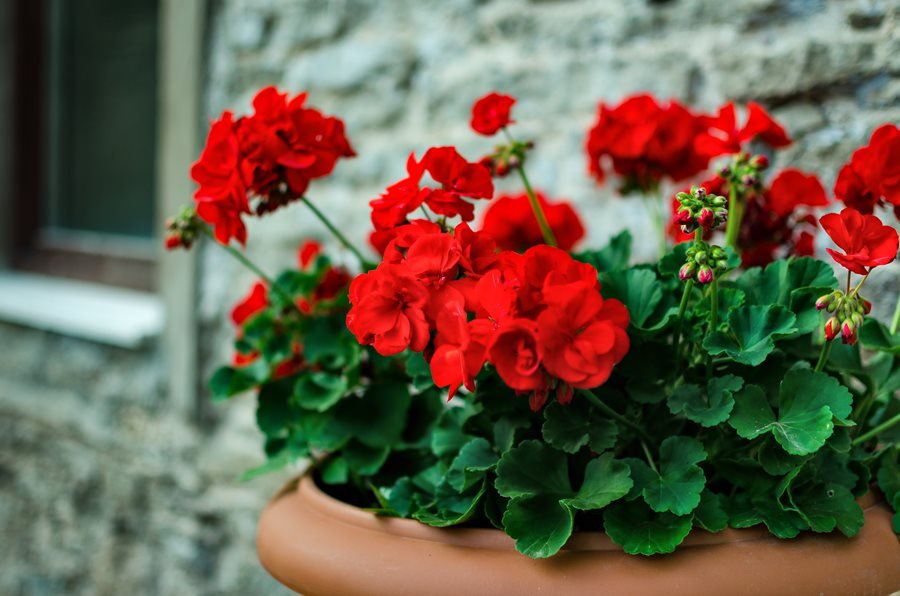 The inflorescence of Geranium
Repotting
Repot every two years in spring using a 'Houseplant' labelled potting mix and the next sized pot with adequate drainage. Hydrate the plant 24hrs before the tinkering with the roots to prevent the risk of transplant shock. For those situated in a darker location, introduce extra amounts of perlite and grit into the lower portion of the new soil to downplay over-watering risks. Click here for a detailed step-by-step guide on transplantation, or via this link to learn about repotting with root rot.
Book a 1-to-1 video call with Joe Bagley if you'd like a personal guide to repotting your houseplant. This will include recommending the right branded-compost and pot size, followed by a live video call whilst you transplant the specimen for step-by-step guidance and answer any further questions!
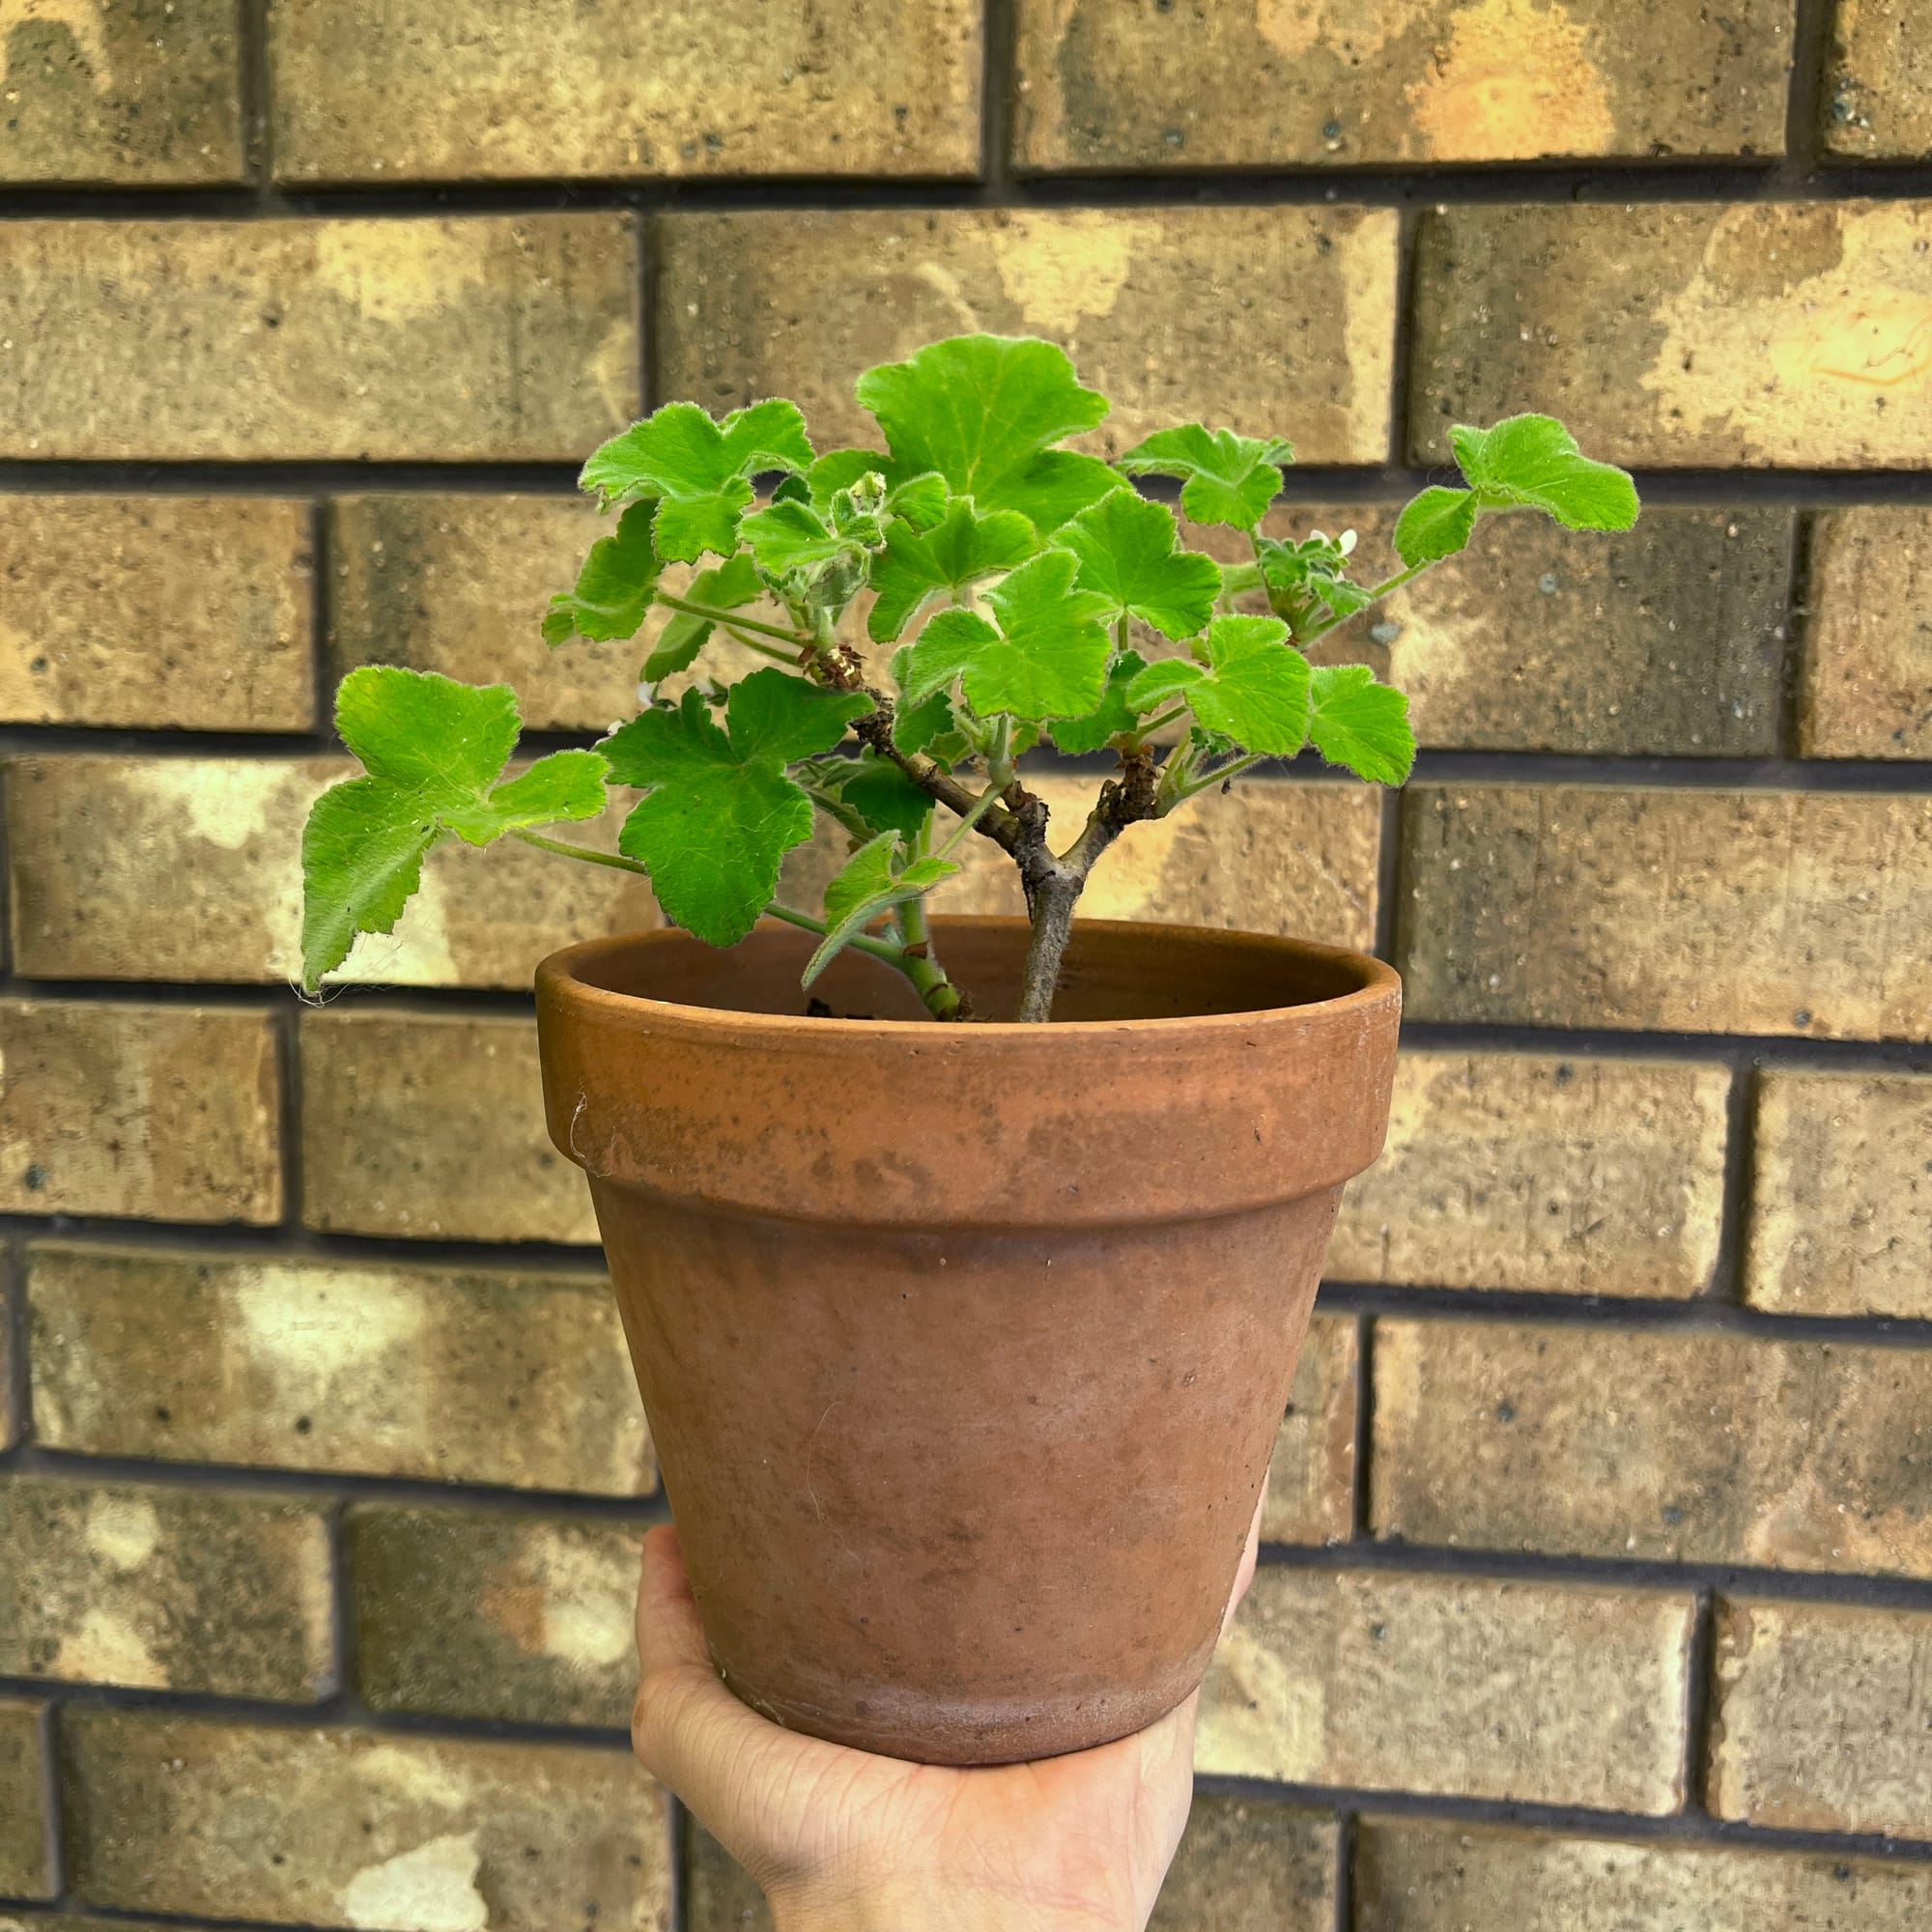 Pelargoniums grow superbly in terracotta pots.
Pests & Diseases
Keep an eye out for mealybugs, aphids & greenfly, spider mites, scale, thrips & whitefly. Common diseases associated with this genus are root rot, red leaf-spot, heart rot, botrytis & southern blight - click here to learn more about these issues.
Toxicity
This plant is classified as poisonous, so if small sections are eaten, vomiting, nausea, and a loss of appetite may occur. Consumption of large quantities must be dealt with quickly; acquire medical assistance for further information.
Retail Locations
Some retailers will stock 'Indoor' labelled Geranium; however, outdoor specimens are still acceptable to be placed indoors if you can provide a sun-filled location. Keep an eye out for pests across its foliage, especially Aphids which will attack its juvenile growth.
Book a 1-to-1 Call with Joe Bagley
If you need further advice with your houseplants, book an advice call with ukhouseplants' friendly and expert writer today! This can be done via a video or audio call on most apps, including Facebook, FaceTime & Skype. A ten-minute call costs £5.99 (US$7), or £15.99 for thirty minutes. You can ask multiple questions, including queries on plants, pests, terrariums, repotting advice and anything in between. Please consider supporting this service to keep ukhouseplants thriving!
Comments