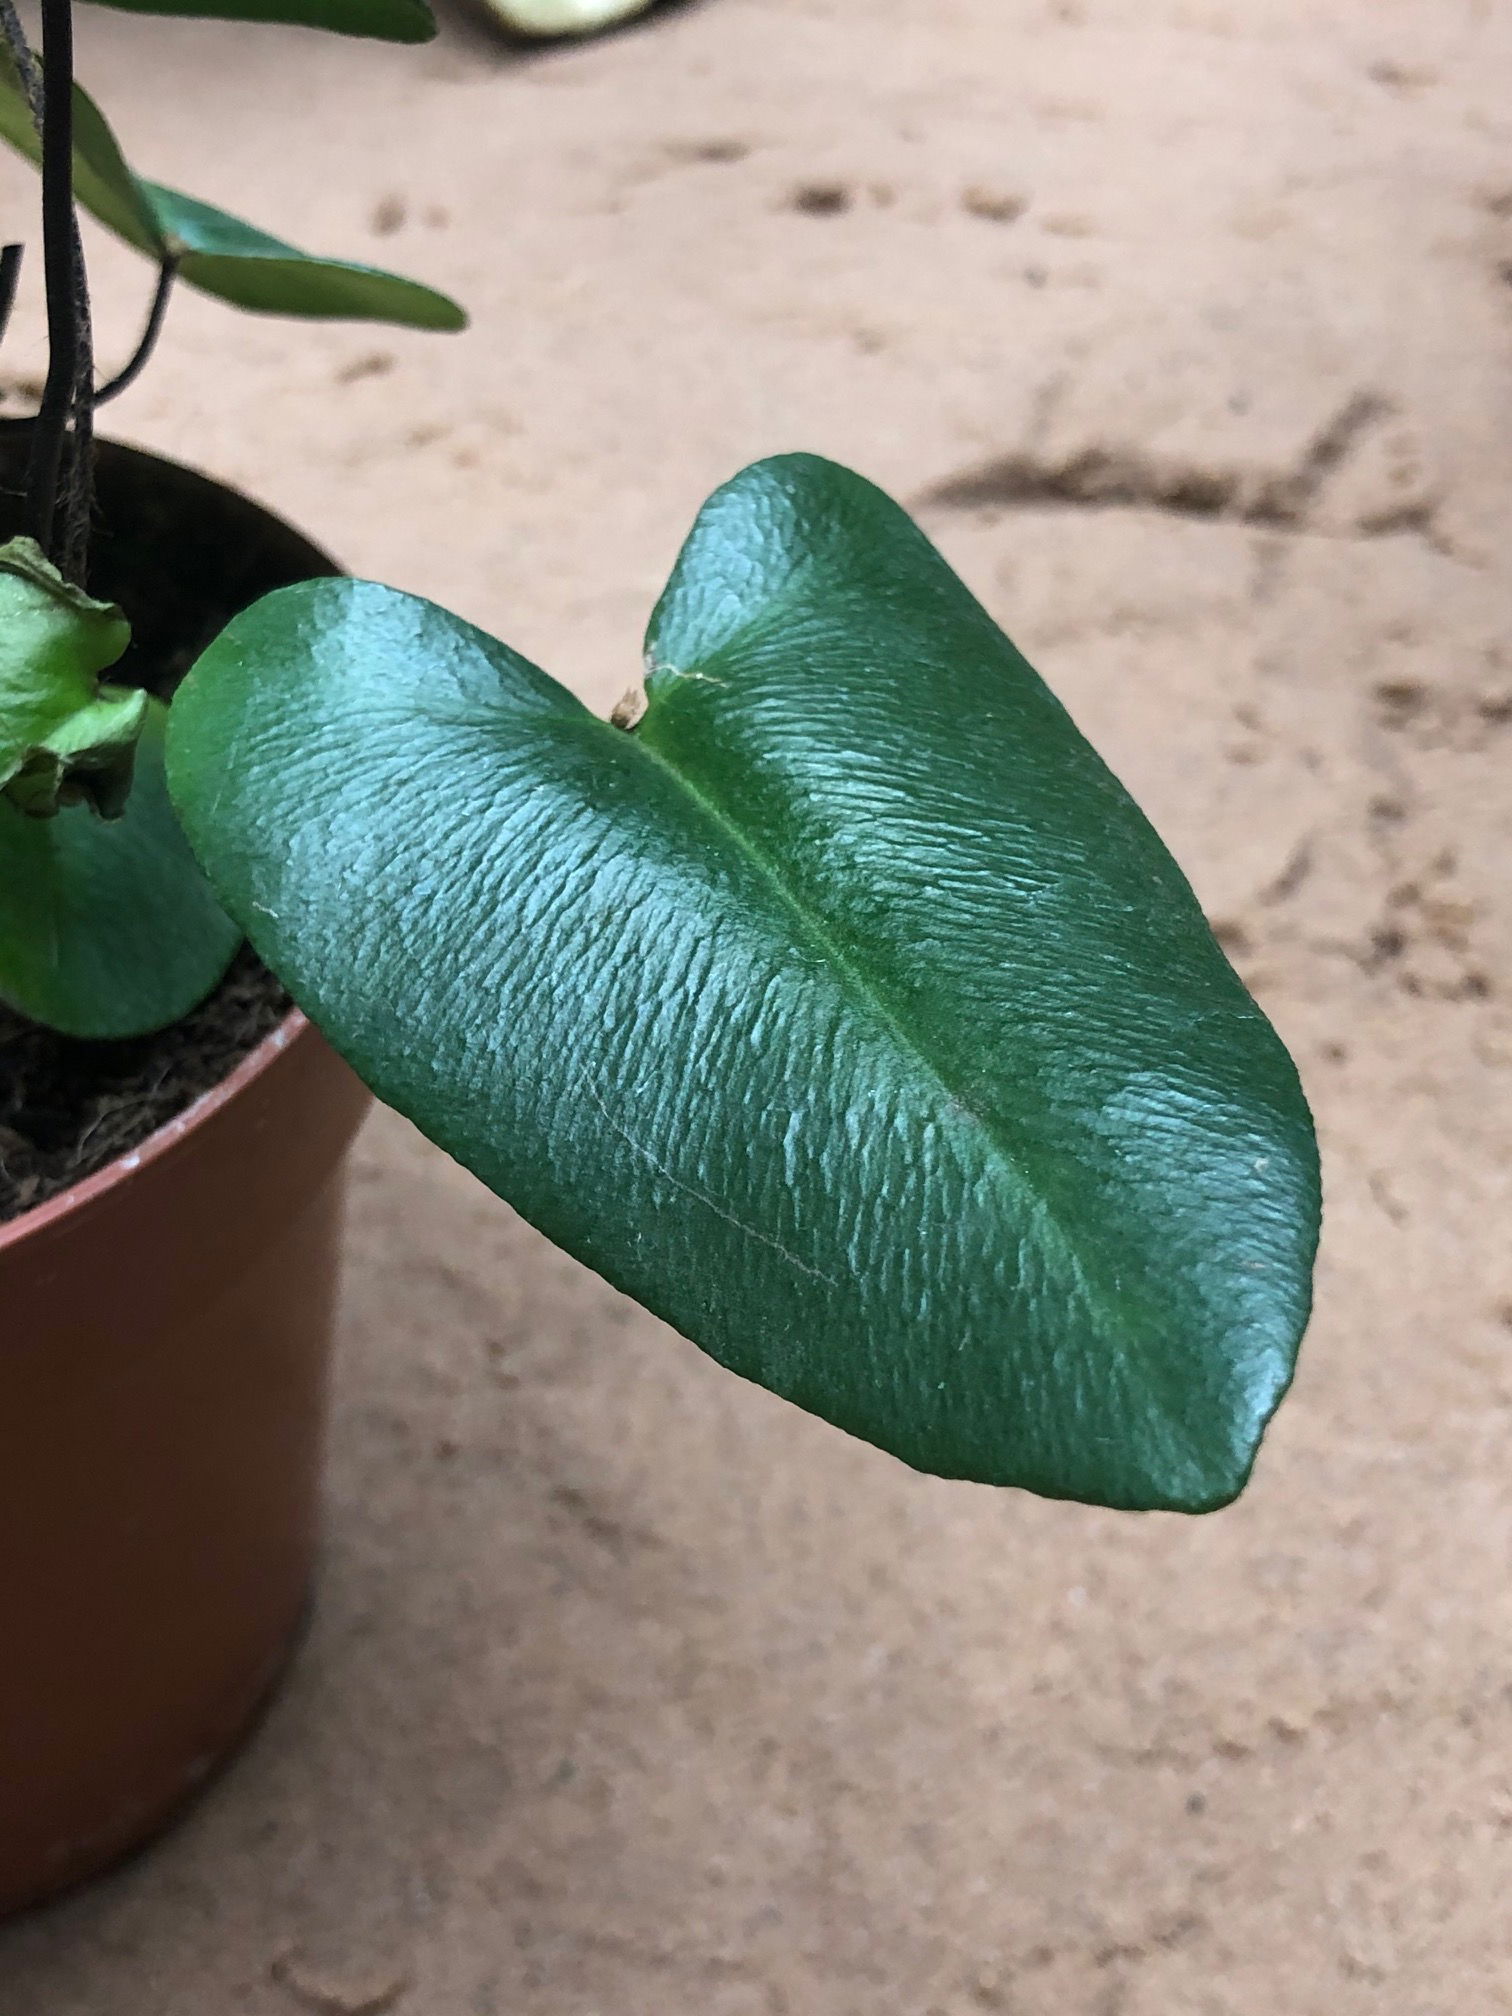
Hemionitis arifolia
Contents
- Top Tips
- Location, Water, Humidity & Fertilisation
- Common Issues
- Origins, Temperature, Propagation, Repotting & Toxicity.
Need the answer to a specific plant query? Book a 1-to-1 video call with Joe Bagley, the website's friendly author, to overcome and address your niggling problem! Available on iMessage, WhatsApp, Facebook Messenger & more.
Top Tips & Info
- Care Difficulty - Easy to Moderate
- Heart Ferns like to be kept in a bright location with the absence of direct sunlight or temperatures below 15°C (59°F). Those kept in harsh sunlight or too deep shade will show signs of eventual decline.
- Provide moist conditions, allowing the soil's top third to dry in between waters. Periods of droughts will result in the browning or yellowing of foliage that'll take months to rectify, and could even spell the end of juvenile specimens.
- Fertilise using a 'Houseplant' labelled feed every four waters in the spring and summer, reducing this to every six in the colder months.
- Repot every three years with a 'Houseplant' labelled compost in the next sized pot; this is the perfect time to perform basal offset cuttings as seen in the 'Propagation' section.
Location & Light - 🔸🔸
There are three key elements to ace when locating a Heart Fern - warmth, humidity and adequate light levels. Firstly, be sure to keep temperatures above the all-important 15°C to avoid any issues of browning foliage with yellowed halos. Further, be sure to locate your specimen within two metres (6 feet) of a north or east-facing window, or somewhere with dappled lighting. Excessively dark situations may result in slowed growth and soil mould, whereas prolonged exposure to the sun will result in severe dehydration and bleaching.
Water - 🔸🔸
Reliable, moist soil is mandatory for a happy specimen. Allow the soil's top third to dry out in between irrigations, reducing this slightly further in the autumn and winter. Do not, under any circumstances, promote periods of droughts due to the species' reduced ability to endure dehydration. Symptoms of under-watering include crispy or greying of leaves, little to no growth and brown patches forming on the fronds. Since the foliage has a bluish-grey tinge, under-watering symptoms are typically masked until it's too late. Scroll down to 'Common Issues' for more information on dehydration. Over-watering symptoms include yellowed fronds, rotten rhizomes and a general decline in health. These issues are commonly the product of too little heat or light, water-logging or an overly-large pot used during the repotting process.
Humidity - 🔸🔸🔸
Moderate to high humidity should be at the forefront of a Heart Fern. Introducing a pebble tray will not only keep the leaf-tips from browning over, but it'll also slow the risk of drying soil and potential dehydration. A gentle monthly hose-down in the shower will also benefit the specimen, as it'll hydrate the leaves and reduce dust particles resting on its foliage.
Fertilisation - 🔸🔸
Feed every four waters during the growing period and every six in the autumn and winter, using a 'Houseplant' labelled fertiliser. Never apply a 'Ready to Use’ product into the soil without a pre-water first, as it may burn the roots and lead to yellowed leaves.
Common Issues with Heart Ferns
When any fern is severely dehydrated, most of its leaves will brown over with yellowed halos - leaving you with a naked plant. Although it may spell the end of juvenile plantlets, there may still be light at the end of the tunnel for more established specimens. Keep the soil continually moist, providing a good level of indirect light and temperatures above 15°C (59°F). After a few weeks, new life will form in the nodal junctions in the plant's centre, signalling the start of its recovery process. For the prevention of dry air, be sure to introduce a humidity tray for higher levels of atmospheric moisture around the foliage. Not only will this ease the specimen back into healthy functioning life, but it'll also reduce the rate of transpiration (water-loss in the leaves), and therefore downplay the risk of dehydration and further decline.
Due to the fern's sensitivity to chemicals, Leaf Shine shouldn't be used to improve the appearance of the foliage, and instead should be cleaned using warm soapy water. Failure to do so may cause yellowed, mottled spots that cannot be undone.
Black roots are natural for Heart Ferns. Only treat for root rot if the soil smells 'earthy' and the roots feel collapsed or squishy. Click on this link to learn about this issue and what to do next!
Yellowing leaves are the result of either over-watering or excess moisture settling on the foliage, typically promoted by dark locations. Instead of pouring water directly onto the foliage, irrigate carefully at the soil line by lifting the greenery at the side to prevent wetting the leaves unnecessarily. Do not to over-water your fern if it's situated in a dark location as the combination of both overly moist soil and improper light will allow Rhizoctonia to develop beneath the soil line. For further information about this disease, click on this link. In some instances, yellowing leaves may be caused by under-watering. If this is the case, and the fern has endured persistent droughts, increase irrigations and avoid direct sunlight at all costs. The time in which it takes the specimen to bounce back solely relies on the cultivation and the quality of its current environment.
An under-humid room will not favour them in the slightest. Humid air and an absence of dry soil are what keeps this genus happy, so dry air will lead to browning leaf tips and weakened growth. Either mist weekly or introduce a humidity tray to keep life manageable. Avoid situating any fern within four metres of an operating radiator, as the dry air will spread up the process of browning leaf-tips.
Never allow temperatures to dip below 10ºC (50ºF) as irreversible damage will occur in the likes of browned foliage with yellow halos and weakened health. When this happens, remove the severely affected areas and immediately improve growing conditions - never cut through softened yellow growth, and only around brown, crispy squares. As rehabilitation can take several months because of its slow-growing nature, be sure to provide a stable location with better growing conditions to speed this process.
Mould developing on the soil means two things - too little light and over-watering. Despite the harmlessness of the mould, it'll prove unsightly to most gardeners and is therefore removed once known. To remove, replace the top two inches of the soil for a fresh batch of 'Houseplant' compost. Either increase the amount of light received slightly (no direct sunlight) or decreased the frequency of waters slightly. If yellowing older fronds accompany the mould, you may also have a case of root rot.
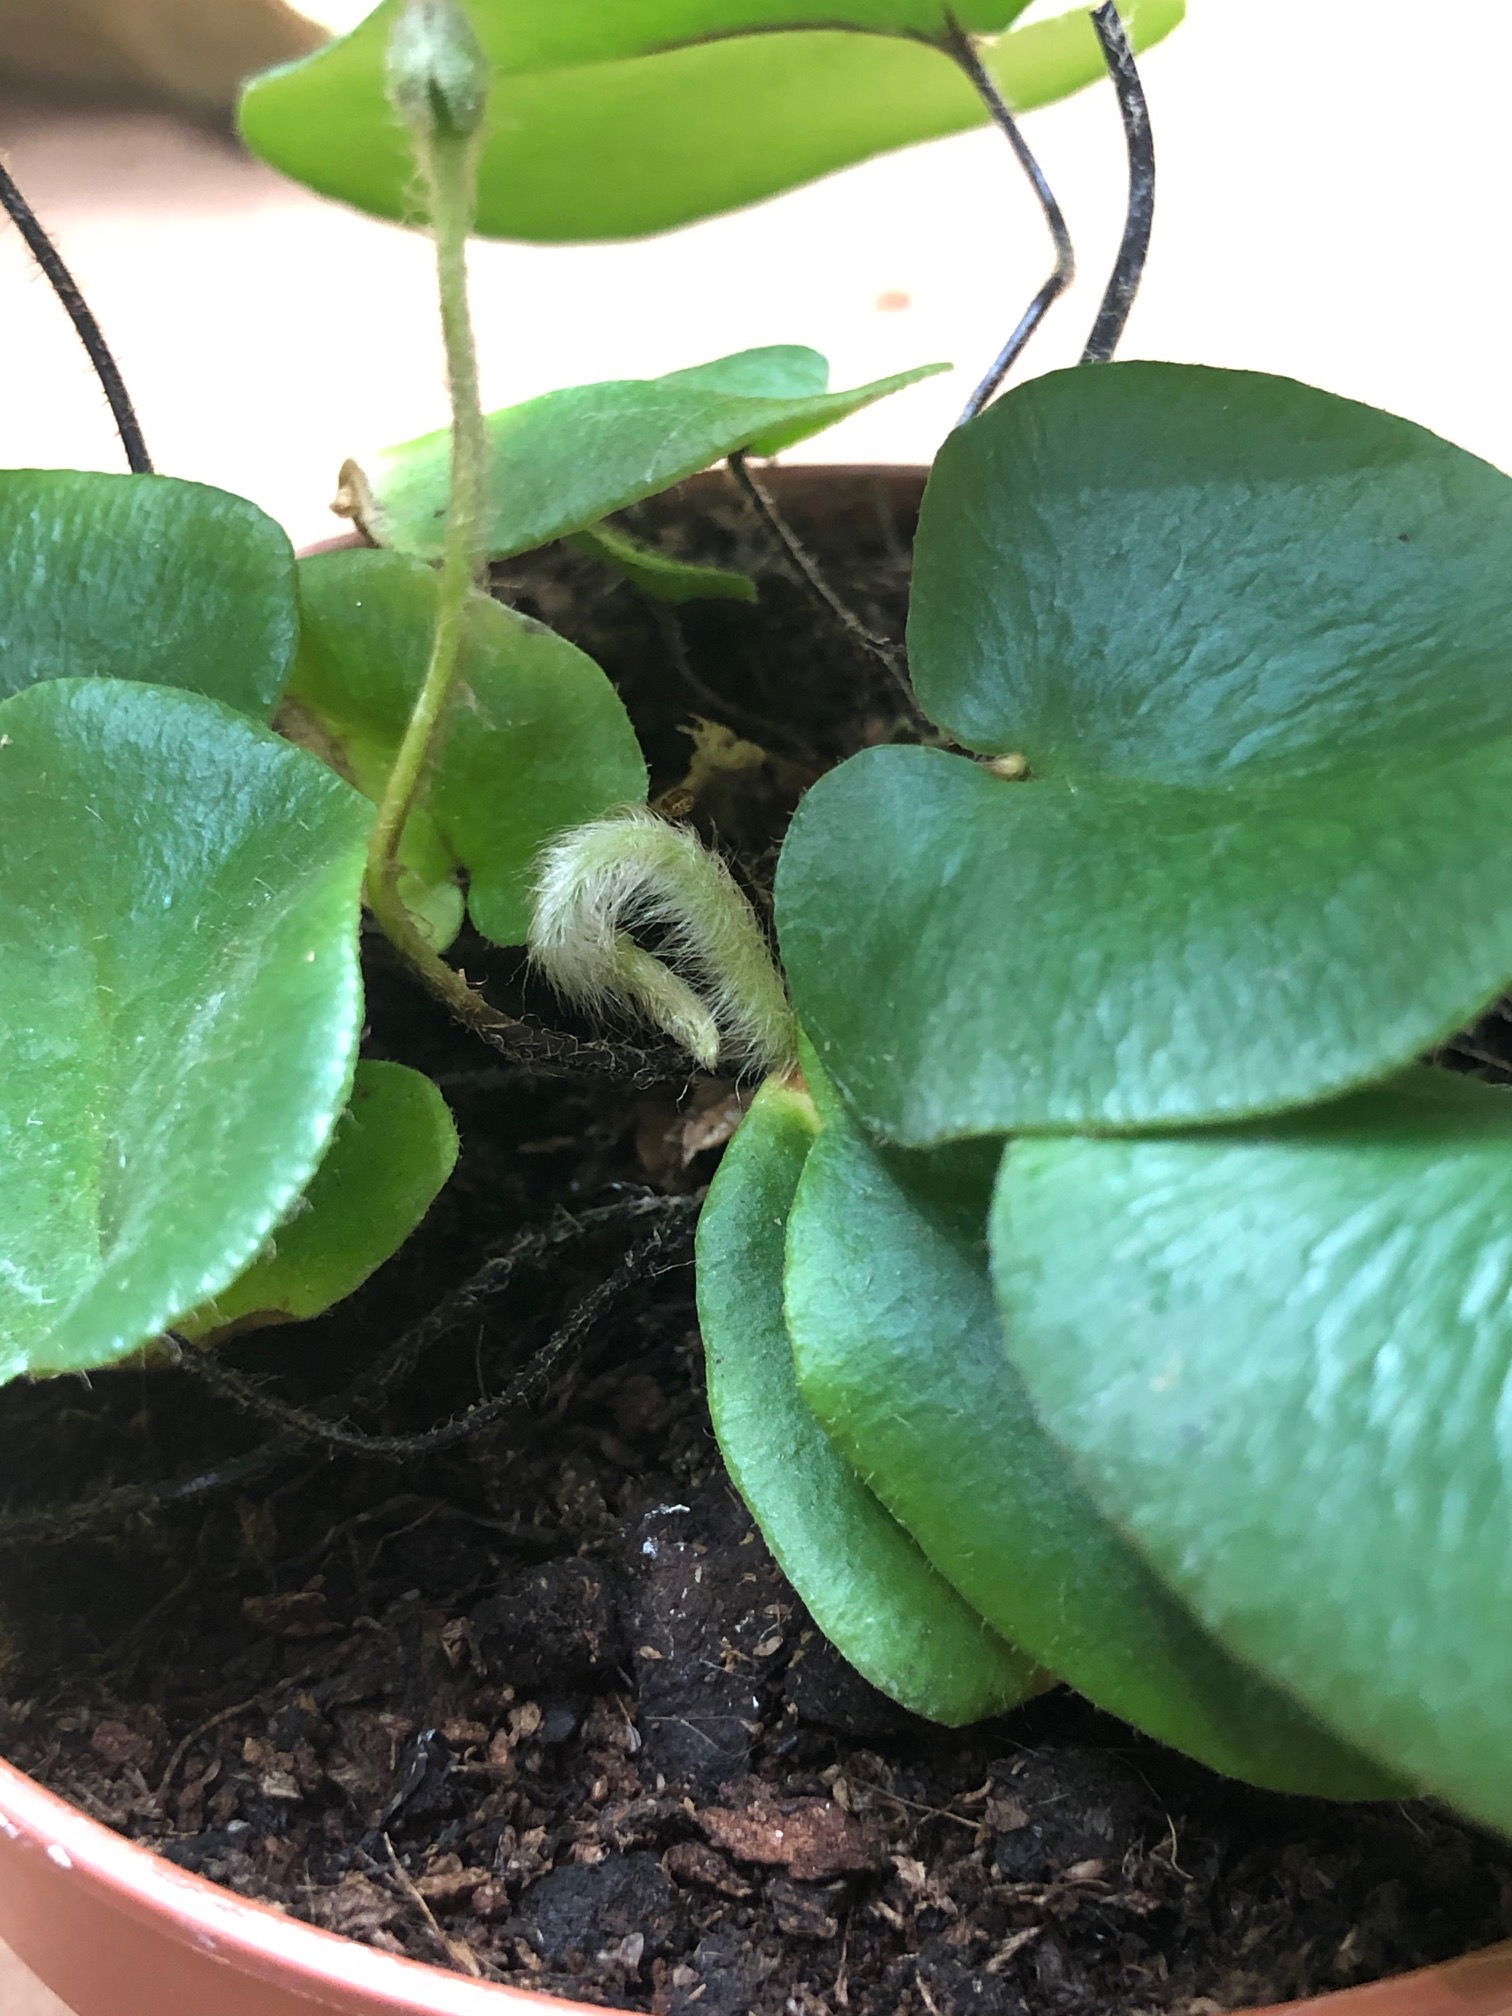 A juvenile growth developing from its rhizomatous base, which will hit maturity within a few weeks.
Origins
Hemionitis arifolia was first described in 1753 by Carl Linnaeus, under the name, Acrostichum aureum, before being replaced several times within the following century. The term 'Hemionitis arifolia' first came about in 1859 by Thomas Moore, who conducted extensive work on Pteridophytes across the world. Its name comes from the Greek word for 'mule' (hemionos), referring to the belief that the plants were sterile, with 'arifolia' referring to the similar V-shaped leaf of an Arum (better known as Aroids).
Despite Hemionitis being used across almost all garden centres and nurseries, its accepted name is actually 'Acrostichum aureum', first penned by Linnaeus. 'Acrostichum' refers to the arrangement of the spores, whereas 'aureum' translates to the golden rhizomes.
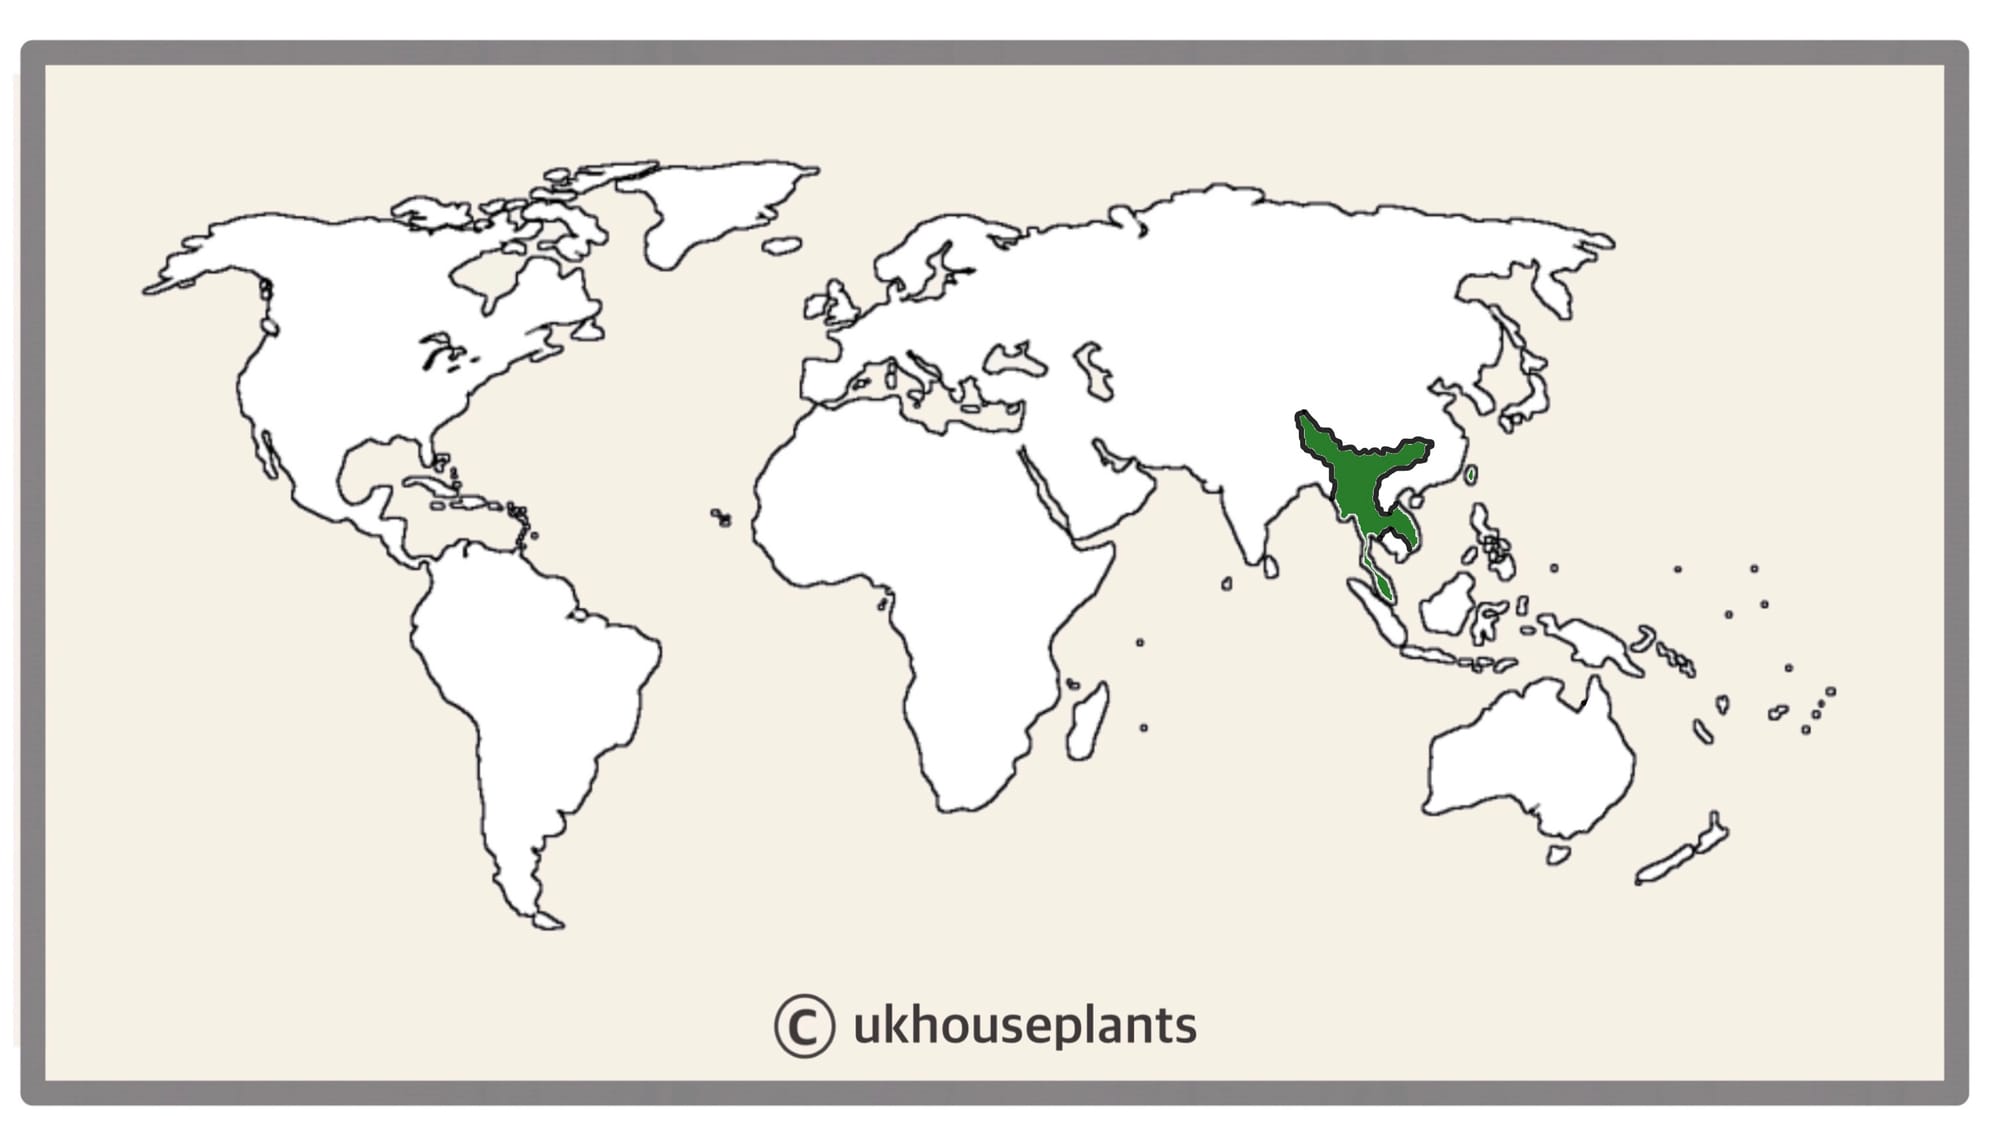 The Distribution of Heart Ferns.
Temperature
12° - 26℃ (54° - 78℉)
H1b (Hardiness Zone 12) - Can be grown outdoors during the summer in a sheltered location with temperatures above 15℃ (59℉), but is fine to remain indoors, too. If you decide to bring this plant outdoors, don't allow it to endure more than an hour of direct sunlight a day as it may result in sun-scorch. Regularly keep an eye out for pests, especially when re-introducing it back indoors.
Spread
Up to 0.7m in height and 1m in width. The ultimate height will take between 5 - 8 years to achieve, with several new fronds being developed each season.
Pruning & Maintenance
Remove yellowed or dying leaves and plant debris to encourage better growth and improve the all-round appearance. Pruning must be done with clean scissors or shears to reduce the chance of bacterial and fungal diseases - remember to make clean incisions as too much damage can shock the plant.
Propagation
Via Spores, Rhizome Cuttings & Division.
Spores (Difficult) - You may have noticed little brown spots under the leaves - those are reproductive spores that can be propagated in the same way as seeds, once matured. These zygotes will develop on the under-leaves of each frond; you'll know when they're ready to be propagated, as they'll brown over and begin to crisp.
- Choose an appropriate potting-mix; we'd recommend a 'Houseplant' labelled compost as it boasts a good balance of aeration and water retention. Place the soil into a plastic pot (any size is fine) that has adequate drainage holes.
- Separate the spores from the under-leaves using your hands. If the spores are brown and crispy, but can't be removed, cut the entire frond off. Make sure that the diameter of the pot is wider than the frond's span; however, you can cut the frond (sideways) to fit the desired container better.
- Place the spores or fronds ON TOP of the compost, making sure that they sit flat against the soil-line.
- If you've managed to separate the spores, maintain moist soil by misting the top layer every few days. Do not submerge into the compost as this will reduce the rates of success. For those who still have entire fronds, place the foliage on top of dry compost. The dehydration will allow the spores to detach from the leaf, settling on the soil below.
- Place the potted spores/fronds into a transparent bag and situate it into a bright, indirect location. Provide temperatures above 18°F (64°F).
- Keep the spores moist, misting the top layer of the soil every few days. The fronds, however, must stay dry until you start to notice missing spores from the under-leaves. Once the majority have detached, discard the frond and begin misting the soil to aid hydration.
- As long as you provide high humidity (aided by the transparent bag locking in moist air) and good soil moisture, germination should begin. This process can take up to two months, but don't discard until it hits five months of nothingness.
Once the spores have developed their first frond, place them into their own pot to grow. Safely remove the transparent bag and follow the care requirements listed at the top of the article.
Rhizome Cuttings (Easy) - Choose the healthiest, most established rhizomes that show no signs of damage or disease. This method can be taken from spring to early summer, using between two to four fronds within each rhizomatous section. Cut directly below a node using a clean knife, and separate its root systems from the rest of the root ball. Make sure the propagated rhizome is at least 8cm (3 inches) in length so that it has enough stored energy to continue growing. Plant it straight into a moist, 'Houseplant' labelled potting mix to avoid root rot. Sprinkle a half a centimetre of soil onto of the rhizome to lock in surrounding moisture and wait for new growth that may take up to several weeks. Avoid direct sunlight and offer high humidity with temperature (15°C, 59°C) for success. After its second new leaf, treat it like a normal specimen, following the care tips above!
Division (Easy) - The best time to divide is during the repotting period. Gently tease away some of the soil, separating a basal offset from the mother plant's base, which has a good root system and amount of fronds. Place the separated plantlet in a moist, 'Houseplant' labelled potting mix and avoid direct sunlight with prolonged droughts. Although this method is quite easy, be mindful of transplant shock and do not perform this method if the plant is displaying signs of stress. Always moisten the soil 24hrs before repotting or division to avoid shocking the root systems.
Flowering
True ferns will not flower and instead must be propagated by either spores, rhizomes, plantlets or stems, depending on the species.
Repotting
Repot every three years in the spring, using a 'Houseplant' labelled compost and the next sized pot with adequate drainage. Hydrate the plant 24hrs before tinkering with the roots to prevent the risk of transplant shock. For those that are situated in a darker location, add a thin layer of small grit in the pot's base to improve drainage and downplay over-watering. Click here for a detailed step-by-step guide on transplantation, or via this link to learn about repotting with root rot.
Book a 1-to-1 video call with Joe Bagley if you'd like a personal guide to repotting your houseplant. This will include recommending the right branded-compost and pot size, followed by a live video call whilst you transplant the specimen for step-by-step guidance and answer any further questions!
Pests & Diseases
Keep an eye out for mealybugs, aphids, scale, blackfly, vine weevils & root mealybugs that'll locate themselves in the cubbyholes and undersides of the leaves, with the exception of the latter two in the soil. Common diseases associated with Silver Lady Ferns are root rot, leaf-spot disease, botrytis, rust, powdery mildew & southern blight - click here to learn more about these issues.
Toxicity
Not known to be poisonous by the consumption of pets and humans. If high quantities are eaten, it may result in vomiting, nausea and a loss of appetite.
Retail Locations
Online Stores.
Book a 1-to-1 Call with Joe Bagley
If you need further advice with your houseplants, book an advice call with ukhouseplants' friendly and expert writer today! This can be done via a video or audio call on most apps, including Facebook, FaceTime & Skype. A ten-minute call costs £5.99 (US$7), or £15.99 for thirty minutes. You can ask multiple questions, including queries on plants, pests, terrariums, repotting advice and anything in between. Please consider supporting this service to keep ukhouseplants thriving!
Comments