THE HOUSEPLANT DOCTOR™'s Repotting Video (YouTube)
Contents
- Introduction (Thank You for Your Order!)
- Recommended Fertilisers & Pot Companies
- A Step-By-Step Guide of Transplanting
- Symptoms of an Over-Potted Plant
- How to Avoid & Address Transplant Shock (A Must-Read)
Need the answer to a specific plant query? Book a 1-to-1 video call with Joe Bagley, the website's friendly author, to overcome and address your niggling problem! Available on iMessage, WhatsApp, Facebook Messenger & more.
We've also just opened our online store, so be sure to have a look around at our top-quality products like Fungus Gnat-free potting mixes, moss pole hooks & ready-made repotting kits!
1. Introduction
Welcome to the ULTIMATE guide into repotting your plant. If you're here from scanning my QR code on your 'Thank You' card, I would just like to offer one last show of appreciation. Customers like you are making my dream of being self employed a reality, so if I can answer even the simplest of questions, I'll be here for you!
For those who have stumbled onto this article - welcome! Feel free to read my no-nonsense top tips into successful repotting, but if you're surfing the web for the best potting mix around for your houseplants, have a look on my online soil shop here!
2. How to Perform a Successful Transplant
- Choose the correct potting mix with the right sized pot. To prevent a giant waffle over which soil to use, scroll to the article's bottom to have a look at which compost is right for your plant. Select a container that has drainage holes with its diameter being a few centimetres wider than the original to prevent the risk of over-potting. Bird of Paradise, Spider Plants and Monstera won't mind skipping a few pot sizes as their invasive root systems will soon fill the vacant soil.
- Water the plant 24hrs before the performance to reduce the risk of transplant shock. Have a quick moment to think about the precautions you'll make to avoid this issue, as most species won't tolerate being over-touched.
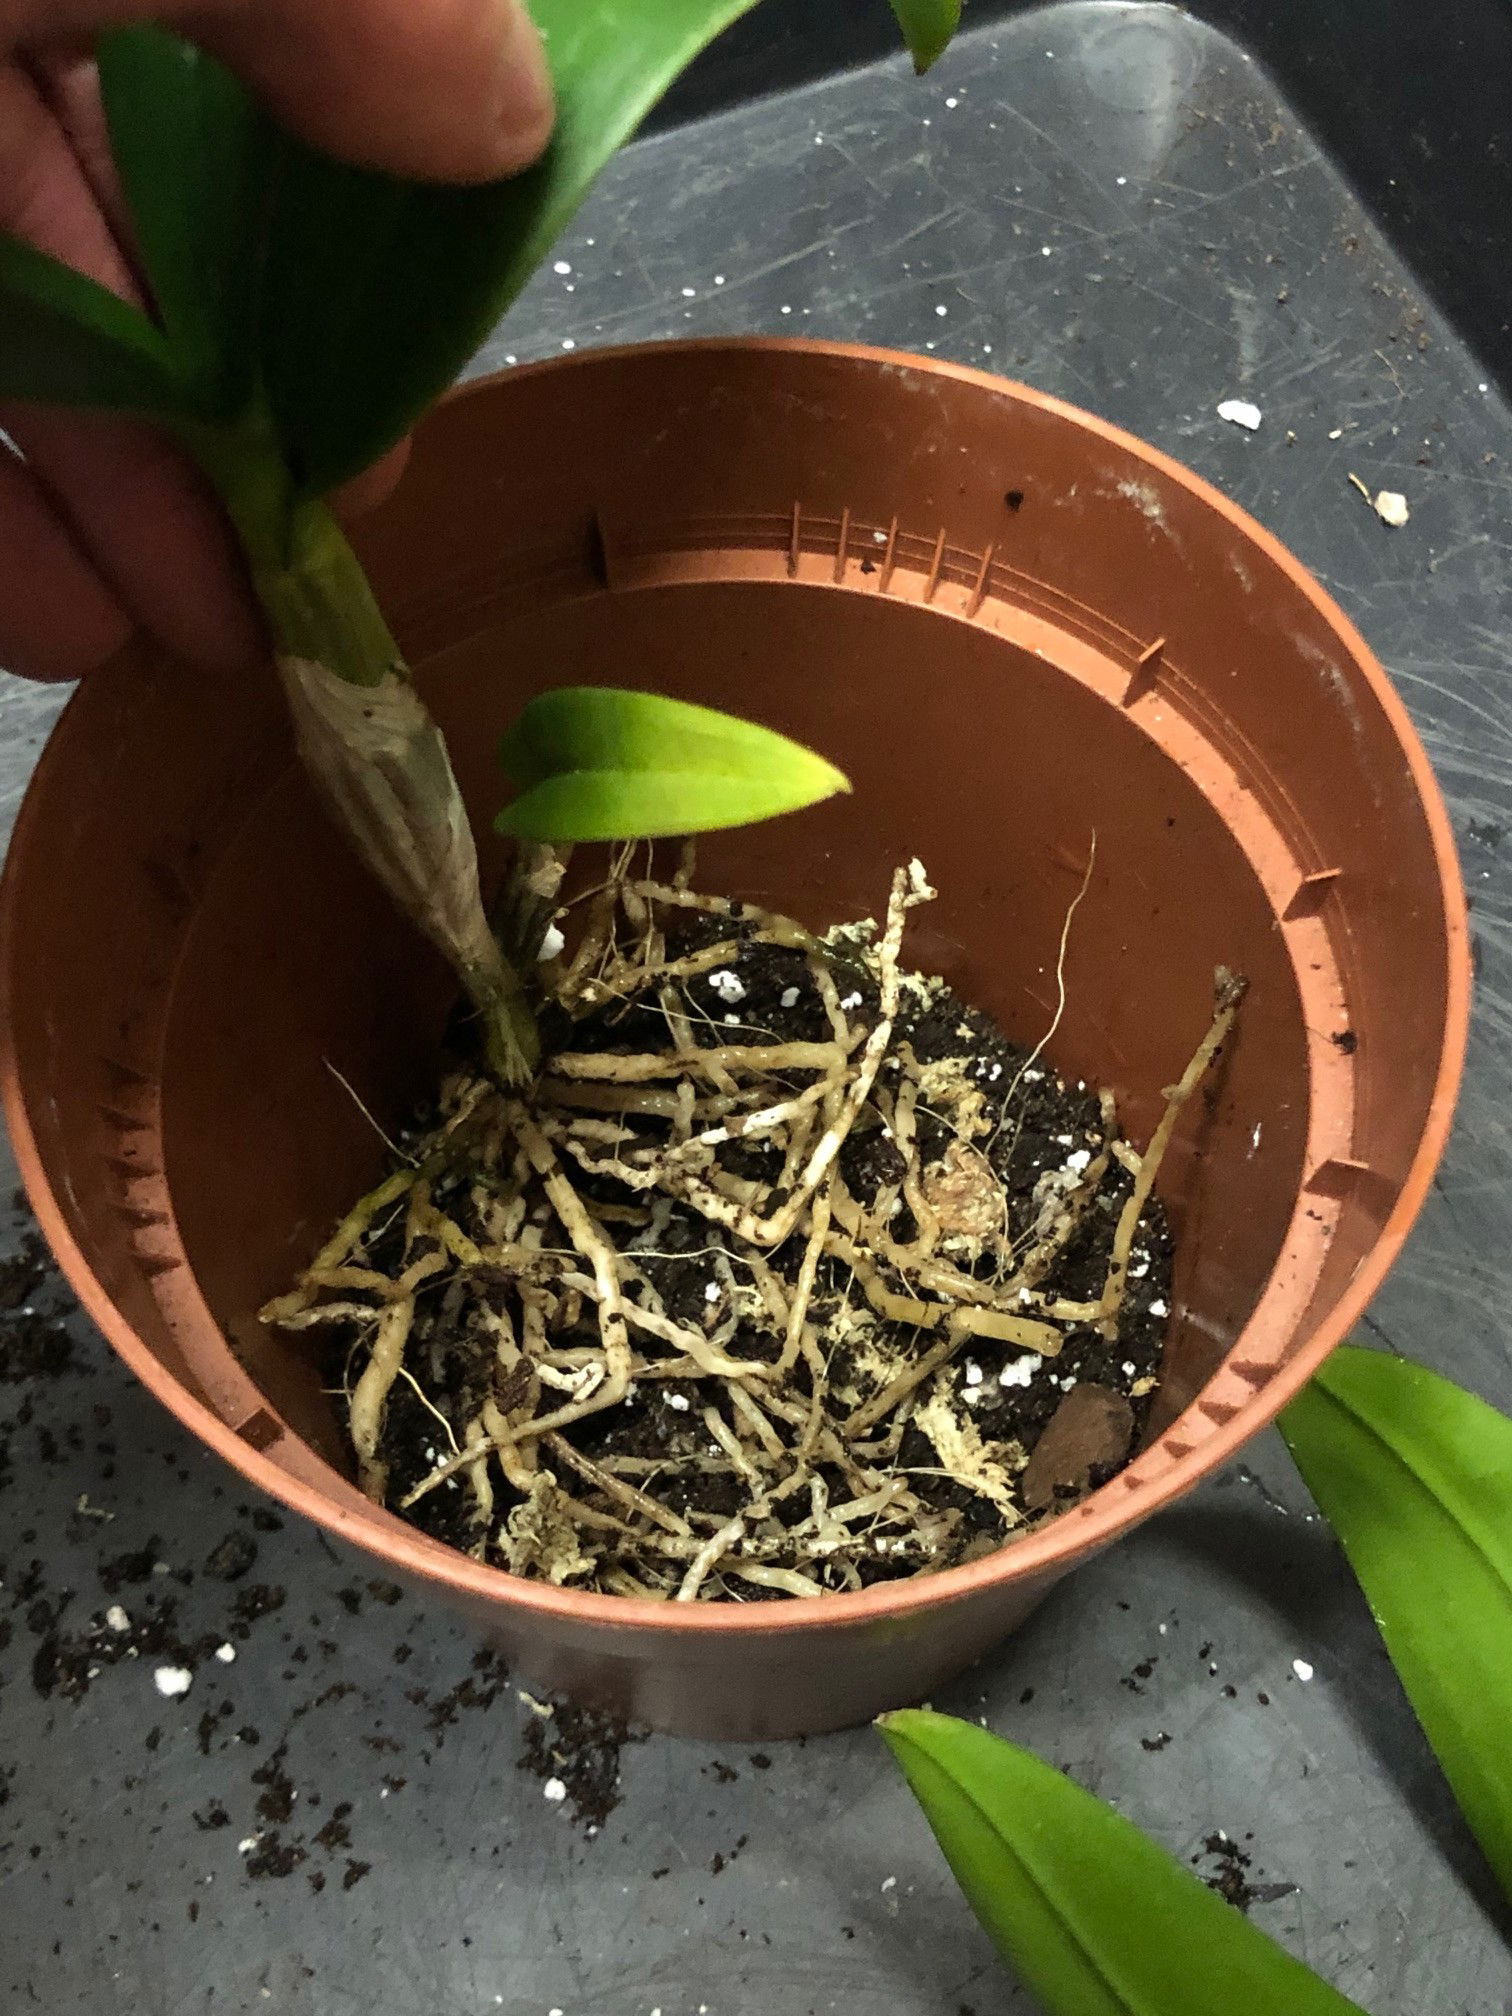
- Take the plant out of the pot and inspect the soil and root system - investigate for pests (most commonly Root Mealybugs) and diseases such as root rot. Any pests must be dealt with immediately before the transplant can continue - click on the respective links to learn more. A small amount of root rot can easily be contained by pruning off the affected areas and removing some of the original soil to improve the growing conditions. For those that show no signs of pest or diseases, move on to the next step.
- Fill the bottom quarter of the pot with the new soil. If possible, introduce a thin layer of grit to the base of the pot to increase drainage and the overall strength of the new root system.
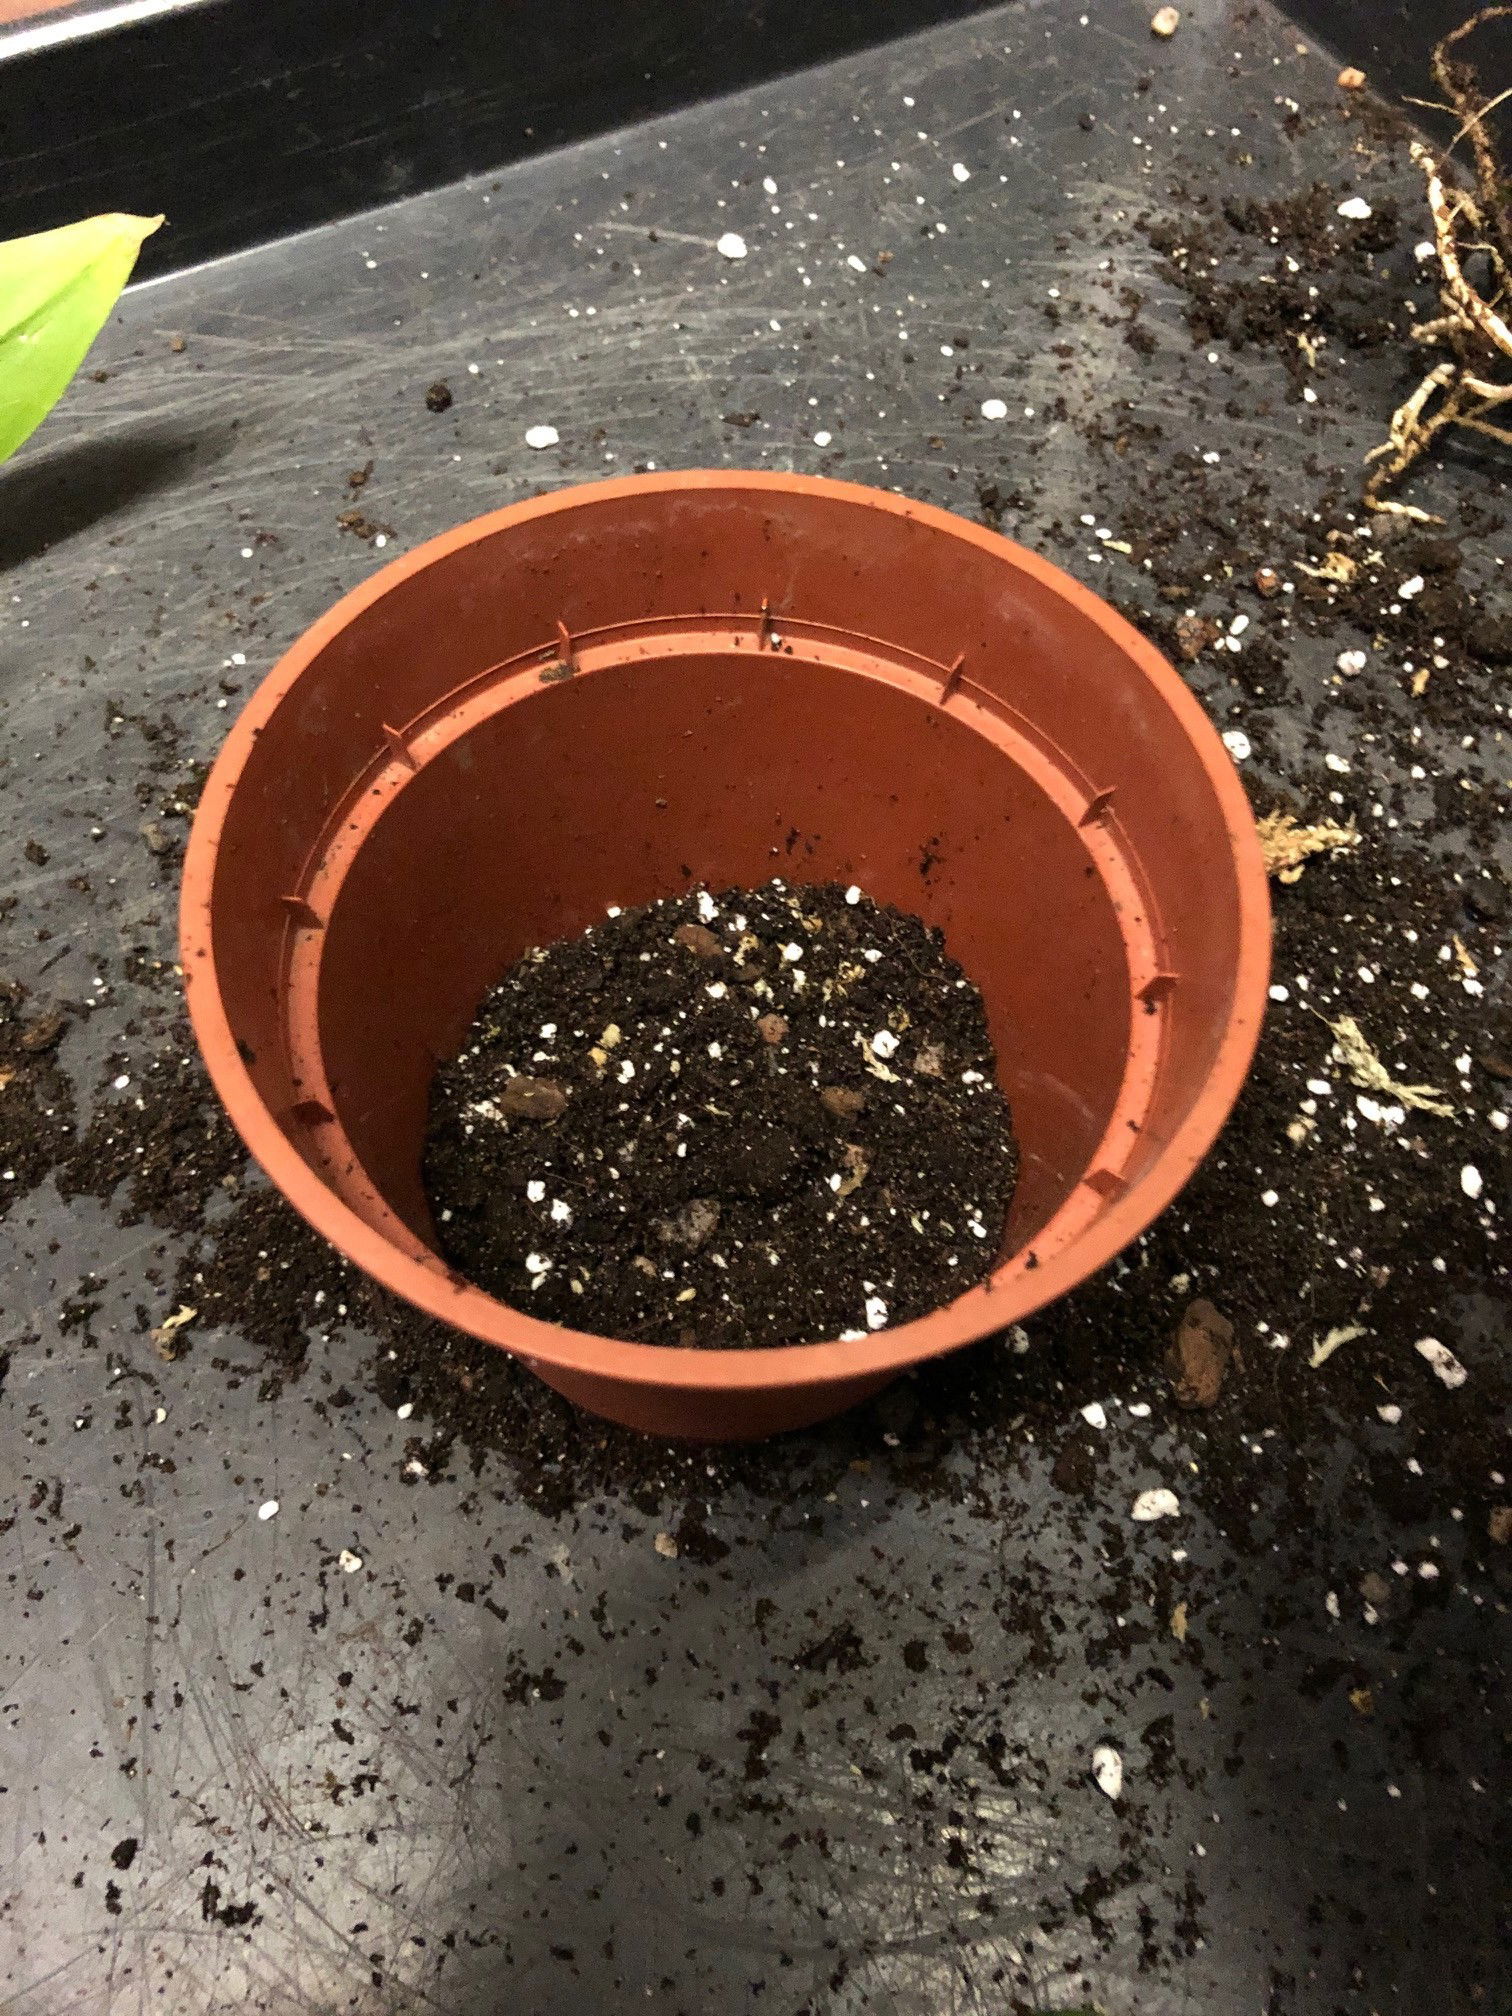
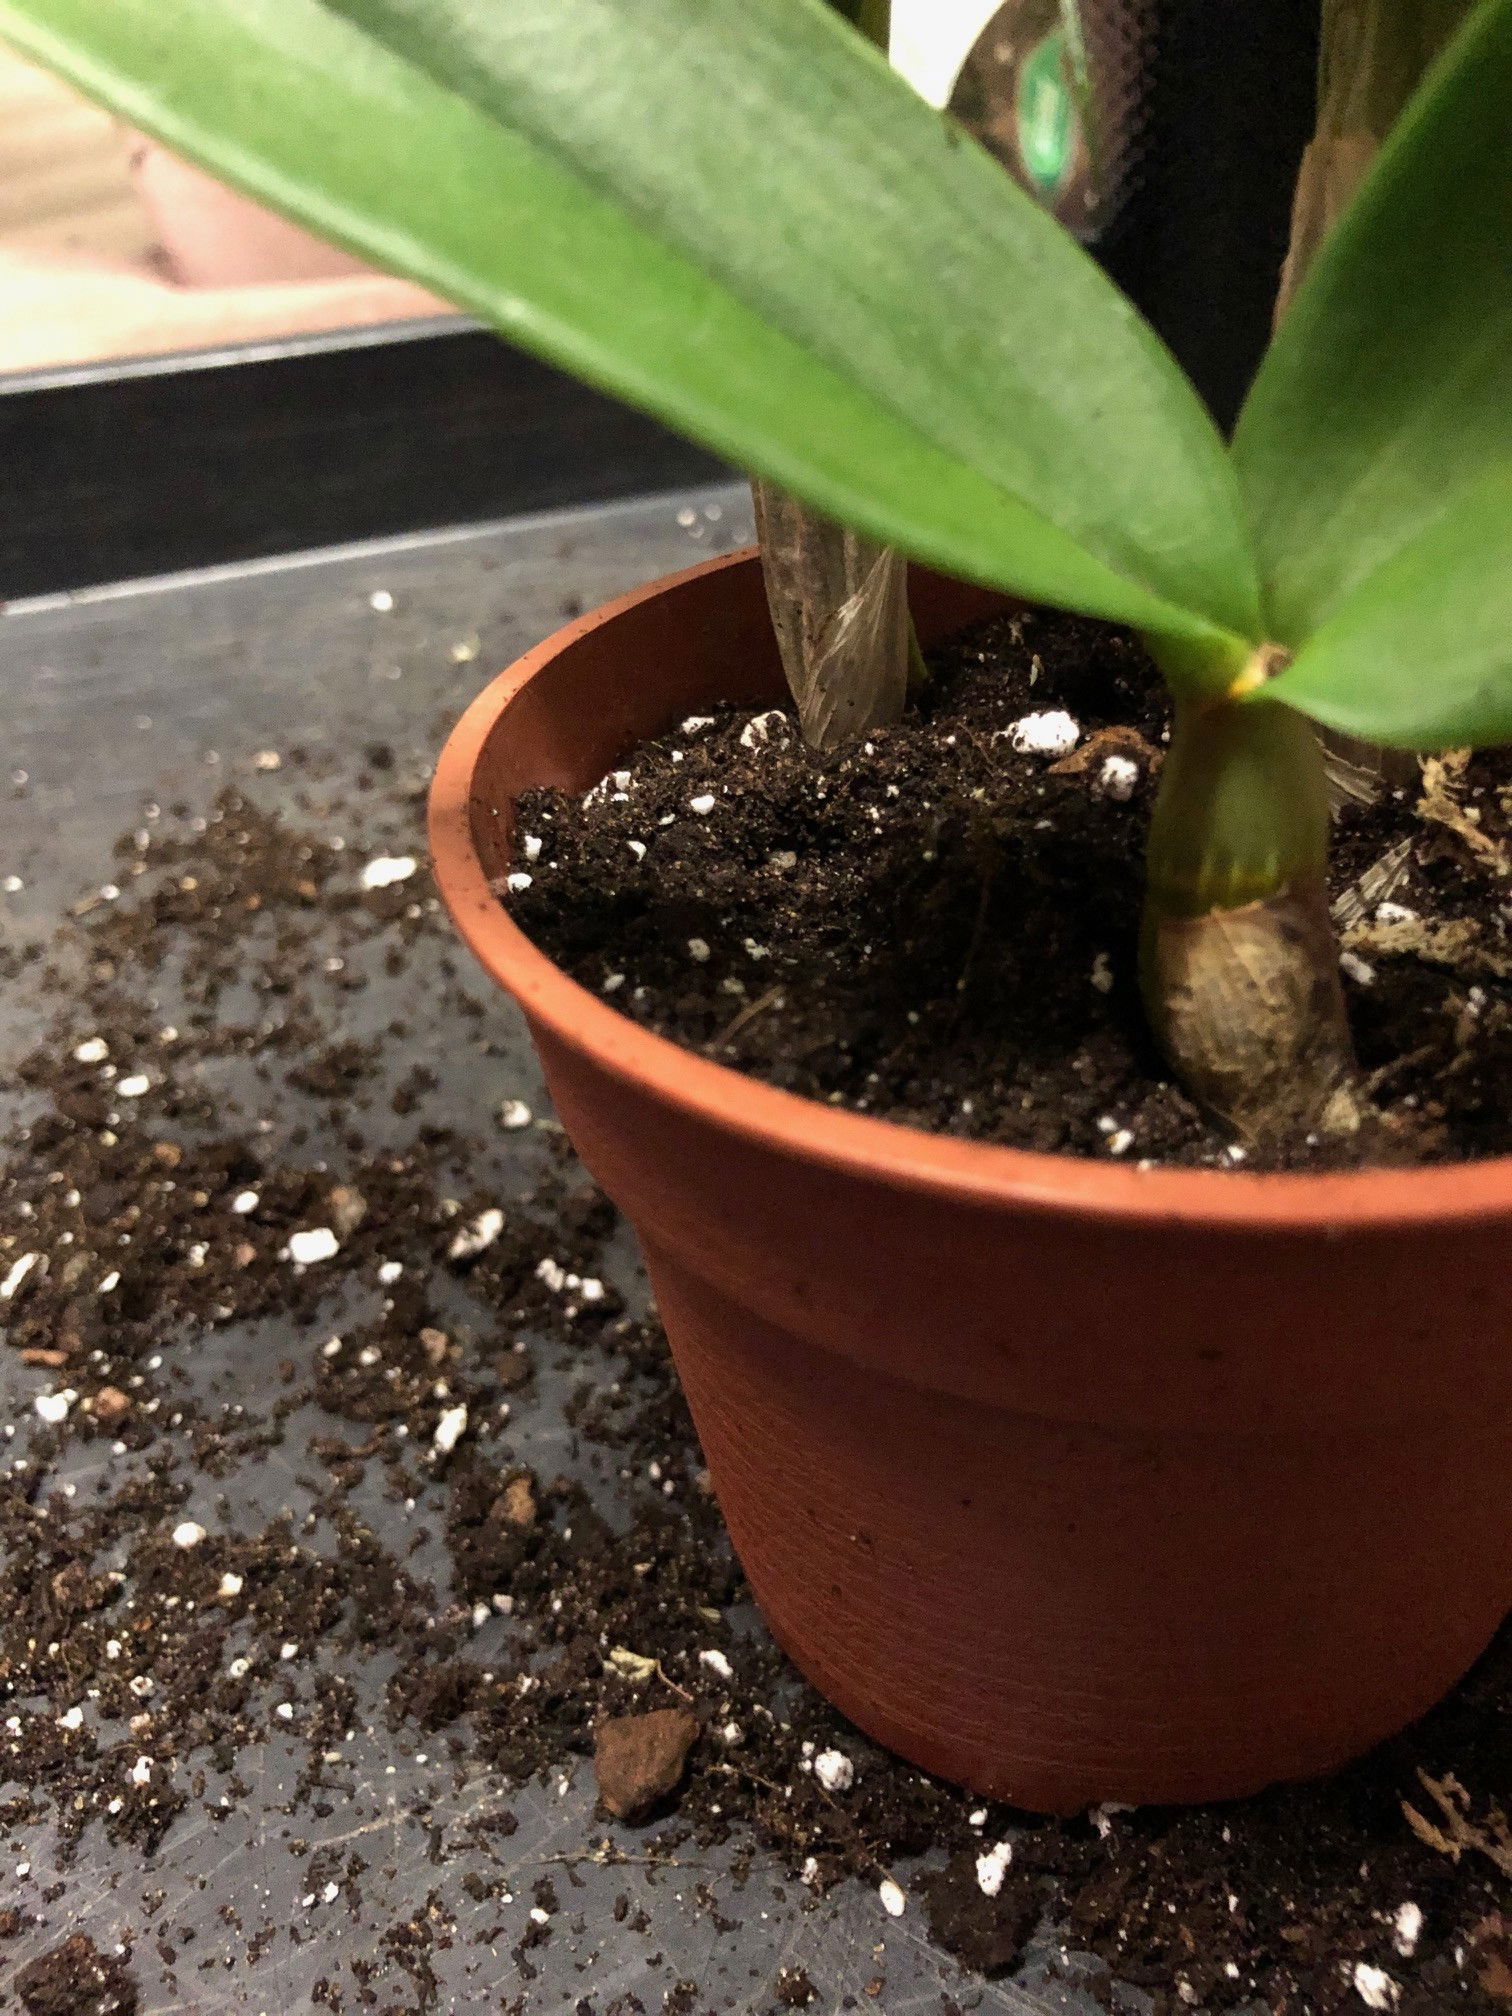
- Place the rootball into the pot and fill the soil around the edges. Ideally, you'd want the top ridge of the pot to remain above the soil line, as water may run-off when irrigated.
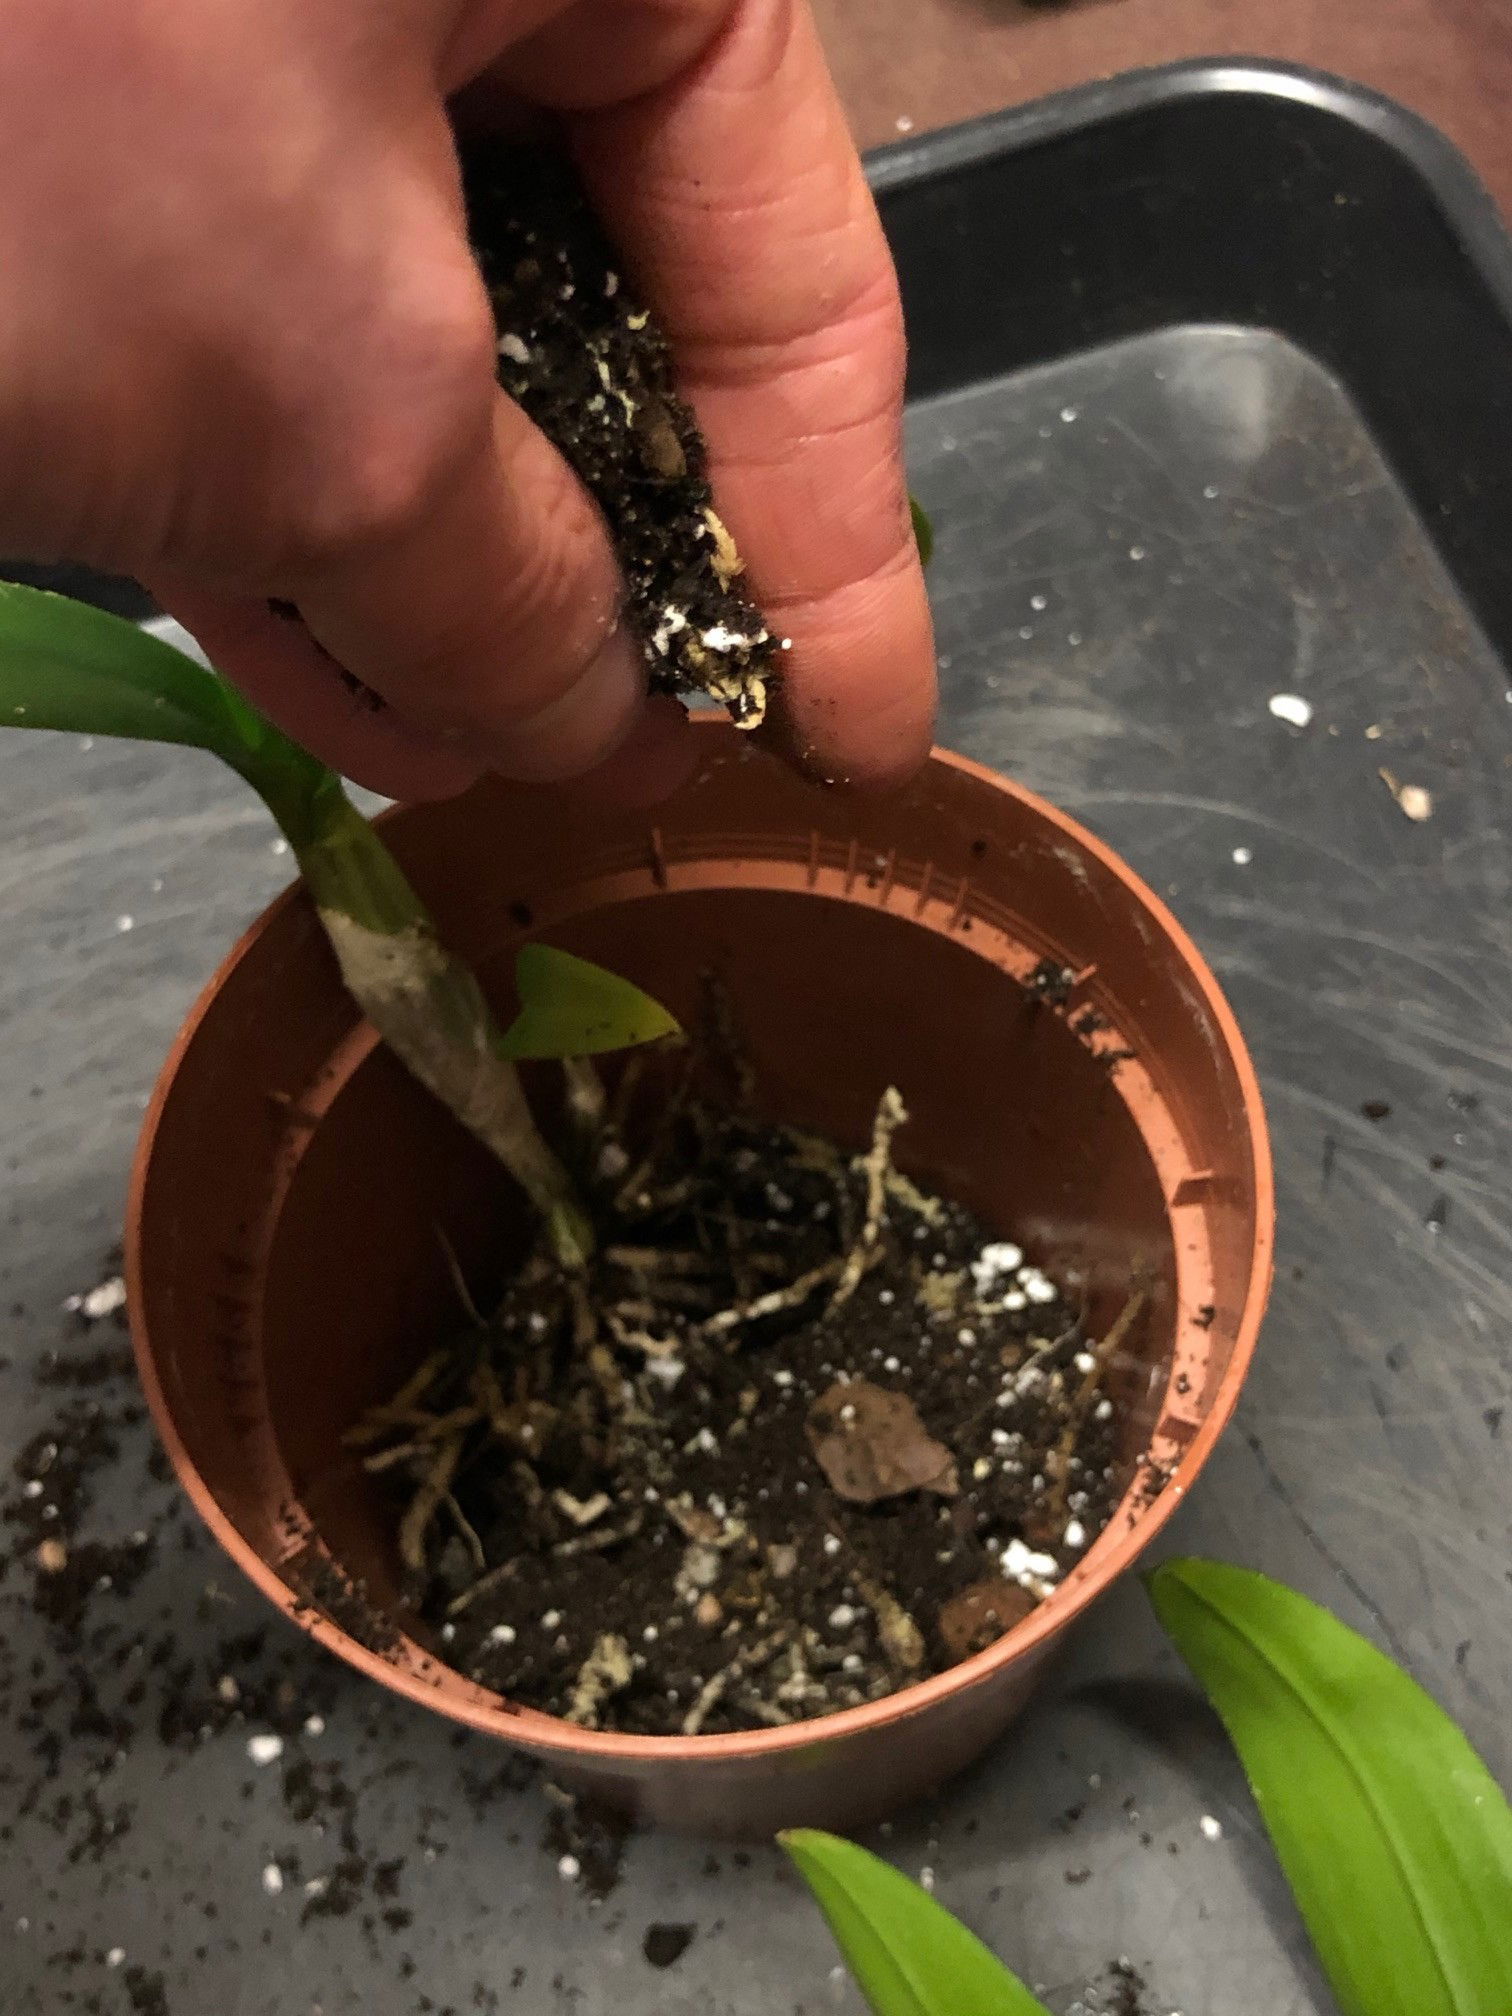
- NEVER pat the soil down. Although this can be done for outdoor plants, they'll have micro-organisms and animals (like worms) adding oxygen into the ground. Compacting the houseplant's soil will force the air to the surface when watered, causing the roots to break down and rot.
- Lightly bang the pot onto a small surface to allow the compost to fill the cubbyholes between the roots and soil.
- If the plant needs support, provide a stake, trellis or moss pole. After the first irrigation, the soil may condense in some areas, causing it to become uneven - fill the areas with some more compost to level it out again.
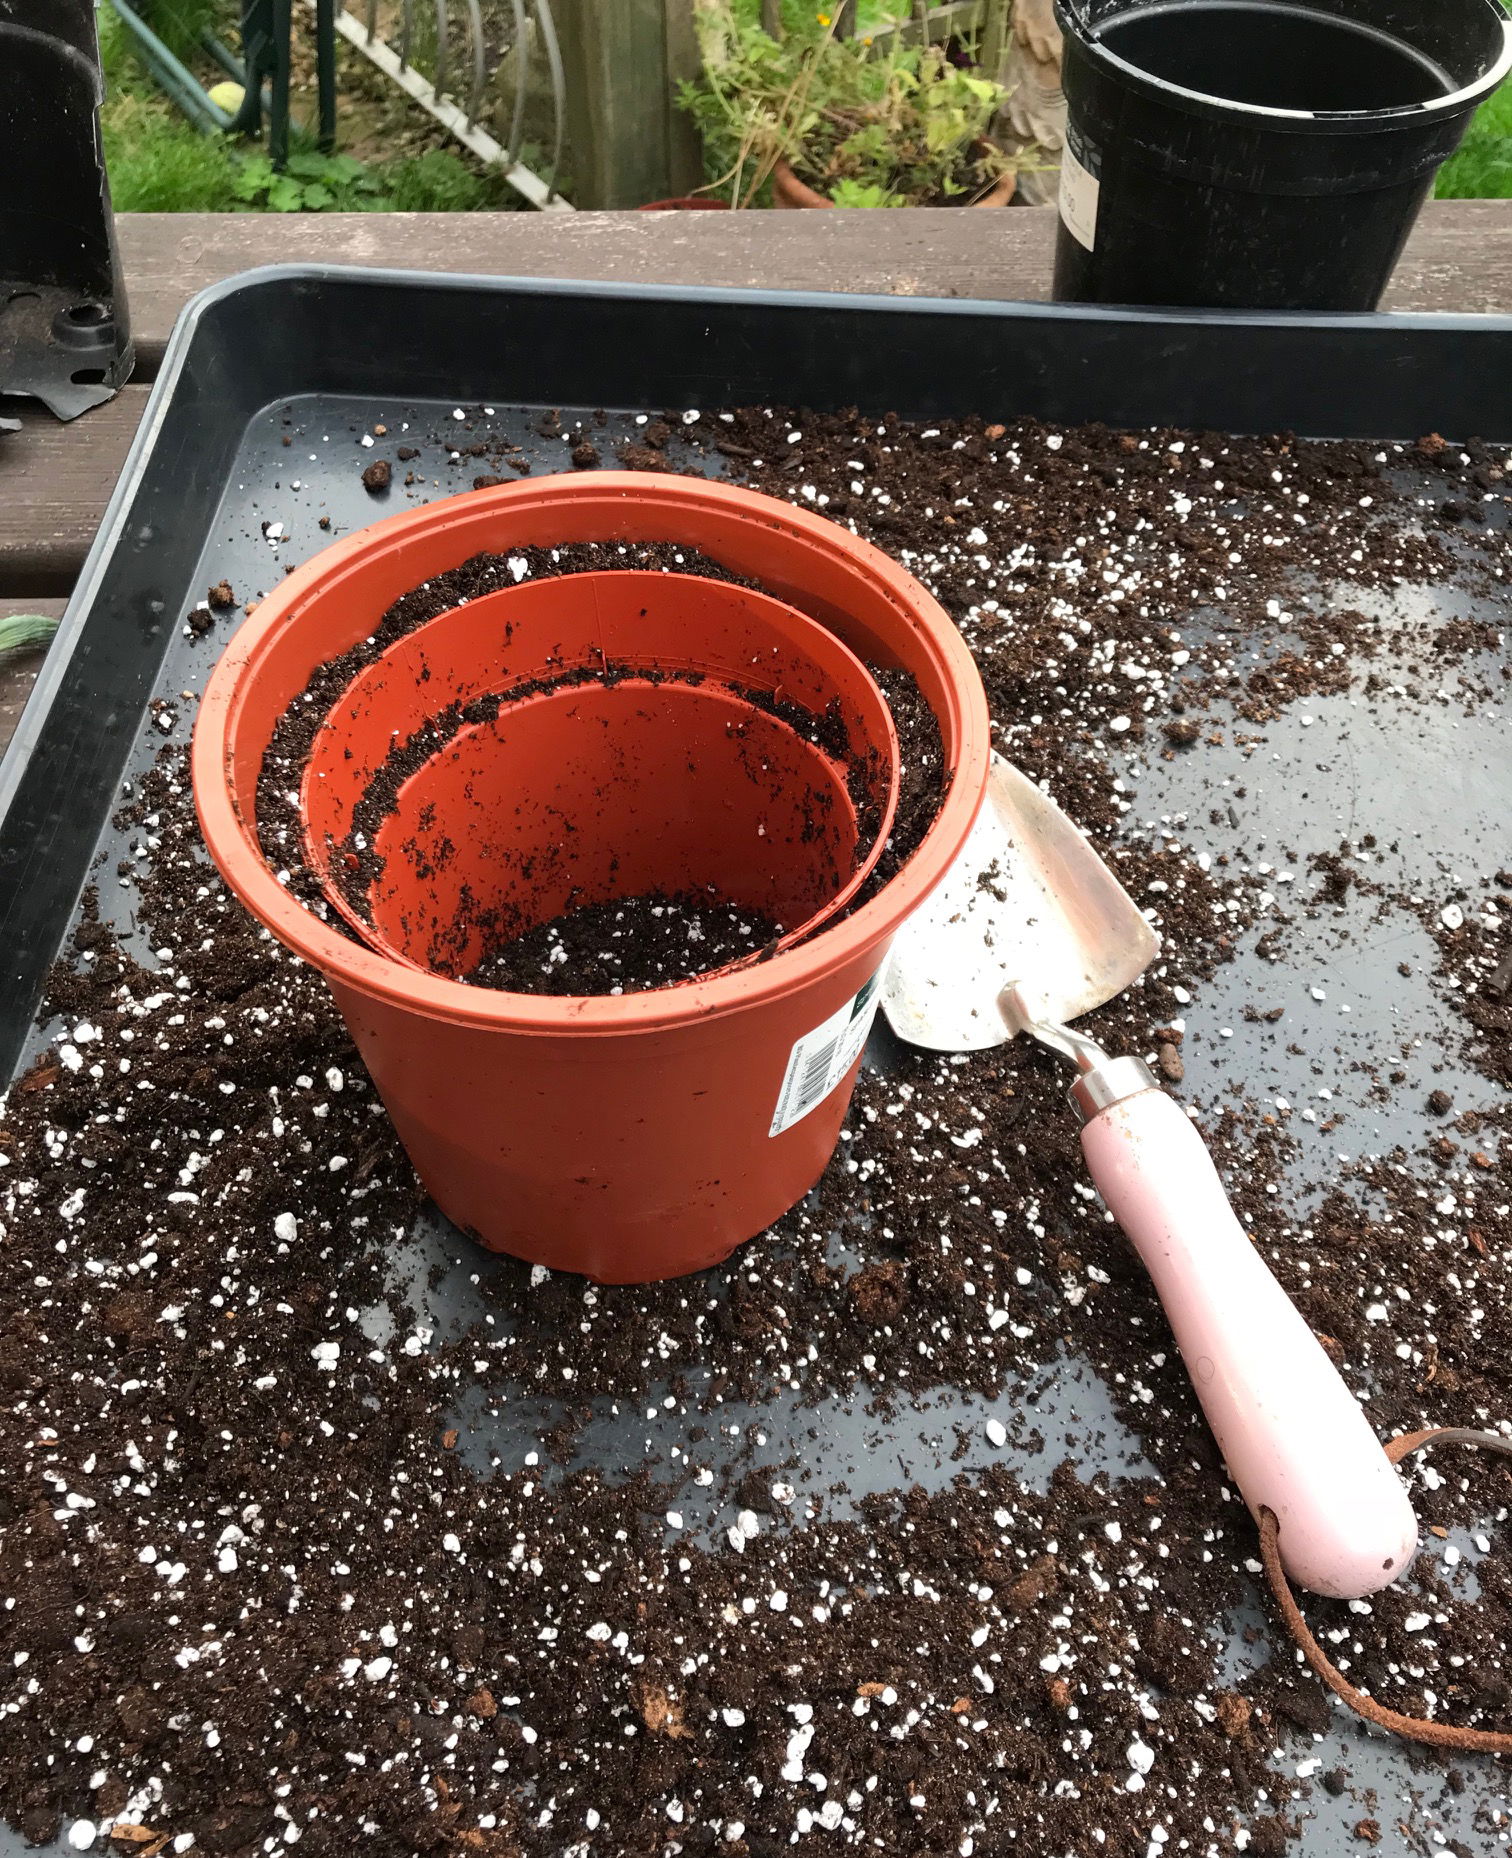 Placing the plant's original pot into the next one and filling the gaps with soil is an excellent way to transplant. Set the plant into the middle and fill the remaining edges with soil - it's really this easy!
Further Tips to Consider
• For plants situated in dark locations, add some perlite to the lower portion of the new soil (which will be located in the bottom third of the pot surrounding the rootball). As the combination of over-watering and too little light go hand-in-hand, improving the soil's drainage will significantly reduce the chance of root rot.
Alternatively, for those that are placed in direct sunlight or high temperatures, improve its water-retention by adding coconut coir or bark. These ingredients will retain the moisture for longer, thus reducing the chance of dehydration.
• Create an indoor garden or display by bunching plants that have similar soil requirements (well-draining, ericaceous, carnivorous, etc.). If the display is successful, after a few months you'll have to water it more frequently - this is due to the ratio of soil-roots favouring the latter, which means your roots are healthy. Have a look at the image below to see ours that was created back in 2018!
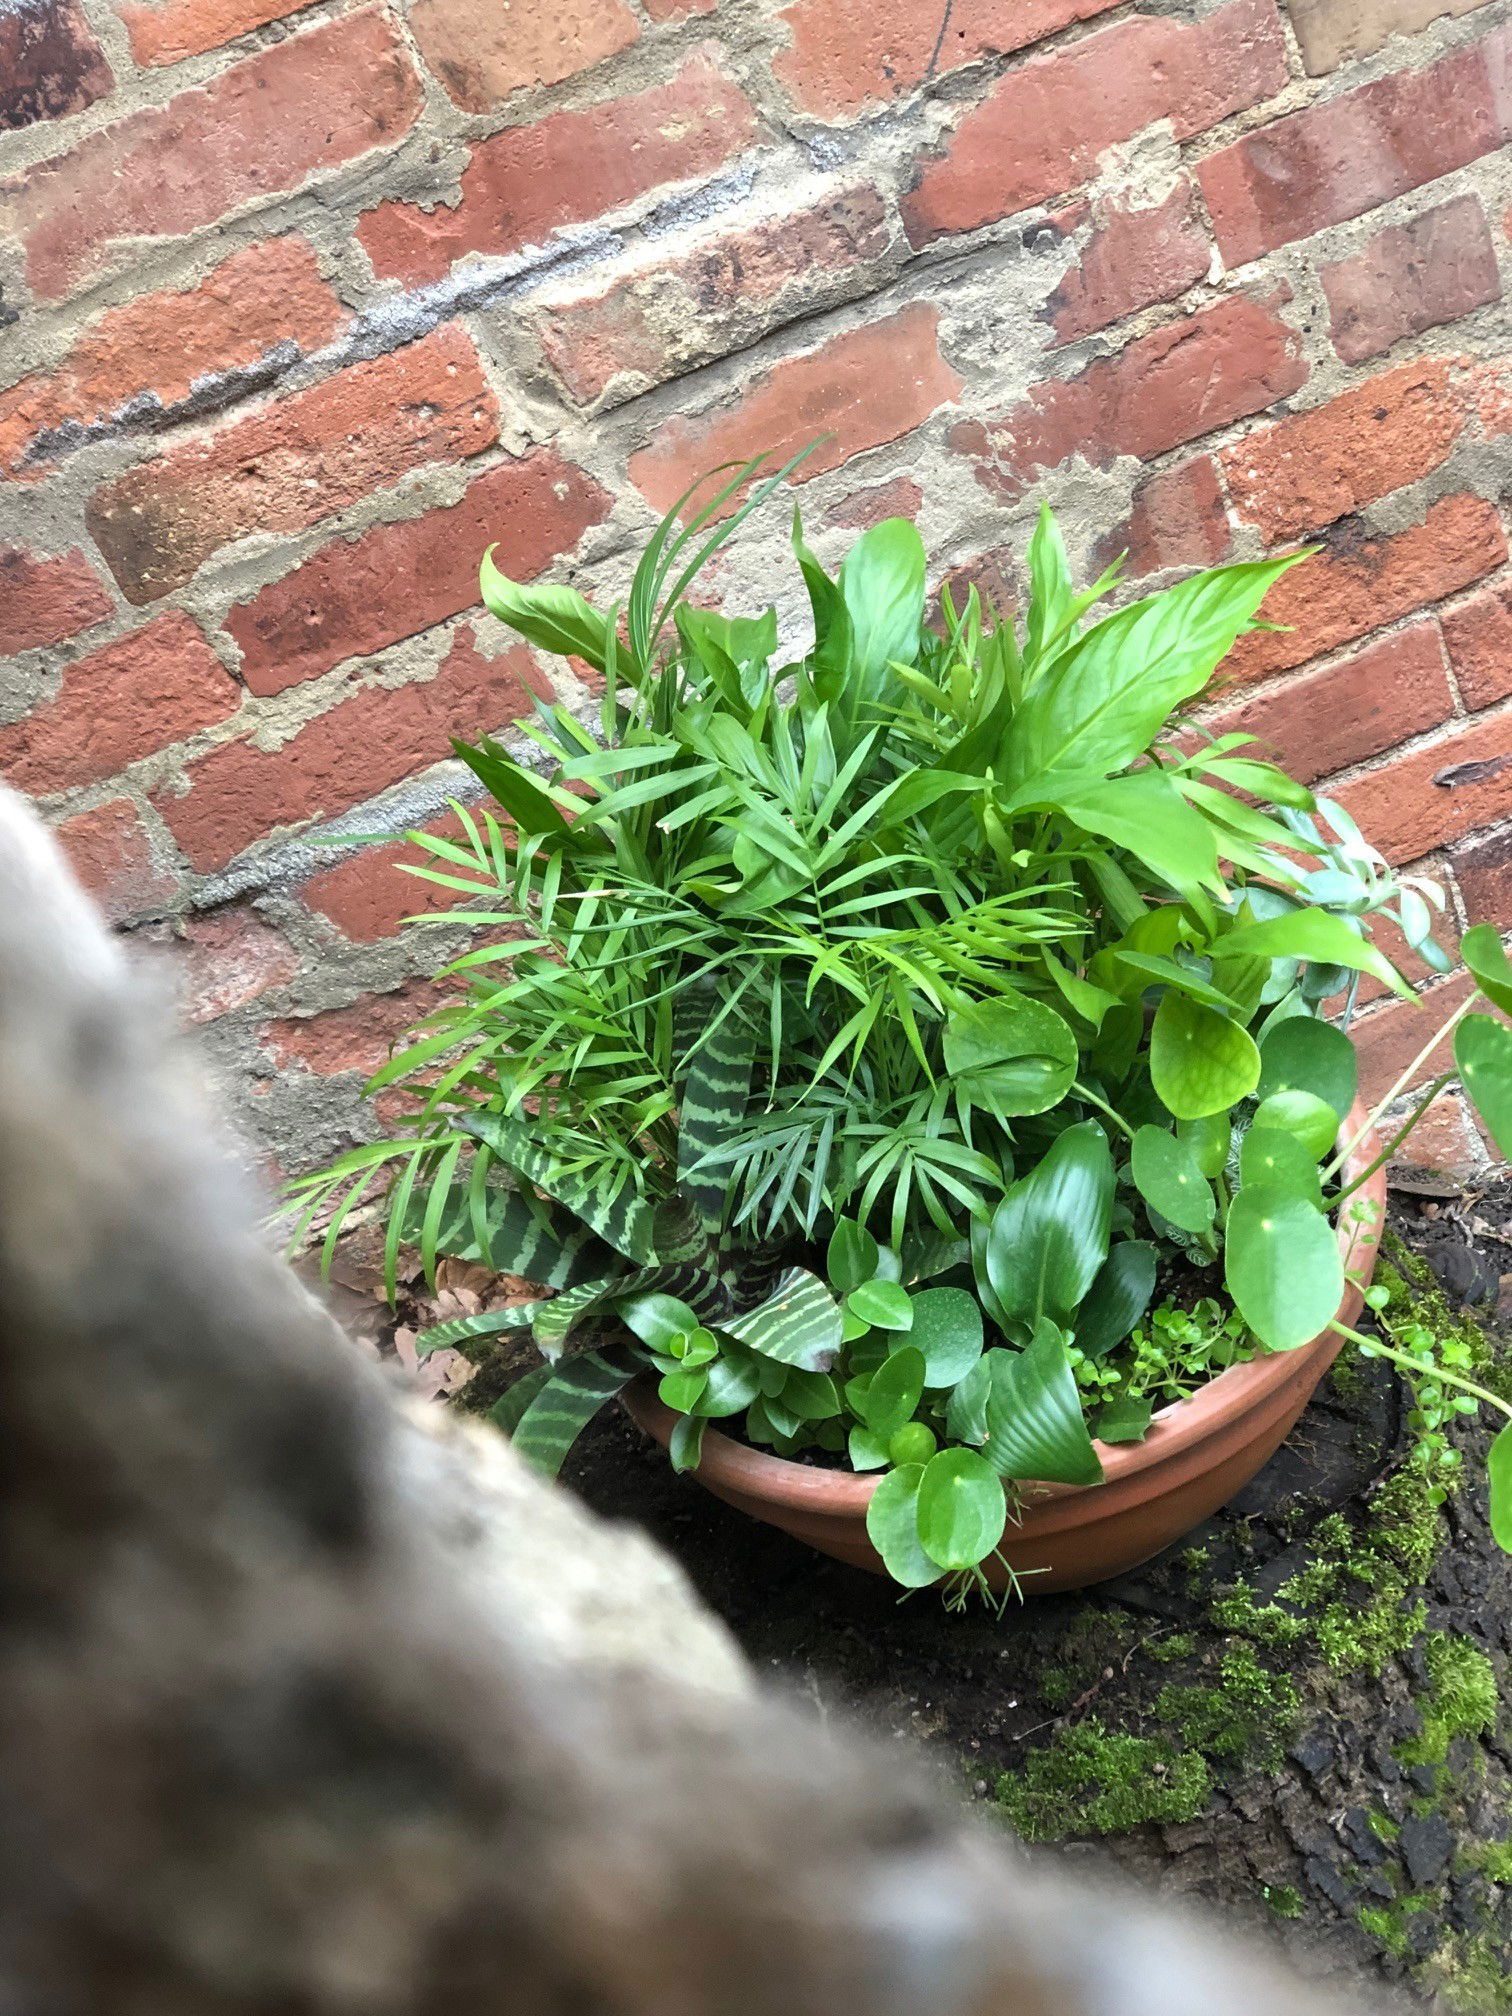 The species here are within the same 'Compost Category' that ukhouseplants have written to help you decide which plants are suitable within the same container.
• For plants that grow predominantly in one direction, for example, a single-sided vine, move the rootball backwards to what would be the front of the pot (where the foliage sits). Phototropism will cause roots and foliage to grow towards the light, meaning that there will be more roots at the front of the pot, and less at the back. Placing the plant towards the back of the container will allow the roots to fill the whole pot and not just the well-lit-side.
• Finally, if you're thinking of repotting a vine that is growing up a moss pole, never remove attached aerial roots as the disturbance could put further stress on the plant. Extend by purchasing another same-sized pole and pushing directly into the hollow hole in the original's top - its moss-like material may have to be cut off from the top to access the hollow centre. Get a long, sturdy stick that has a similar length to the two poles combined and place in the two's centre to support the weight. Always perform the repot BEFORE adding another pole, as it'll prove more challenging due to the weight distribution and overall balance. N. B. - You'll only have to repot trailing vines every two or three years (except annually for Monstera) - if their pole needs extending, you can do this without the need for a transplant.
3. How to Avoid & Address Transplant Shock
Transplant shock is where the roots and their hairs have been over-moved or damaged, predominately during a repot. Avoiding this issue is easy - give the plant a good soak 24hrs before the action and NEVER tinker with the roots, unless you're dealing with root rot or splitting the crown via propagation. This 'soaking' period should occur whilst the plant is still in its original pot.
Symptoms are closely similar to dehydration - wilting, stunted growth and the yellowing of leaves are all typical signs of a stressed plant.
For a better comprehensive, ukhouseplants have categorised transplant shock into two tiers - mild and severe. Note that if your plant is wilting has rapid lower leaf loss while being sat in overly moist-soil, root rot may be to blame.
Mild - Slowed growth, a slight greying or yellowing of foliage and flower loss are all signs of mild transplant shock. Keep on top of watering, humidity levels and always provide a location with a generous amount of indirect light. Do not unearth the roots again as this will only add to its misery. Although the already-yellowed leaves will be a permanent fixture, new growth will soon take over once the plant regains its strength. If the foliage continues to wilt, do not fall in the trap of over-watering. Remember that the roots are damaged and NOT dehydrated - keep the soil evenly moist, allowing the top third of the pot to become dry in between waters. To find out more about when to hydrate a plant, type its name on the 'Q' (search) symbol on the top-banner!
Severe - The continuation of wilting, yellow or greying of foliage and stunted growth that are still prominent after a few weeks are all symptoms of severe transplant shock. As the chance or survival is minimal, there are two options. You can either wait for new growth or consider propagation if the plant continues to decline. Woody plants like Dracaena, Ficus, Schefflera & Yucca can all be propagated via stem cuttings, whereas others are separated by 'pup' or offsets. If the plant loses all of its leaves, survival will be highly unlikely, so the only sane option is to discard.
4. Symptoms of an Over-Potted Plant
Always use the next sized-up pot when transplanting a houseplant. A specimen that's been potted up in a too-large of a container will suffer from anaerobic conditions, which may result in root rot. The moisture will build up in the unrooted soil, thus stripping the air from the potting mix within a few days. If you're struggling to visualise the effects of oxygen exiting the potting mix, think of how bubbles rise to the surface when in jug of water. Symptoms of an over-potted plant include yellowed older leaves, stunted growth and a heavy pot (full of soggy soil). I would recommend taking the plant out of its current pot, before inspecting the root system for any signs of brown softened roots. If everything looks okay, you can then repot the plant into a smaller container & wait a few days before watering it again!
5. Recommended Fertilisers & Pot Companies
Before we start, acing the correct pot and feed is crucial for a happy, long-lasting houseplant. I always use Liquid Gold Leaf for fertilisation due to soil-feeding capabilities & overall business ethos. I also see fantastic results with family-run, AquaCulture, which provides seaweed-powered fertilisers that are packed with nitrogen & natural beneficial bacteria. In terms of pots, there are a few to consider depending on your preferences. For the traditional plastic terracotta pots, try Stewarts. For Aroids or more epiphytic plants, have a look at Growth Technology's Orchid pots.
Book a 1-to-1 Consultation with THE HOUSEPLANT DOCTOR™
Need realtime advice for your houseplants? Book a video or message consultation with expert Joe Bagley, THE HOUSEPLANT DOCTOR™ (author or ukhouseplants.com). Choose between a ten or thirty-minute session & a platform of your choice (WhatsApp, FaceTime, Facebook Messenger or Zoom). Ask unlimited questions in one session, including queries on your dying/challenging plants, pests eradication, terrariums, repotting advice & everything in between! Available worldwide.
Comments