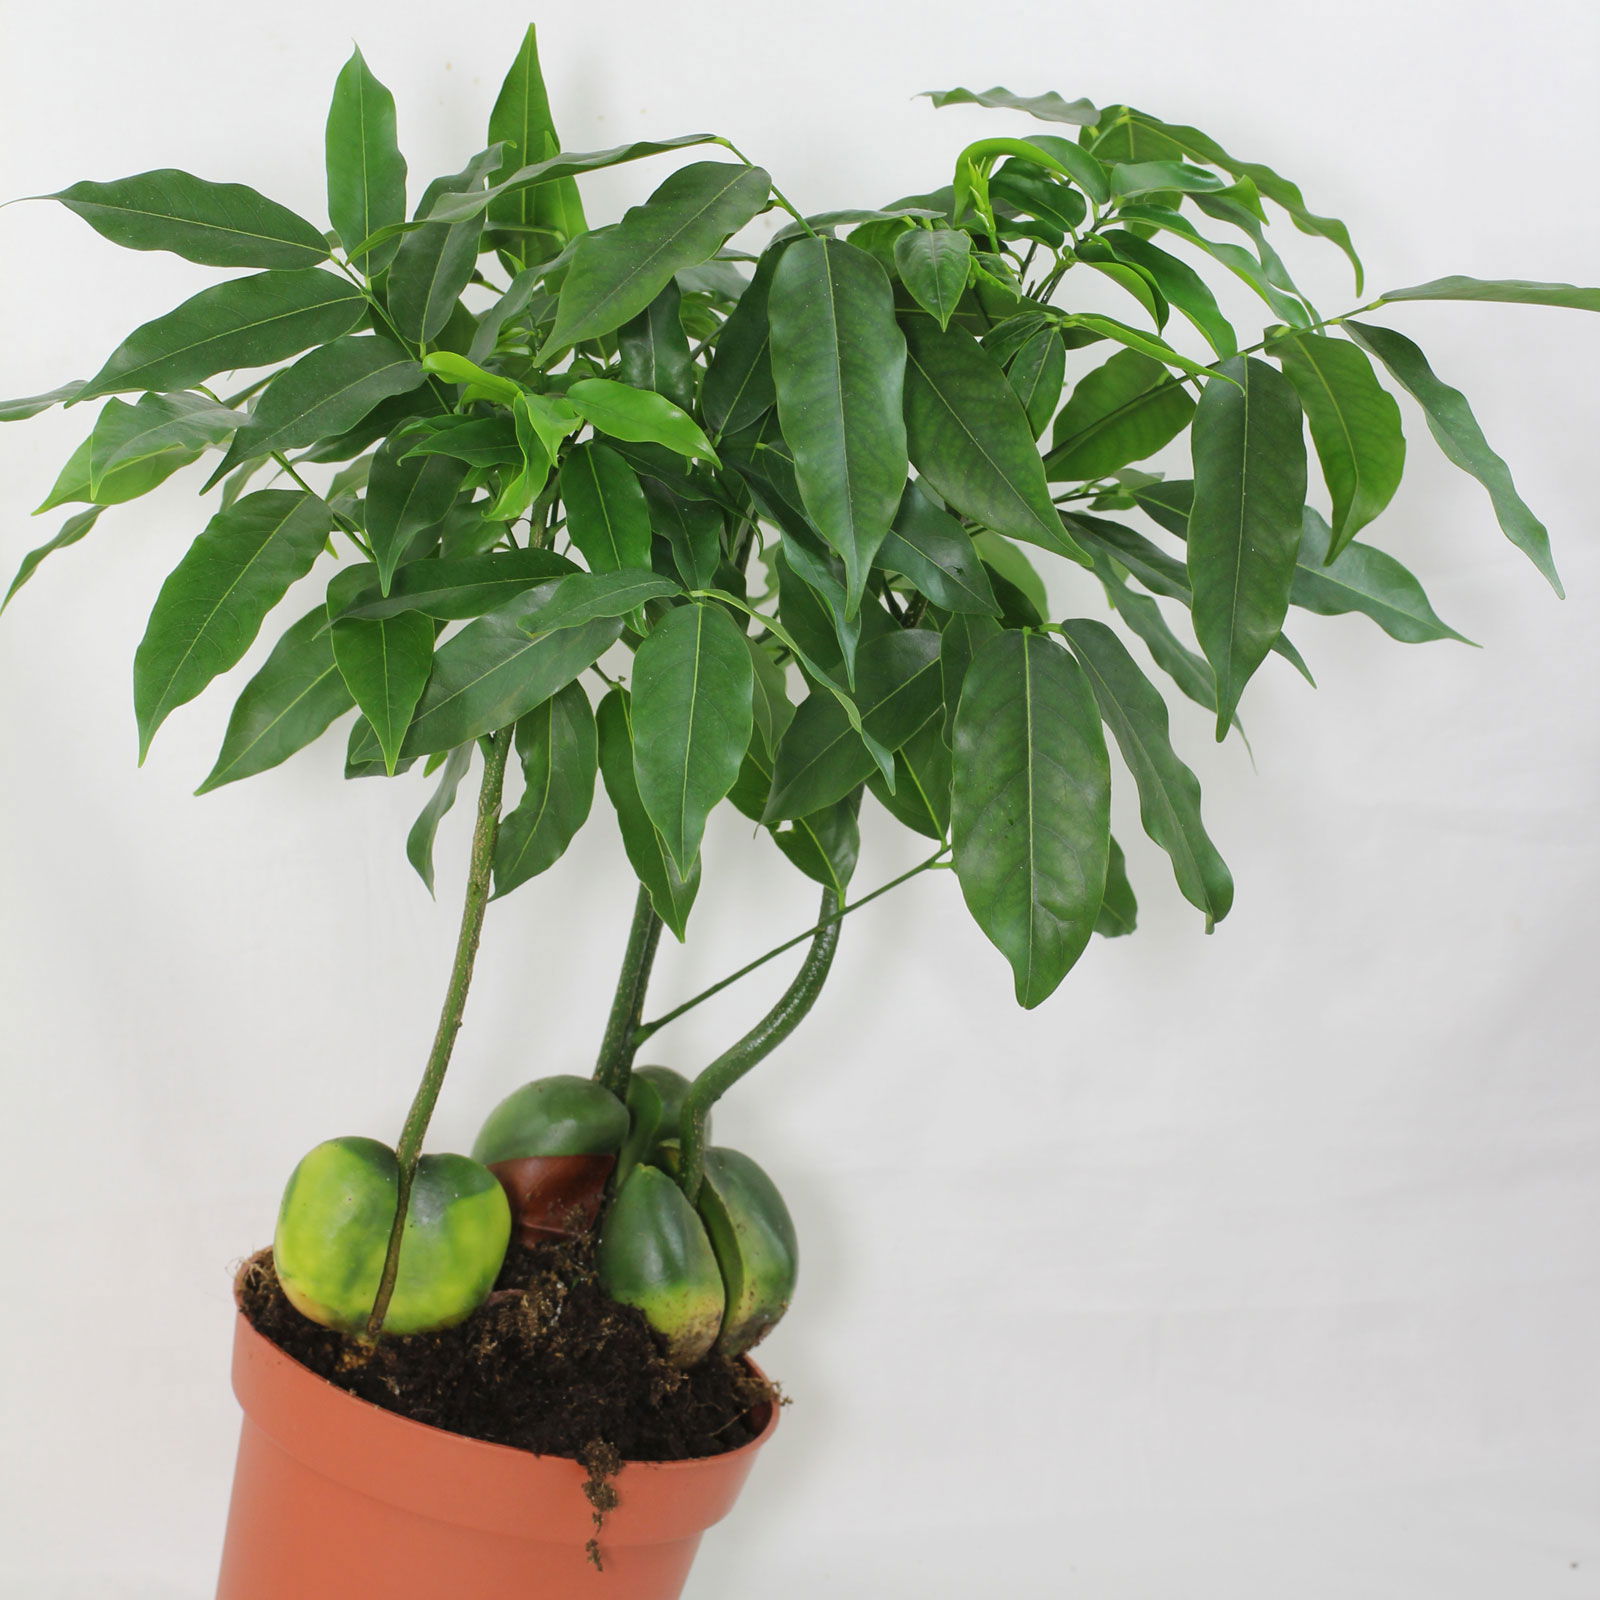
Castanospernum australe.
Contents
- Top Tips
- Location, Water, Humidity & Fertilisation
- Common Issues
- Origins, Temperature, Propagation, Repotting & Toxicity.
Need the answer to a specific plant query? Book a 1-to-1 video call with THE HOUSEPLANT DOCTOR™, the website's friendly author, to overcome and address your niggling problem! Available on iMessage, WhatsApp, Facebook Messenger & more.
Top Tips & Info
- Care Difficulty - Easy to Moderate
- Provide a bright location with little to no direct sun to avoid sun-scorch and dehydration. A setting with near-overhead lighting (windowsills, under a grow-light, etc.) is best for equal, balanced growth.
- Keep the soil evenly moist, allowing the top third of the soil to dry between waters. Reduce the frequency of hydrations over the autumn and winter to replicate their dormancy period.
- Fertilise using a 'Houseplant' labelled feed every four waters in the spring and summer, reducing this to every six in the colder months.
- Although pests are uncommon with this species, keep an eye out for Spider Mites that'll inhabit the undersides of each leaf.
- While using the next sized pot, transplant your Australian Chestnut every other year with a 'Houseplant' labelled potting mix.
Location & Light - 🔸🔸🔸
Although most locations will be fine for your Australian Chestnut, THE HOUSEPLANT DOCTOR™ recommend situating yours in a bright location that offers up to two hours of sunlight per day. Because of the higher temperatures, you may need to water it more often than usual, especially in the summer period. Always keep an eye out for sun-scorch and dehydration.
Water - 🔸🔸
Allow the top third of the soil to dry out in between waters in the growing period, reducing this further in the autumn and winter months. If possible, use tepid water as their root systems are super sensitive to temperature change, with potential side effects including weak summer growth and a general decline in health. Under-watering symptoms include grey or yellowing leaves, yellow spots, crispy foliage and stunted or deformed growth. Never allow the soil to dry out for extended periods, especially in hot spells; failure to do so could result in distorted growth that won't look appealing. Over-watering symptoms include yellowing lower leaves, rotten plant sections and a softened stem. These issues are usually due to too little light or heat, too much water in between waterings, over-potting your Australian Chestnut, or standing water beneath the pot. For minor cases, be sure to change its growing environment with a brighter location and fewer irrigations. For more severe cases where the pot is unreasonably heavy with prompt leaf loss, click on the following link to learn more about root rot.
Humidity - 🔸
Average room humidity is enough to satisfy this plant, as long as you don't live in an overly-dry climate. Never situate it within a few metres of an operating radiator due to the enriched chance of browning leaf-tips. If you are indeed worried about dry air, create a humidity tray to provide a moist and stable environment for your plant, which will also have the added benefit of slowing the rates of drying soil!
Fertilisation - 🔸🔸
Fertilise every four waters during the growing period before reducing this to every six in the autumn & winter. Although an 'All-Purpose' fertiliser will still do the job, we'd recommend using a specific 'Houseplant' labelled fertiliser as it'll support the vital thirteen nutrients that this species will need to grow.
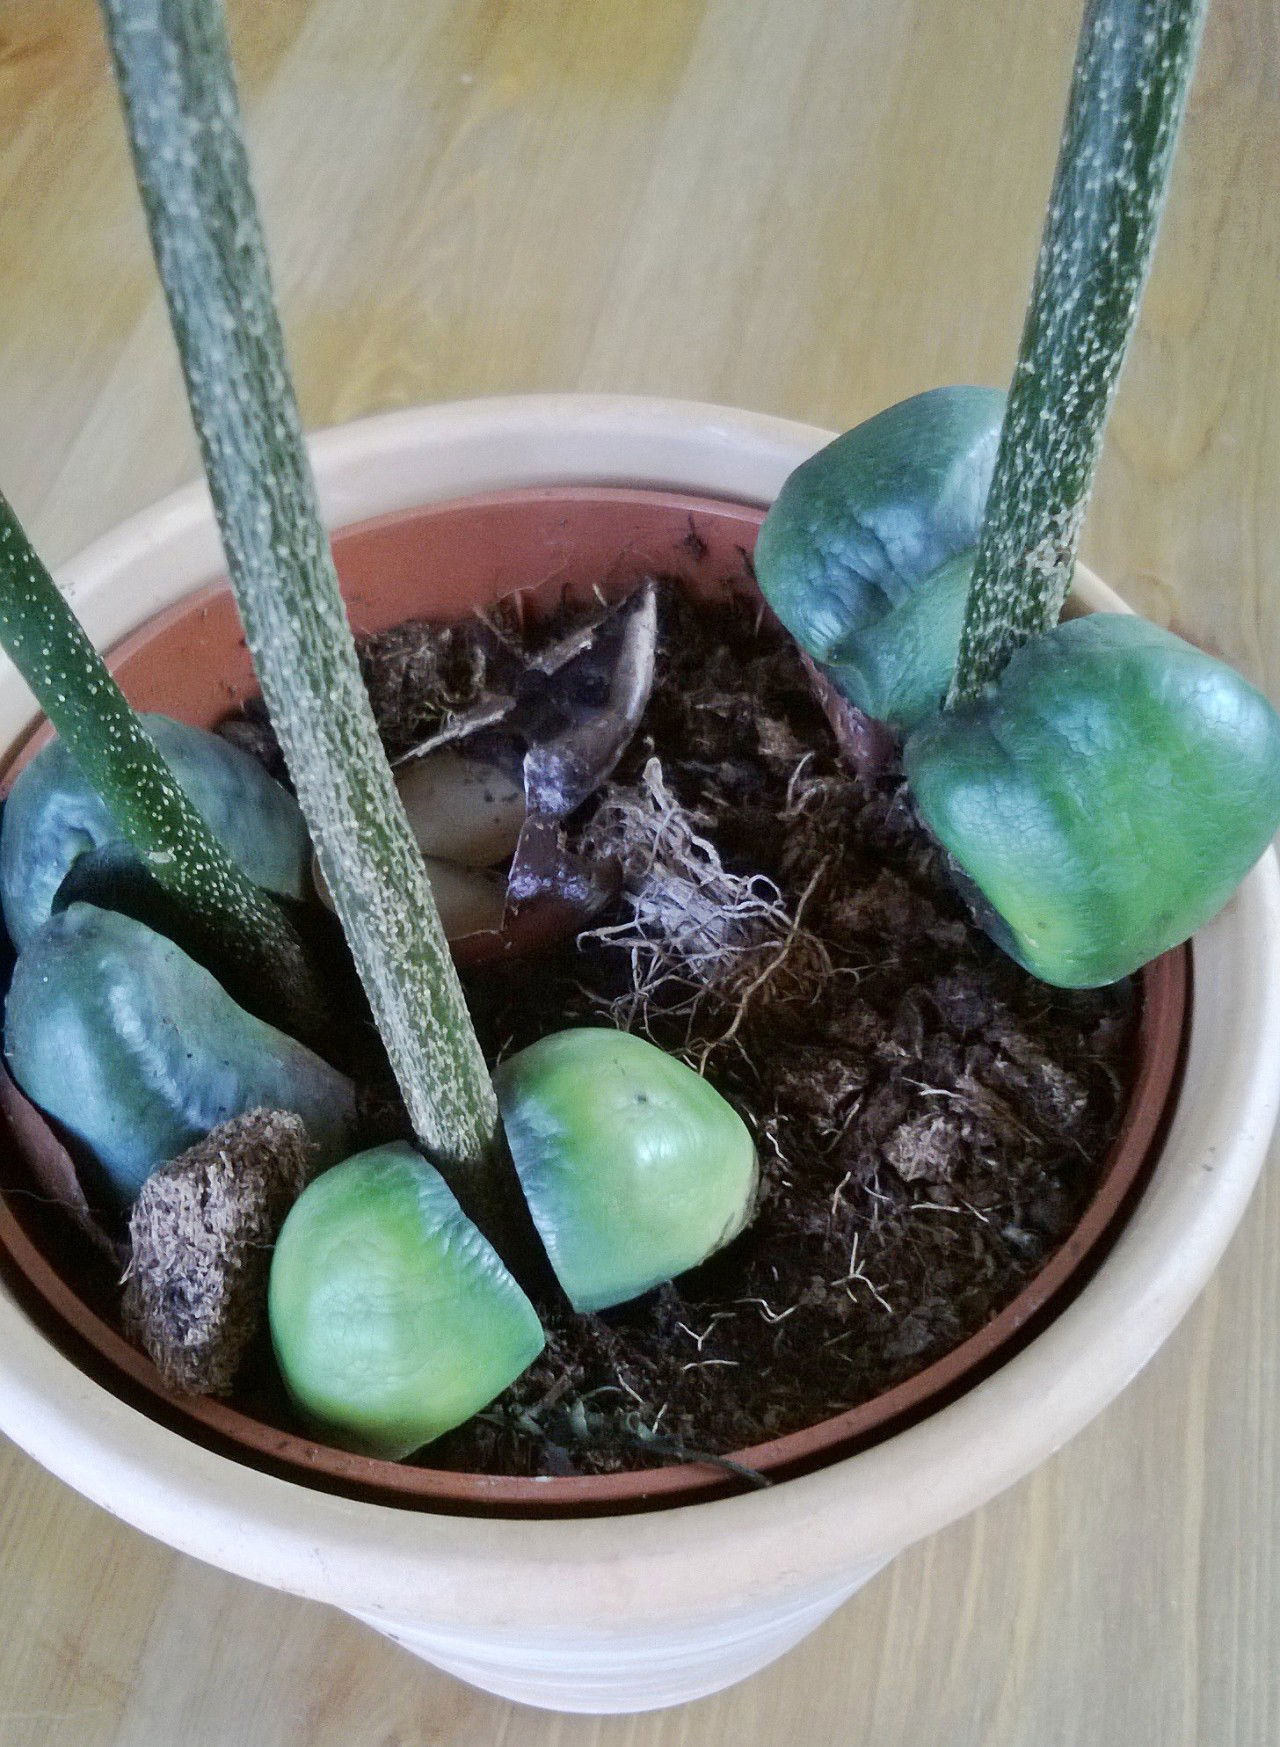 Despite the similarities between this species and the typical Avocado, they both fall in different plant families. Australian Chestnuts form part of the Pea family and originate from Eastern Australia, whereas the latter is in the Laurel family with natural distributions across the Central Americas.
Common Issues with Australian Chestnuts
Under-watering is a big issue when it comes to this species. Typical signs of this include wilting, crispy leaf-sections, leaf loss and stunted growth. Those situated in direct sunlight or within four metres of a radiator are more likely to suffer from under-watering related issues. Introduce a pebble tray to maintain higher humidity and slow the rates of drying soil - you can even create a watering rota to help reduce the risk of under-watering and forgetfulness.
The rapid yellowing of older leaves could be a sign of irregular watering, when the specimen is subject to periods of droughts and over-watering. If the older leaves or branches become yellow and drop in quick succession, introduce a pebble tray to prolong the risk of drying soil. Not only this, but the specimen will also be able to absorb moisture through the leaves (via the stomata), thus 'levelling off' the moisture requirements. If you have issues with over-watering, with the base if the plant becoming rotten, increase the amount of light slightly and repot the specimen using this article's step-by-step guide.
Brown crispy new-growth that's become deformed is the product of over-exposure to the sun and/or dehydration. As mentioned previously, indoor Australian Chestnuts will grow best in bright, indirect light with regular waters. Remove the most affected leaves and improve the growing conditions to counteract this issue occurring again. In some cases, Spider Mites could be the culprit for the abnormality, with small, near-transparent critters slowly extracting the chlorophyll out of the leaves. Have a check under the rest of the foliage, most notably along the midrib, for small webs and gritty yellow bumps. Click here to read our article about eradicating Spider Mites, along with some extra tips that you may not find elsewhere!
Too little light may cause leggy growth. If you're scared that the location is too dark, THE HOUSEPLANT DOCTOR™ would recommend increasing the light slightly. Australian Chestnuts do best in bright locations that offer a period of morning or evening sunlight, especially in the height of winter. Give the specimen a good feed when you next come to water it, to increase the overall health levels within the plant.
Over time, your Australian Chestnut will become leggy, which is normal behaviour for an establishing specimen. In the spring, either pinch its top node or cut the specimen back by a quarter (to promote a more bushy appearance). Maintain bright, indirect light and fertilise the specimen regularly to quicken the rates of new growth.
Origins
This species was formally described by the British pairing of Allan Cunningham & Charles Fraser in 1829, making it the type species of Castanospernum. They used the Latin word for 'chestnut' and 'seeded', referring to the fruits of successful pollination. The specific epithet, australe, means 'southern' in Latin which refers to the species' natural distribution across eastern Australia and Vanuatu.
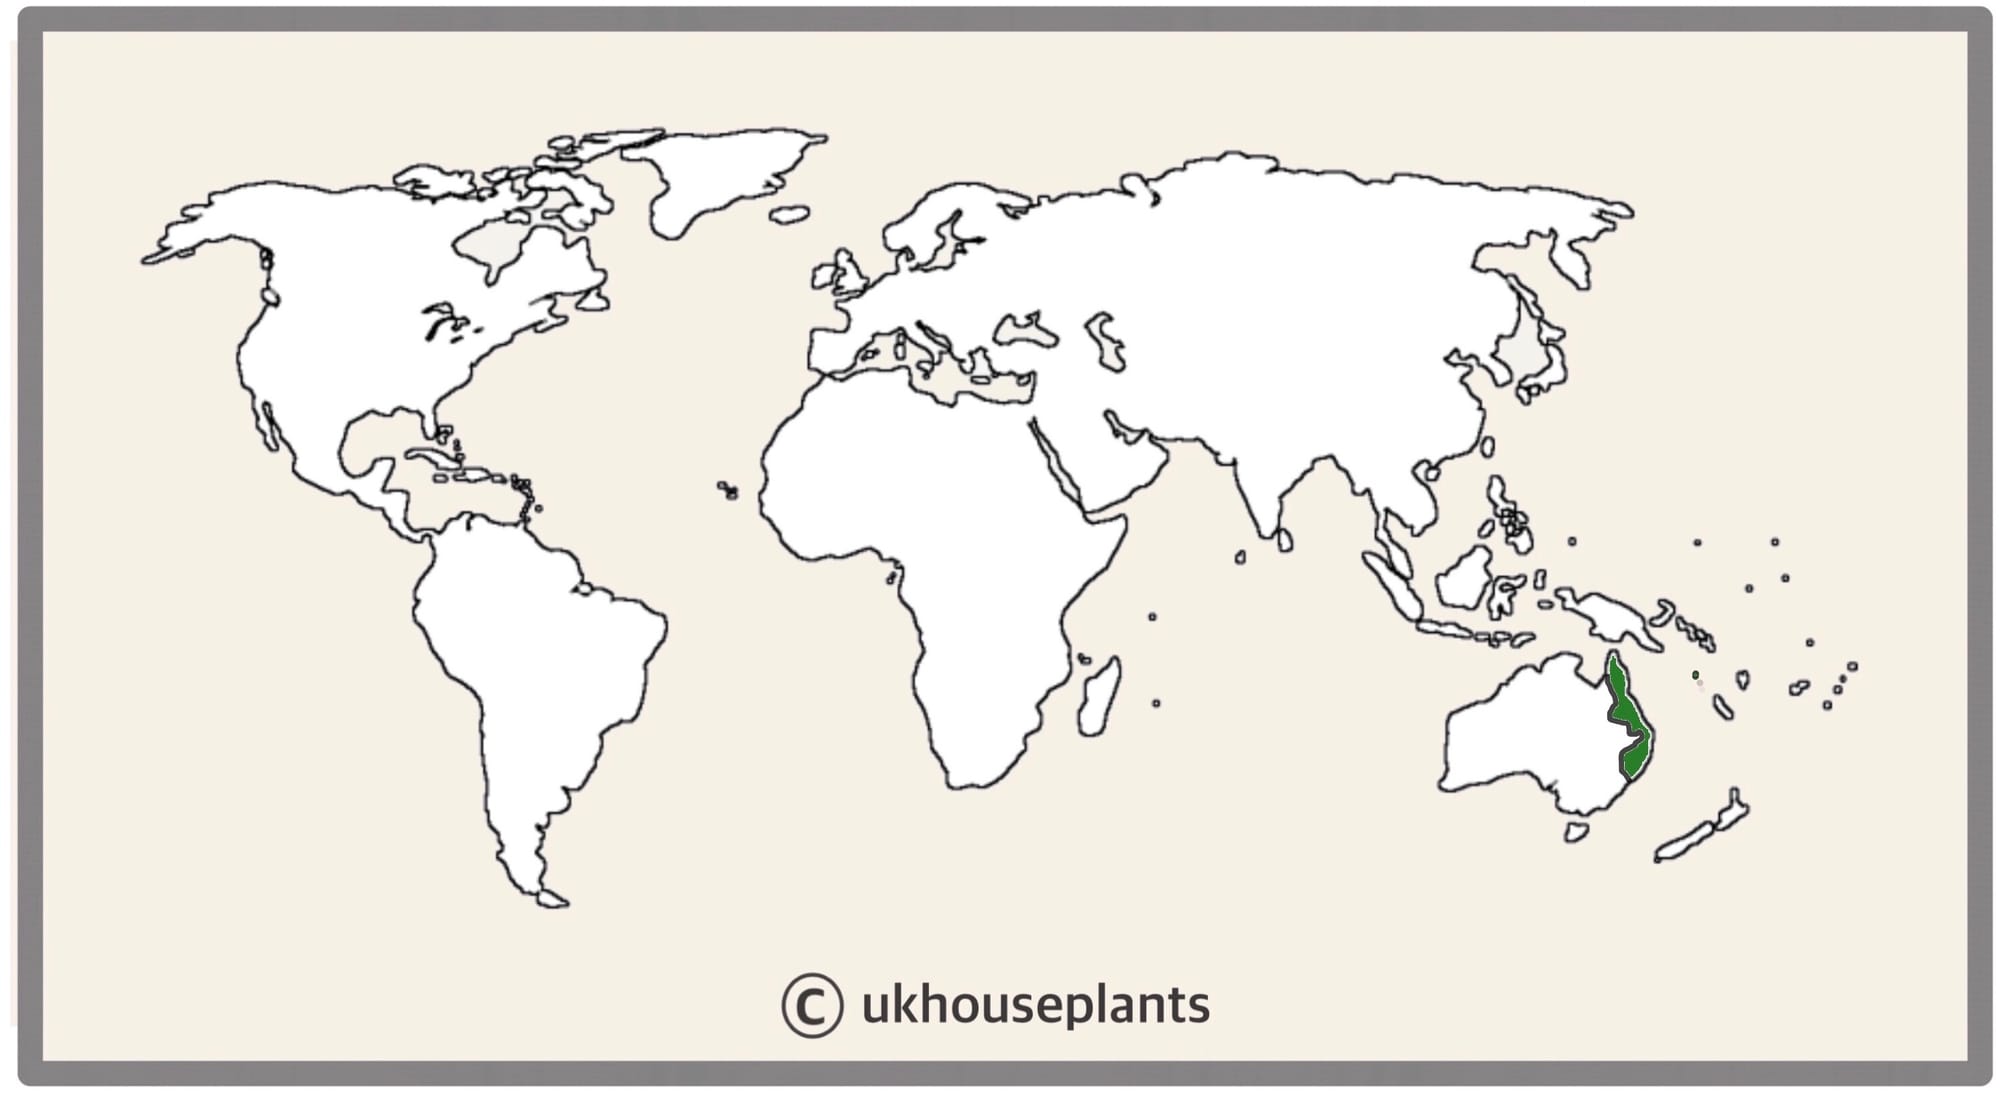 The Distribution of Castanospernum australe.
Temperature
10° - 26°C (50° - 79°F)
H1b (Hardiness Zone 11) - Can be grown outdoors during the summer in a sheltered location with temperatures above 12℃ (54℉), but is fine to remain indoors, too. If you decide to bring this plant outdoors, don't allow it to endure any direct sunlight as it may result in sun-scorch and dehydration. Regularly keep an eye out for pests, especially when re-introducing it back indoors.
Spread
Stems - Up to 2.5m in length (indoors) (12m+ when Outdoors).
Each Pinnate Structure of Leaves - 35cm+ in length, 12cm+ in width & up to 15 leaflets.
Pruning & Maintenance
After two years of growing your Australian Chestnut, THE HOUSEPLANT DOCTOR™ recommends pruning it by a quarter to promote a bushier appearance. Use a clean pair of scissors and cut the stem around an inch (2cm) above the node, propagating the prunings as 'Stem Cuttings'.
Additional Tips - Remove yellowed or dying leaves and plant debris to encourage better growth and improve the all-round appearance. Pruning must be done with clean scissors or pruners to reduce the chance of bacterial and fungal diseases; remember to make clean incisions as too much damage can shock the plant.
Propagation
Via Seeds, Stem Cuttings & Grafting.
Stem Cuttings (Moderate to Hard) - This method of propagation is troublesome without the aid of bottom-heat and a controlled environment. Each cutting should be around 15cm in length with two or three leaves (If your stem has more than this, simply prune off the older leaves to reduce it down to two or three). With a clean pair of secateurs, cut directly below a node at an angle and slice the bottom half-centimetre of the stem's skin to expose the 'Cambium'. Dip the wound first into water and then in rooting hormone, before placing the cutting's bottom third into moist ‘Housplant’ compost. Maintain bright light and evenly moist soil with the avoidance of direct sunlight or cold draughts. Wrap the pot (with the foliage) in a transparent bag with small holes and provide bottom heat of temperatures above 18°C (64°F). Remove the bag and place into a 7cm pot once the second new leaf emerges. Follow the same care routines, as mentioned in the article's top half. This method will take up to four months, so patience and the correct environment are paramount for success!
Grafting any wooded stem requires a good amount of skills and advice. Click here to view the RHS's top tips on Grafting an Australian Chestnut.
Flowers
Although this species is perennial, the chances of achieving a bloom indoors are very unlikely. Matured specimens of over eight years can begin putting out orange or pink clusters of flowers between the months of spring and summer.
Repotting
Repot your Australian Chestnut every two years in the spring, using a 'Houseplant' labelled potting mix. Hydrate the plant 24hrs before tinkering with the roots to prevent the risk of transplant shock. For those situated in a darker location, introduce an extra amount of perlite and grit into the deeper portion of the pot to downplay over-watering risks. Click on this link for a detailed step-by-step guide on transplantation, or via this link to learn about repotting with root rot.
A Quick Step-by-Step Guide on Repotting
- With the new, slightly larger pot, fill the pot's bottom 3cm (1.5 inches) with 'Houseplant' labelled potting mix. Rest the plant's rootball in the middle, remembering not to remove soil from the roots in order to avoid 'Transplant Shock'.
- Continue to pour soil in the gap between the pot's inner side and rootball, until the soil line reaches the same height as the plant's soil. Add a thin layer to cover both the new soil and the plant's rootball to improve the overall appearance.
- Try not to compact the soil down for stability and instead tap the pot's side a few times to consolidate the compost. This will help reduce the risk of root rot because of better air circulation around the compost.
- Finally, water well until the droplets of water emerge from the drainage holes. If the potting mix becomes uneven, sprinkle some fresh compost into the mounts to re-level it again.
Book a 1-to-1 video call with THE HOUSEPLANT DOCTOR™ if you'd like a personal guide to repotting your houseplant. This will include recommending the right branded-compost and pot size, followed by a live video call whilst you transplant the specimen for step-by-step guidance and answer any further questions!
Pests & Diseases
Keep an eye out for spider mites, aphids, thrips, whitefly & mealybugs. Common diseases with Australian Chestnuts are root or basal rot, powdery mildew & leaf-spot disease. Most diseases are caused by excess moisture in the soil or the foliage; maintain dry leaves and always avoid water-logging for best results.
Toxicity
This plant is classified as slightly poisonous, especially any fruits or seeds. If large quantities of the plant are eaten, vomiting, nausea and a loss of appetite could occur.
Retail Locations
B&Q, IKEA & Online Stores.
Book a 1-to-1 Call with THE HOUSEPLANT DOCTOR™
If you need further advice with your houseplants, book an advice call with ukhouseplants' friendly and expert writer today! This can be done via a video or audio call on most apps, including Facebook, FaceTime & Skype. A ten-minute call costs £6.95 (US$8), or £15.95 for thirty minutes. You can ask multiple questions, including queries on plants, pests, terrariums, repotting advice and anything in between. Please consider supporting this service to keep ukhouseplants thriving!
Comments