Peperomia caperata
Painting all Peperomia with the same brush is like holding every dog in the same breed. Although they vary differently via their looks and growth habits, each follow similar care requirements, stated below.
Contents
- Top Tips
- Location, Water, Humidity & Fertilisation
- Common Issues
- Origins, Temperature, Propagation, Repotting & Toxicity.
Need the answer to a specific plant query? Book a 1-to-1 video call with Joe Bagley, the website's friendly author, to overcome and address your niggling problem! Available on iMessage, WhatsApp, Facebook Messenger & more.
Top Tips & Info
- Care Difficulty - Moderate
- Bright, indirect light away from the summer sun is best for quality growth. During the autumn, winter and spring months, you're allowed to provide an hour or two of morning sunlight, as long as the soil moisture is regularly checked.
- Less is more with Peperomia. Although you shouldn't promote droughts of any length, reducing the frequency of waters (but with more water per application) is the way to go. If mould develops on the soil's surface, it could mean an overly dark location with too moist soil. Read 'Common Issues' for more information.
- Fertilise using a 'Houseplant' or 'Cactus' labelled feed every four waters in the spring and summer, reducing this to every six in the colder months.
- Repot every two or three years in the spring - scroll down to 'Repotting' for more information on this.
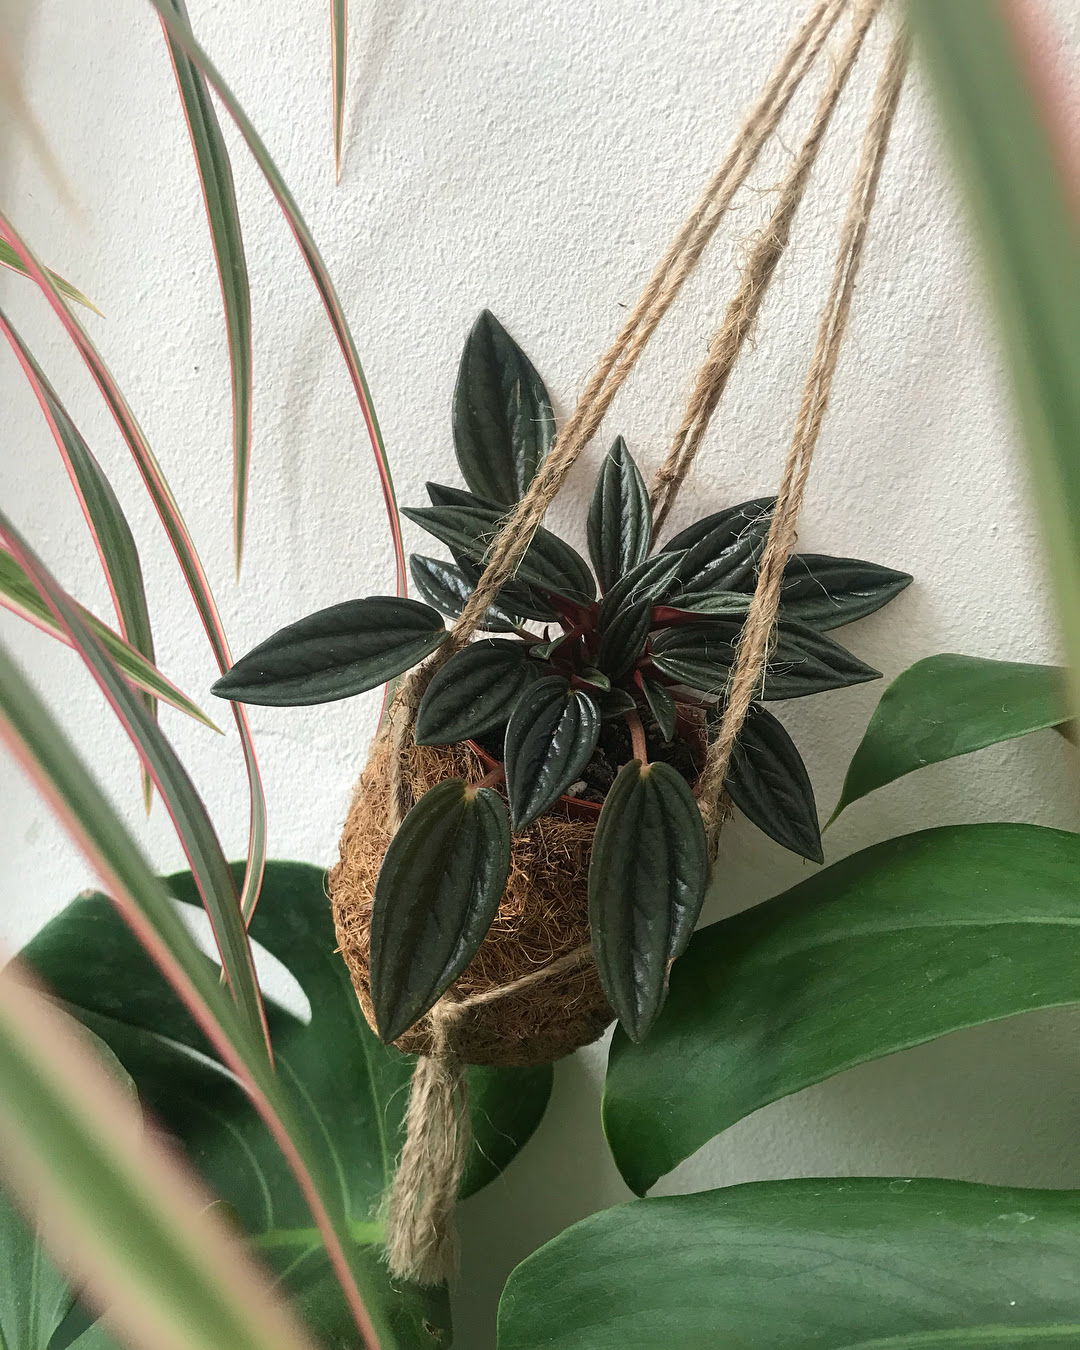
 Peperomia scandens
Location & Light - 🔸🔸
The ideal setting for Peperomia consists of bright, indirect light with an abundance of airborne moisture. Although the summer sun should be avoided at all costs, providing an hour or two of off-peak sunlight during the autumn, winter and spring months will serve nothing but benefits in the likes of improved health. Don't worry if you can't provide this though, as they'll still do well in darker locations if the soil is kept slightly drier.
Water - 🔸🔸
Peperomia are semi-succulents, meaning that irrigations should be less frequent (but with more per water per application). Once the top third of the soil dries out, provide another thorough hydration while keeping the foliage dry. Excess moisture in the stem's cubbyholes will cause anaerobic respiration that'll slowly lead to botrytis and other harmful diseases. For those with specimens in shadier locations, be sure to allow around half of the compost to dry out, to limit the risk of root rot. Further symptoms of over-watering include yellowed lower leaves, mould developing on the soil, stem collapse and leaf lost. If it's felt that your Peperomia could have signs of root rot, be sure to click on this link for more info. Under-watering symptoms include wilting, little to no new growth and a washed-out appearance.
Humidity - 🔸🔸🔸
This genus thrives in moderate to high humidity, meaning that a pebble tray (or frequent misting) is necessary for success. For those situated in darkened environments, try not to over-mist the foliage as prolonged moisture may result in decay or a gradual decline in health if air circulation is poor. Signs of an under-humid room are slowed or stunted growth, browning leaf-tips and leaf loss with a lack of flowers.
Fertilisation - 🔸
Fertilise every four waters during the growing period before reducing this to every six in the autumn & winter. Although a 'Houseplant' fertiliser will still do the job, we'd recommend using a specific 'Cactus' labelled feed as it'll support the vital thirteen nutrients that this species will need to grow.
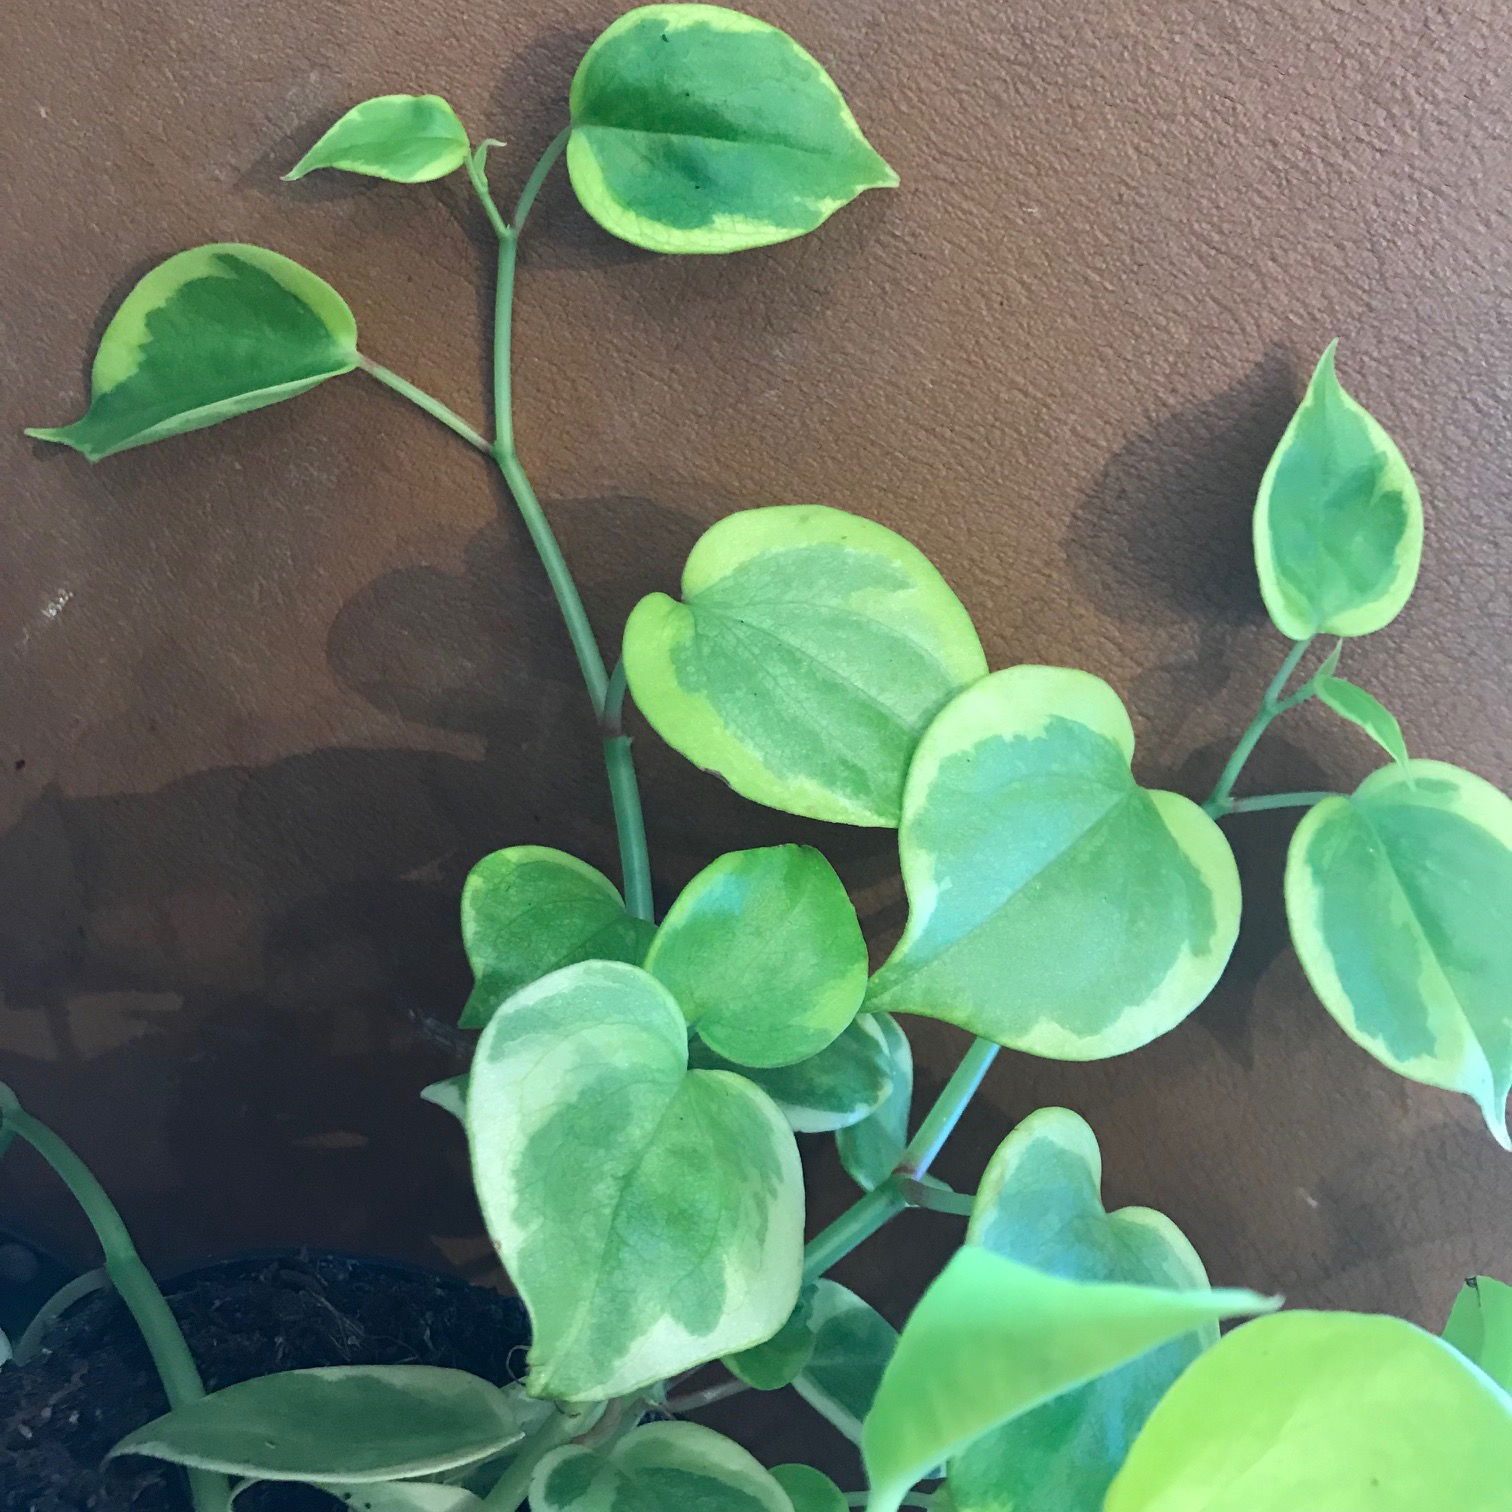
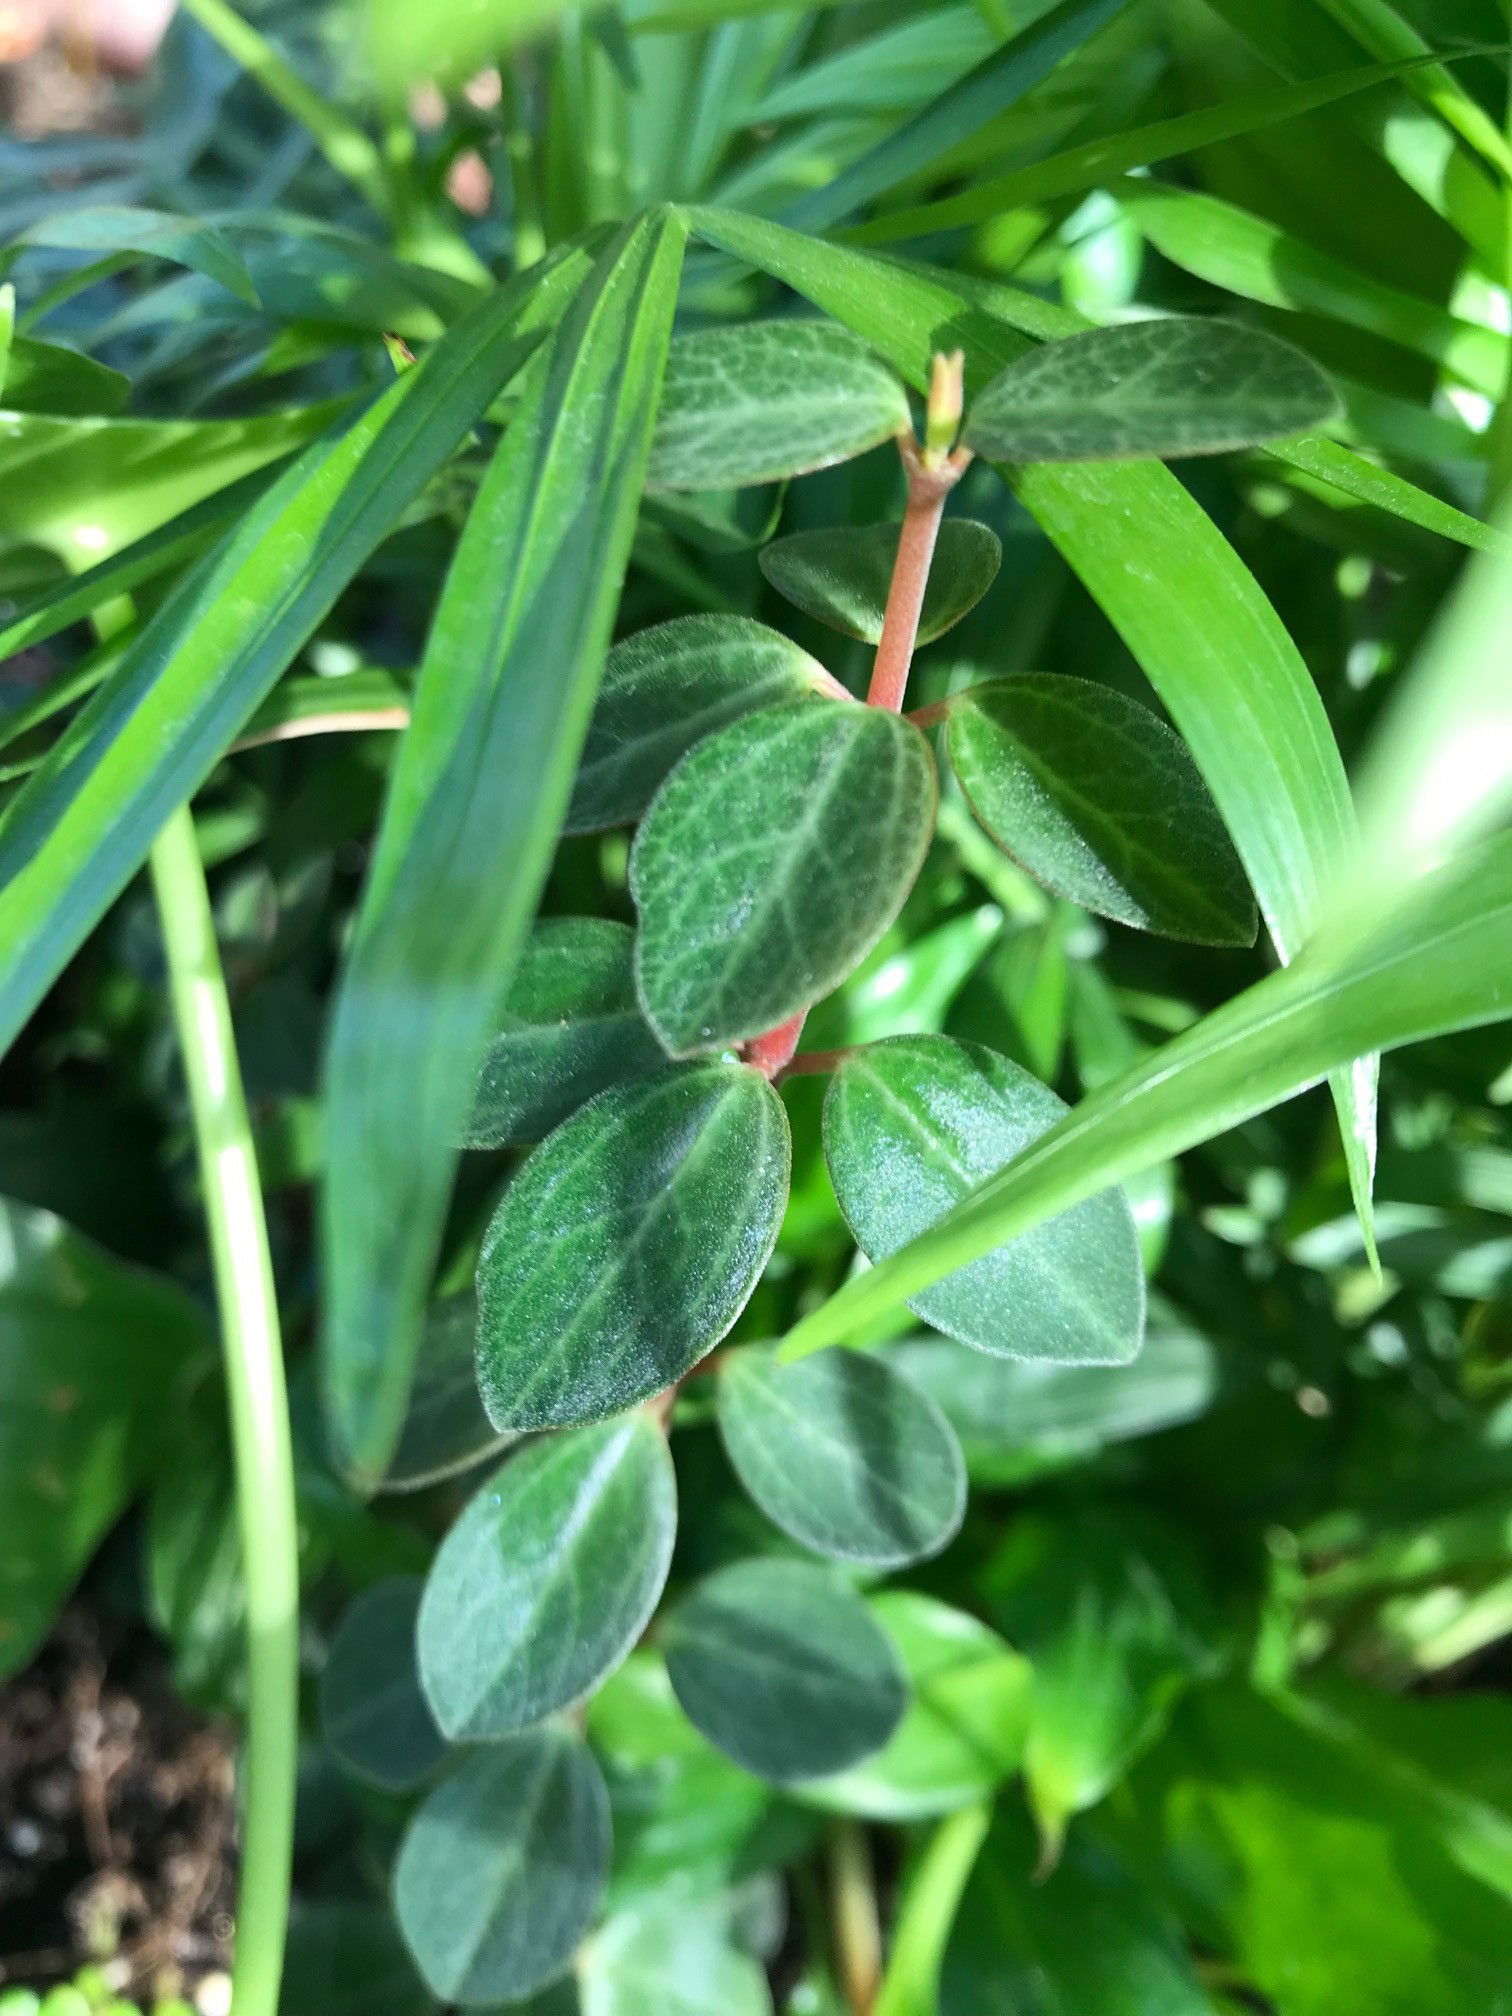
 Peperomia peperspot is the closest species within the genus to the Pilea peperomioides in both genetics and visual aspects.
Common Issues with Peperomia
Mould developing on the soil means two things - too little light and over-watering. Despite the harmlessness of the mould, it'll prove unsightly to most gardeners and is therefore removed once known. To remove, replace the top two inches of the soil for a fresh batch of 'Cactus & Succulent' labelled compost. Either increase the amount of light received (no direct sunlight for the first few weeks to prevent environmental shock) or decrease the frequency of waters slightly. If the mould is accompanied by yellowing lower leaves, you may also have a case of root rot.
Persistent under-watering and/or direct sunlight will cause the greying of leaves and curled foliage which could easily spell the end for juvenile specimens. Less severe cases of sun-scorch can be controlled by cutting away the affected areas and presenting a Peperomia-friendly environment that consists of indirect light, moist air and adequate soil moisture.
Yellowed central leaves are the result of excess moisture settling on the foliage, typically promoted by dark locations. Instead of pouring water directly onto the foliage, irrigate at the soil line by lifting the foliage at the side to prevent saturating the leaves and cubbyholes. Other reasons for this issue are over-watering and poor air circulation around the plant. Be sure to prune any yellowed or dying leaves to improve the overall growing conditions and its appearance.
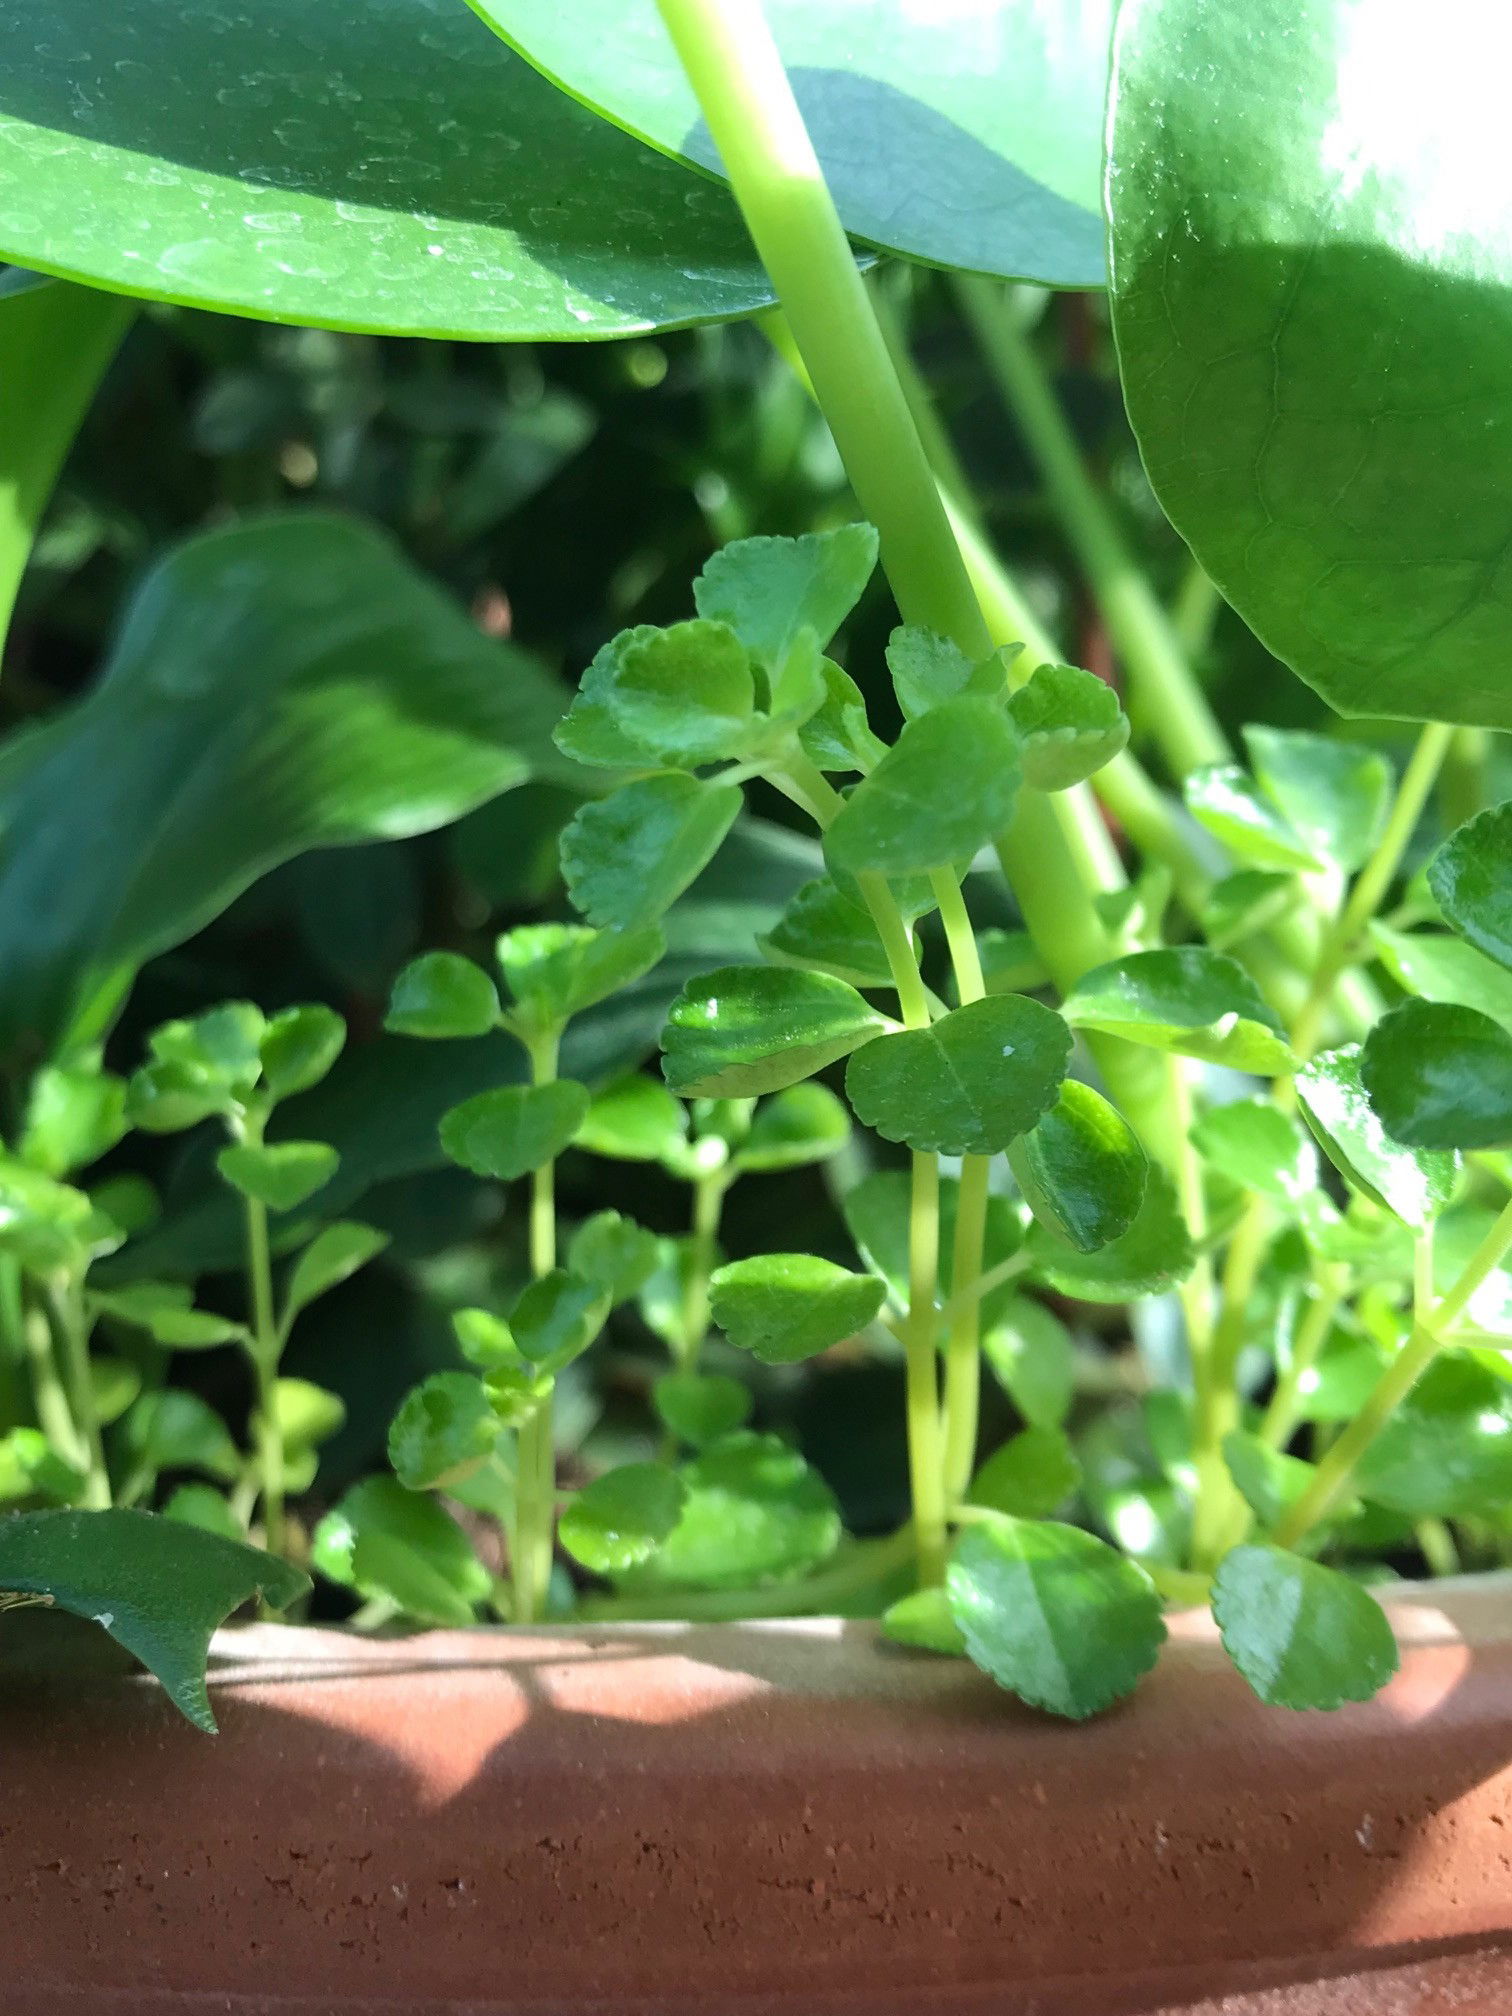
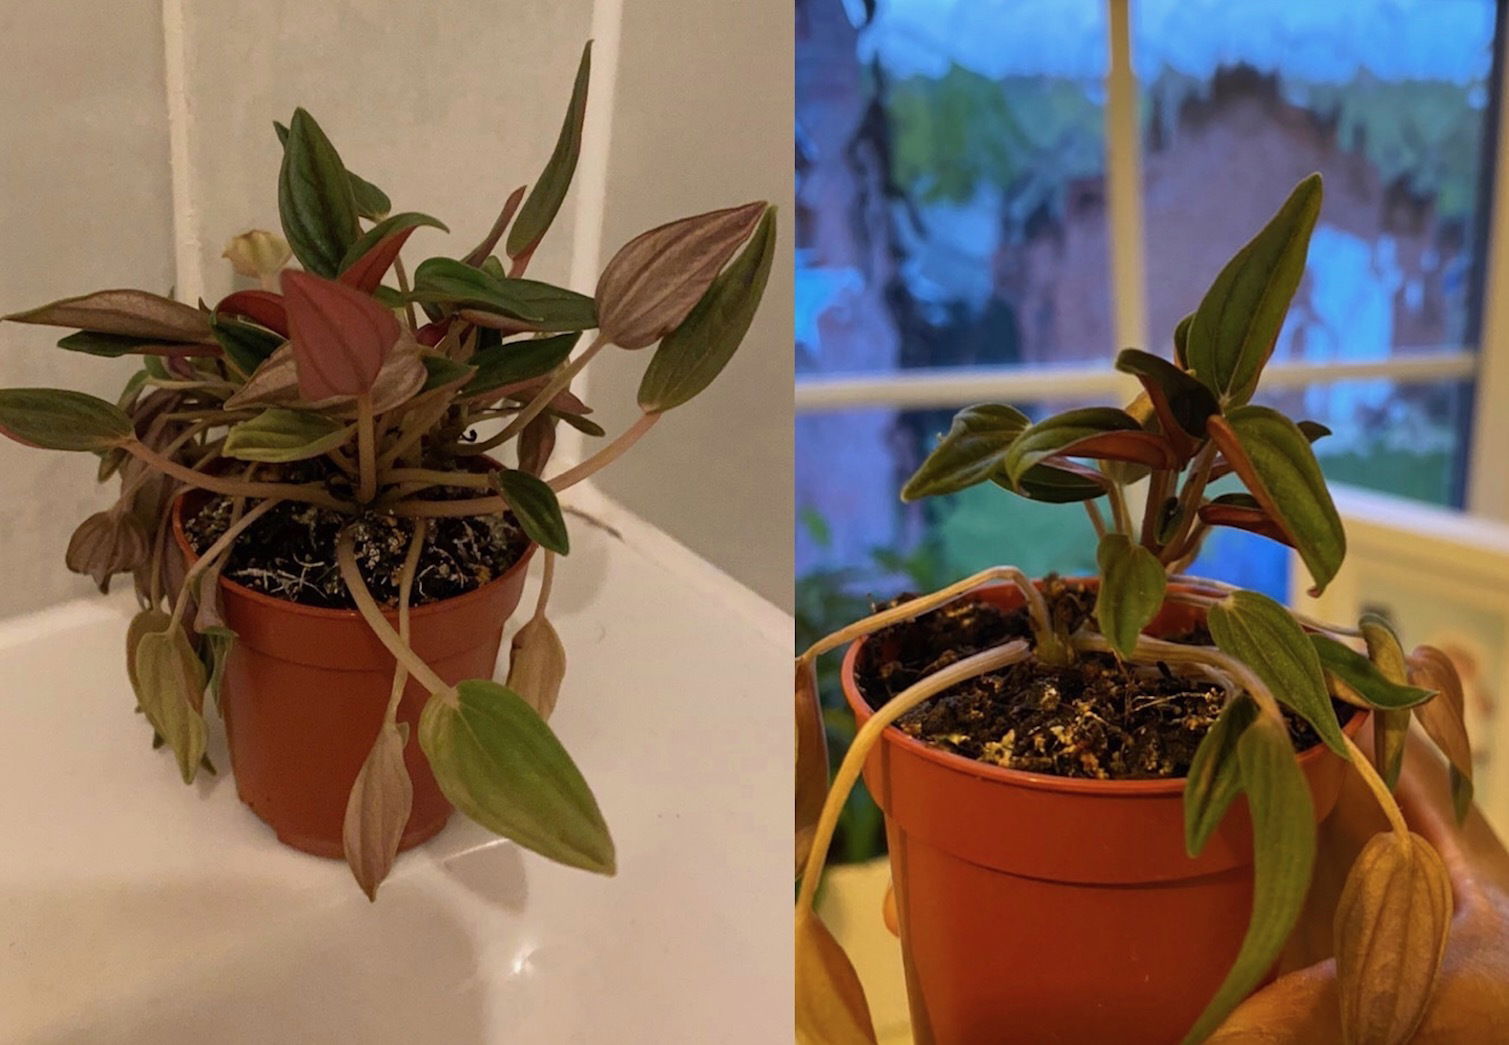 A Peperomia caperata 'Rosso' specimen that was over-watered in the autumn & winter (common), has now produced new juvenile growth once its growing condition & cultivation was rectified. The photos taken are three months apart.
Correcting the amount of light is essential for the Peperomia's health. Locations that are too dark will cause stunted growth, whereas areas that offer intense direct light will easily scorch the foliage and permanently damage the individual leaves. As mentioned above, bright indirect locations tend to favour Peperomias as they predominantly grow on or under shaded trees. Avoid direct sunlight if you're a forgetful gardener, and always provide a humid setting with good air circulation.
An under-humid room will not favour Peperomias in the slightest. Humid air and an absence of dry soil are what keeps this genus happy, so dry air will lead to browning leaf tips and weakened growth. Either mist weekly or introduce a humidity tray to keep life manageable. Avoid situating one within four metres of an operating radiator, as the dry air will spread up the process of browning leaf-tips.
Yellowing lower leaves (closest to soil) are a clear sign of over-watering, usually caused by too little light. Although they can do well in slightly shaded areas, the frequency of irrigations must be reduced to counteract the chance of root rot. People don't realise that a plant's root system needs access to oxygen too; when soil is watered, the air will travel upwards and out of the potting mix. A lack of accessible oxygen for the roots will cause them to subsequently breakdown over the oncoming days. Click on this link to learn more about root rot and how to address it, and always feel the pot's weight for confirmation (heaviness = good soil moisture, & vice versa).
If your specimen is located in a dark environment, use a chopstick to gently stab the soil in various areas. You should aim to enter the compost between the base of the plant and the pot's edge, as failure to do so may lead to damaging its lower portion. Leave the holes open for a few days before re-surfacing the soil to avoid it becoming overly dry. Not only will the gentle shift in the soil's structure mimic the work of small invertebrates in the wild (worms, etc.), but it'll also add oxygen back into the soil, thus reducing the risk of root rot. Repeat this monthly, or whenever you feel the potting-mix isn't drying out quickly enough.
When a Peperomia is severely dehydrated, most of its leaves will crisp-up and fall off - leaving you with a naked plant. Although it may spell the end of juvenile plantlets, there may still be light at the end of the tunnel for more established specimens. If its stem is still plump without any signs of retraction, prune-away the seriously affected areas and contain the plant (with its pot) in a transparent bag. Keep the soil continually moist, providing a good level of indirect light and temperatures above 15°C (59°F). Remove the bag every few days for around an hour to allow a fresh batch of air to circulate the stem and soil. After a few weeks, new life will form in the nodal junctions on the stems, signalling the start of its recovery process. Maintain a sealed environment for the following month until you feel it's necessary to release it back into the open air. For the prevention of environmental shock, be sure to introduce a humidity tray for higher levels of atmospheric moisture around the plant. Not only will this ease the specimen back into normal functioning life, but it'll also reduce the rate of transpiration (water-loss in the leaves), and therefore downplay the risk of dehydration and further decline.
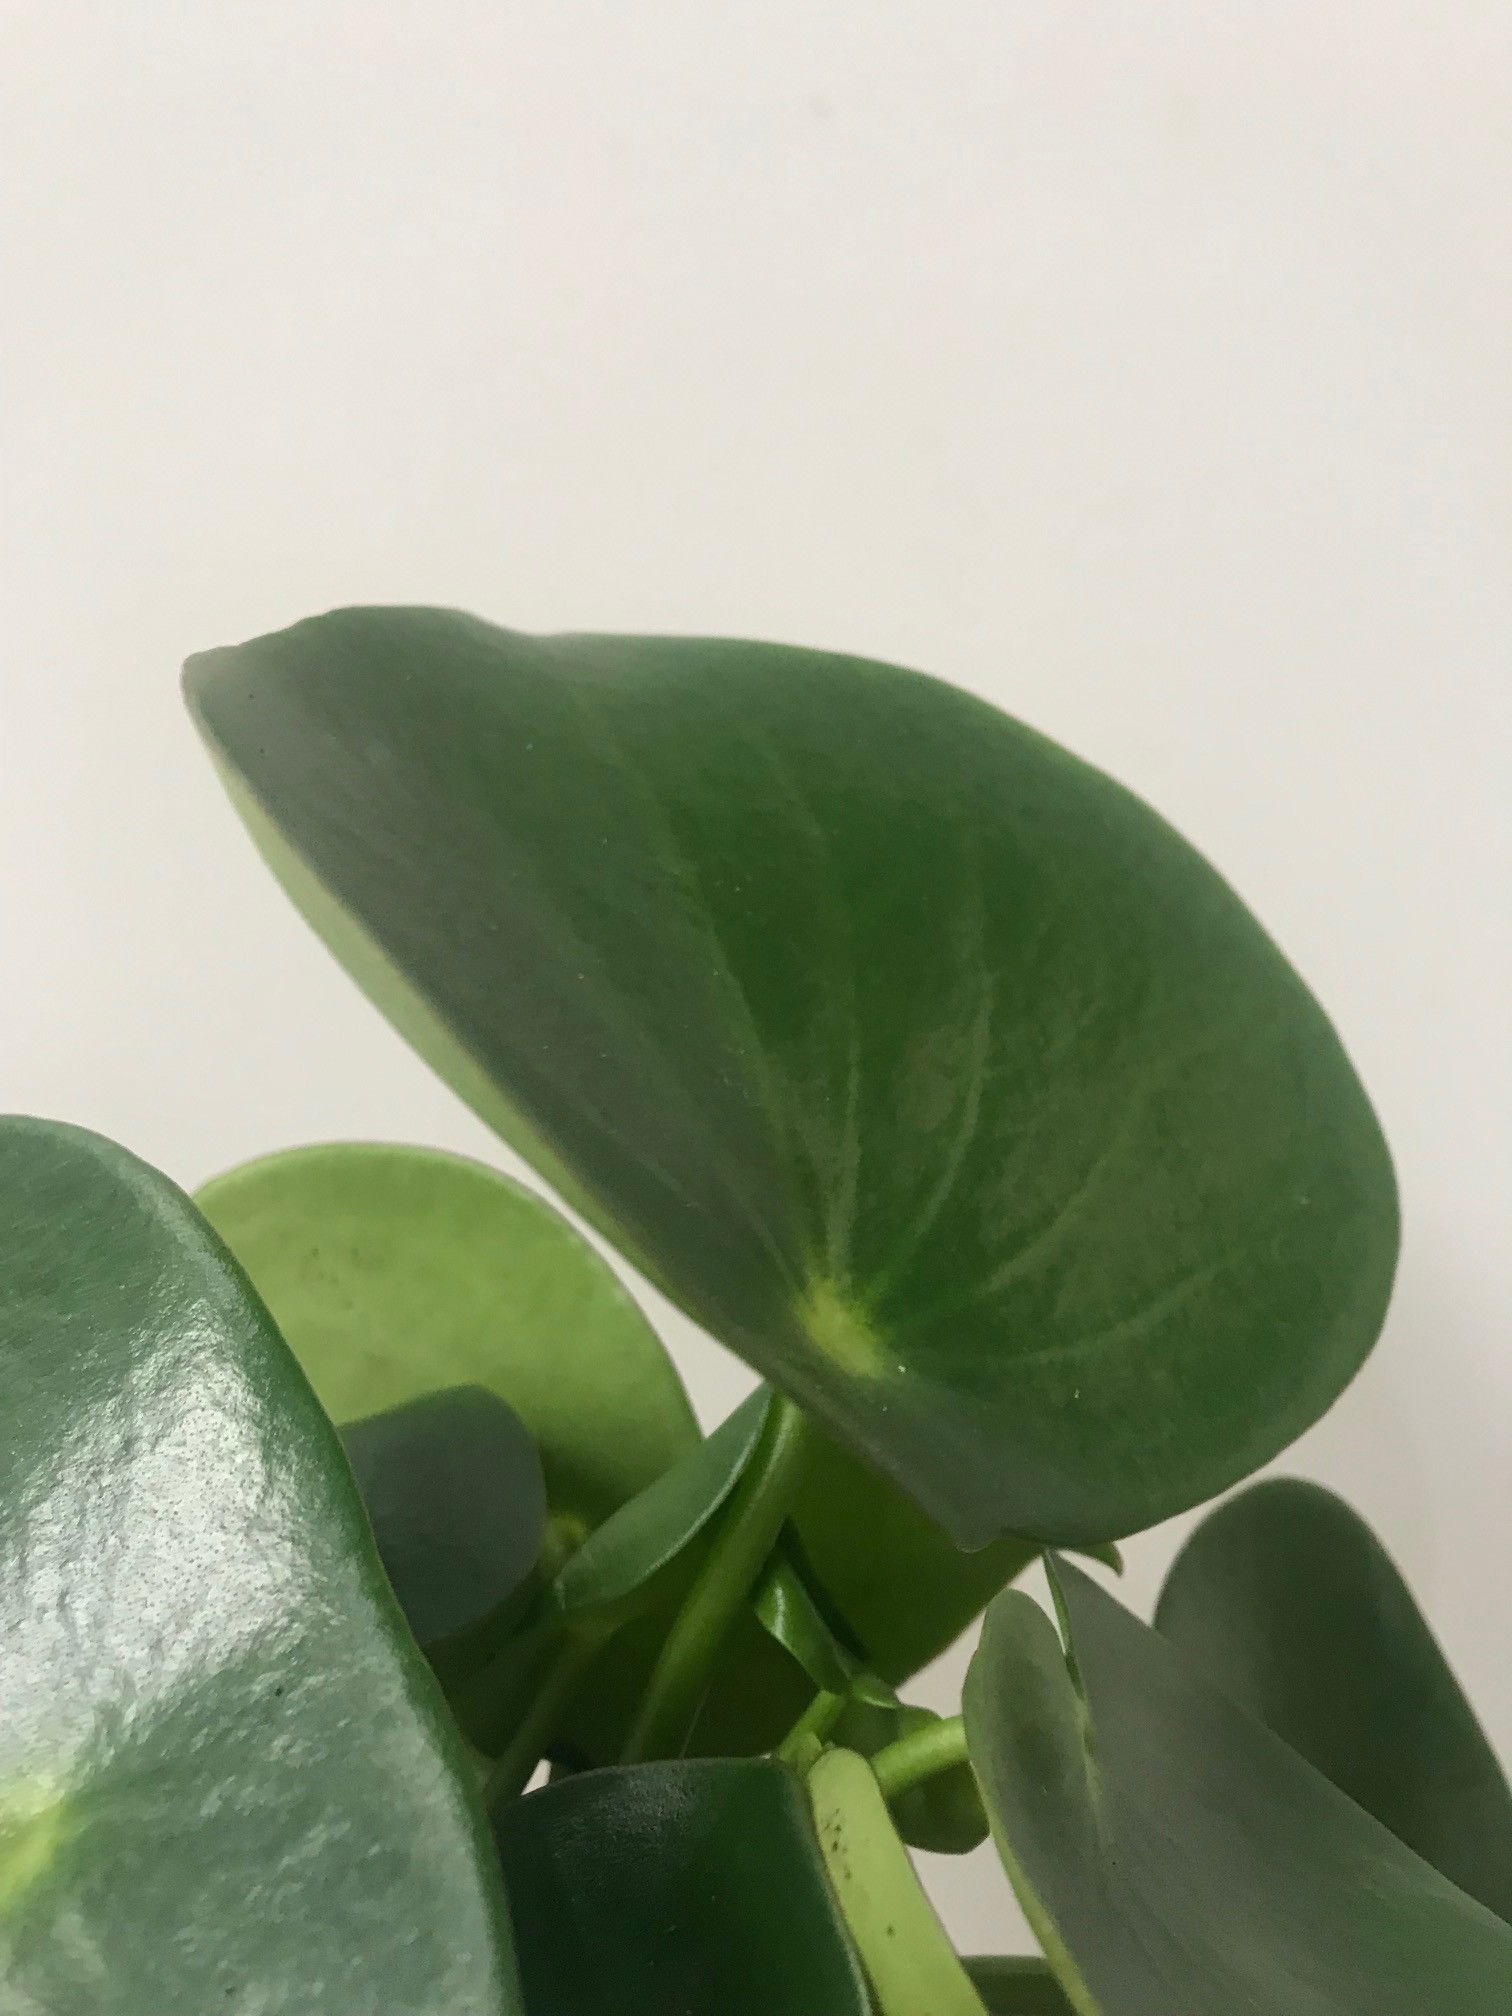
 Peperomia verticillata
Origins
Peperomia is a genus consisting of one thousand six hundred species that mostly originate from tropical or subtropical locations around the world. They can either grow on trees (epiphytic), on rocks (lithophytic) or rarely on the ground (terrestrial). The genus was first formally described back in the 1770s by Hipólito Ruiz Lopez during a visit to Peru. The botanical name, Peperomia, comes from the Greek words' peperi meaning 'pepper' and homoios which translates to 'resemblance' that refers to the pepper-like seeds.
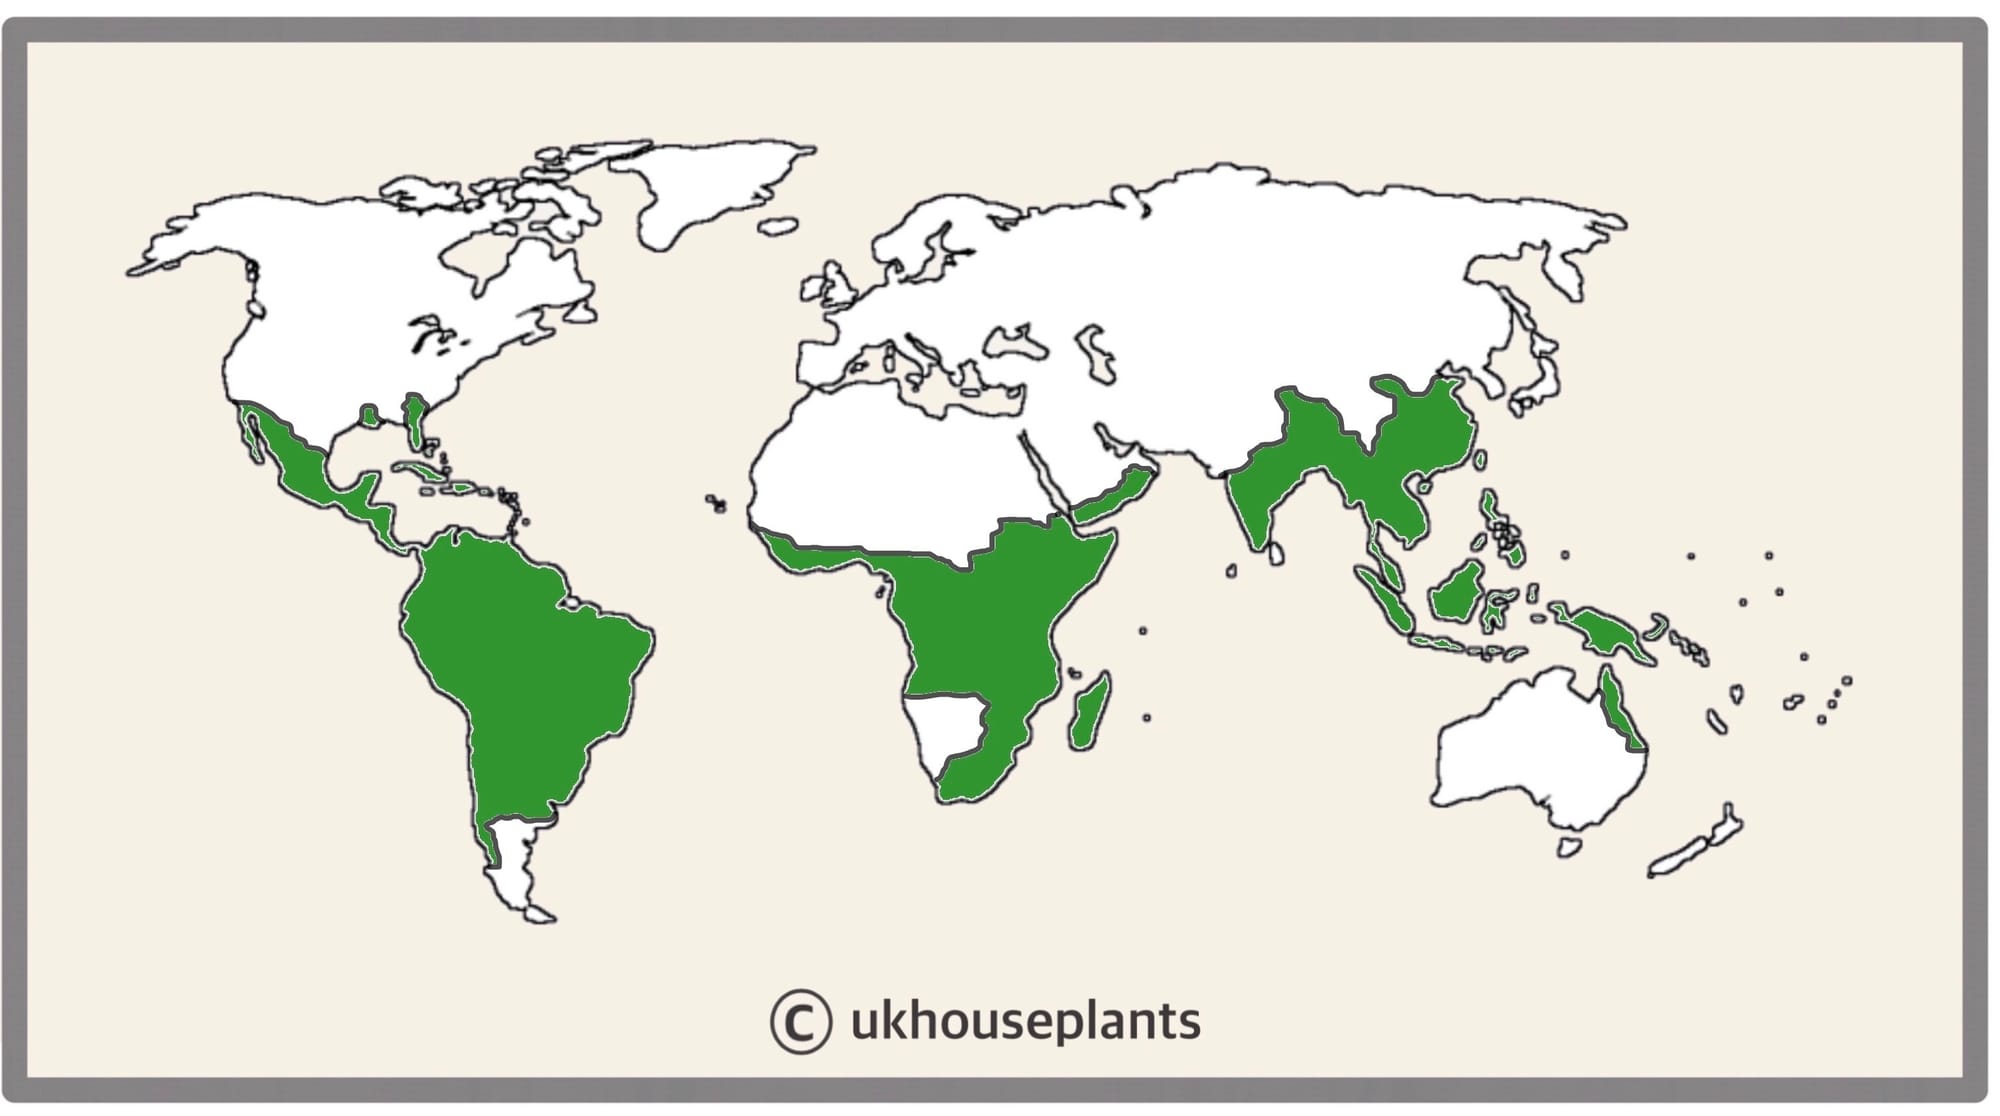 The Distribution of Peperomia in Green. (Introduced to Cuba, Dominican Republic & Puerto Rico in Purple).
Temperature
12° - 26°C (54° - 78°F)
H1b (Hardiness Zone 12) - can be grown outdoors during the summer in a sheltered location with temperatures above 12℃ (54℉), but is fine to remain indoors, too. If you decide to bring this plant outdoors, don't allow it to endure more than an hour of direct sunlight a day as it may result in sun-scorch. Regularly keep an eye out for pests, especially when re-introducing it back indoors.
Spread
Peperomia come in all shape and sizes, with some being vine and others being small herbaceous specimens. Most can grow up to 1m in length and the overall width of the pot, whereas 'globular' shaped species, like the P. caperata or P. griseoargentea can grow up to 40cm in height and width.
Pruning
Remove yellow or dying leaves, and plant debris to encourage better-growing conditions. While pruning, always use clean scissors or shears to reduce the chance of bacterial and fungal diseases. Never cut through yellowed tissue as this may cause further damage in the likes of diseases or bacterial infections. Remember to make clean incisions as too-damaged wounds may shock the plant, causing weakened growth and a decline in health.
Propagation
Via Seed, Offset Division or Stem & Leaf Cuttings.
Offset (Pup) Division (Easy to Moderate) - It's best to divide in the spring or summer months once the offshoots are at least 7cm in height with sufficient root systems. Remove its pot and place your hand in between the nodal junction that connects the two plants - soil may have to removed away to get a better grip. Gently push the pup downwards while supporting the mother plant until you hear a snap. Cautiously separate the root systems, keeping great care with gripping them damage-free. Place the new plantlet in moist 'Cactus & Succulent' compost with a 7cm pot and maintain the same care routines. Provide a bright setting with temperatures around 18°C (64°F) with the top third of the soil drying out in between waters. New leaves should emerge within the six weeks, and at that point, you may follow the care tips provided above.
Leaf Cuttings (Moderate) - Leaves that are halfway along the stem have the most potential due to its size and maturity. Gently place your fingers between the mother's stem and the leaf's petiole, pulling it downwards until you hear a snap. Ensure the wound is wholly intact with no damage as a bruise or tear will result in unsuccessful propagation. The leaf should be cut in half longways, before being set in either water or soil to root.
Water) For those who opt for this method (which is easier), submerge the bottom half of the leaf (wound side) and replace the water weekly to limit the spread of disease. Once the roots surpass 3cm in length, place the bottom half in a 'Houseplant' labelled potting mix and maintain moist soil in a bright, indirect location. New 'pups' will develop within six weeks, and once they're 5cm in height with a sufficient stem, you can gently remove it from the leaf to become its own specimen. Avoid any direct sunlight for the first six months whilst the plant becomes established and follow the care tips provided at the top for ultimate success.
Soil) For those who choose soil propagation, place the leaf ON TOP of moist 'Houseplant' compost for 24hrs. Not only will this callous the wound (to prevent disease), but it'll also speed the development of roots considerably. After this short period, submerge the bottom half (wound-down) into a moist, houseplant-labelled potting mix. Provide a bright indirect setting with temperatures around 18°C (64°F) and place the potted cuttings in a transparent bag to lock in the humidity. Not only will it provide a more reliable and consistent environment (essential for leaf or stem cuttings of any species), but it'll increase the atmospheric saturation to prevent thorough dehydration. The leaf's stomata will remain mostly open to absorb the airborne water molecules, thus acting like its root system until the actual roots develop. New 'pups' will develop within eight weeks, and once they're 5cm in height with a sufficient stem, gently remove it from the leaf to become its own specimen. Avoid any length of direct sunlight for the first six months whilst the plant becomes established and follow the care tips provided at the top for ultimate success.
Stem Cuttings (Easy) - Remove the top three inches from the leading growths, pruning just below a node with a clean pair of scissors. Be sure to choose damage-free, juvenile growth as any cuts and bruises may lead to failure. Remove the bottom 50% of the leaves and submerge the lower portion into some water until three inches of growth appears. Replace the water weekly and be sure to avoid letting soil enter the water, as this may prove to be a breeding ground for pathogens. Use a 5cm pot and with a well-draining potting mix, preferably 'Houseplant' compost, to reduce the risk of over-watering and blackleg. Provide a bright setting with temperatures around 18°C (64°F) with the soil's top fifth drying out in between irrigation. New leaves should emerge within six weeks, and at this point, you can follow the care tips provided at the top of the article.
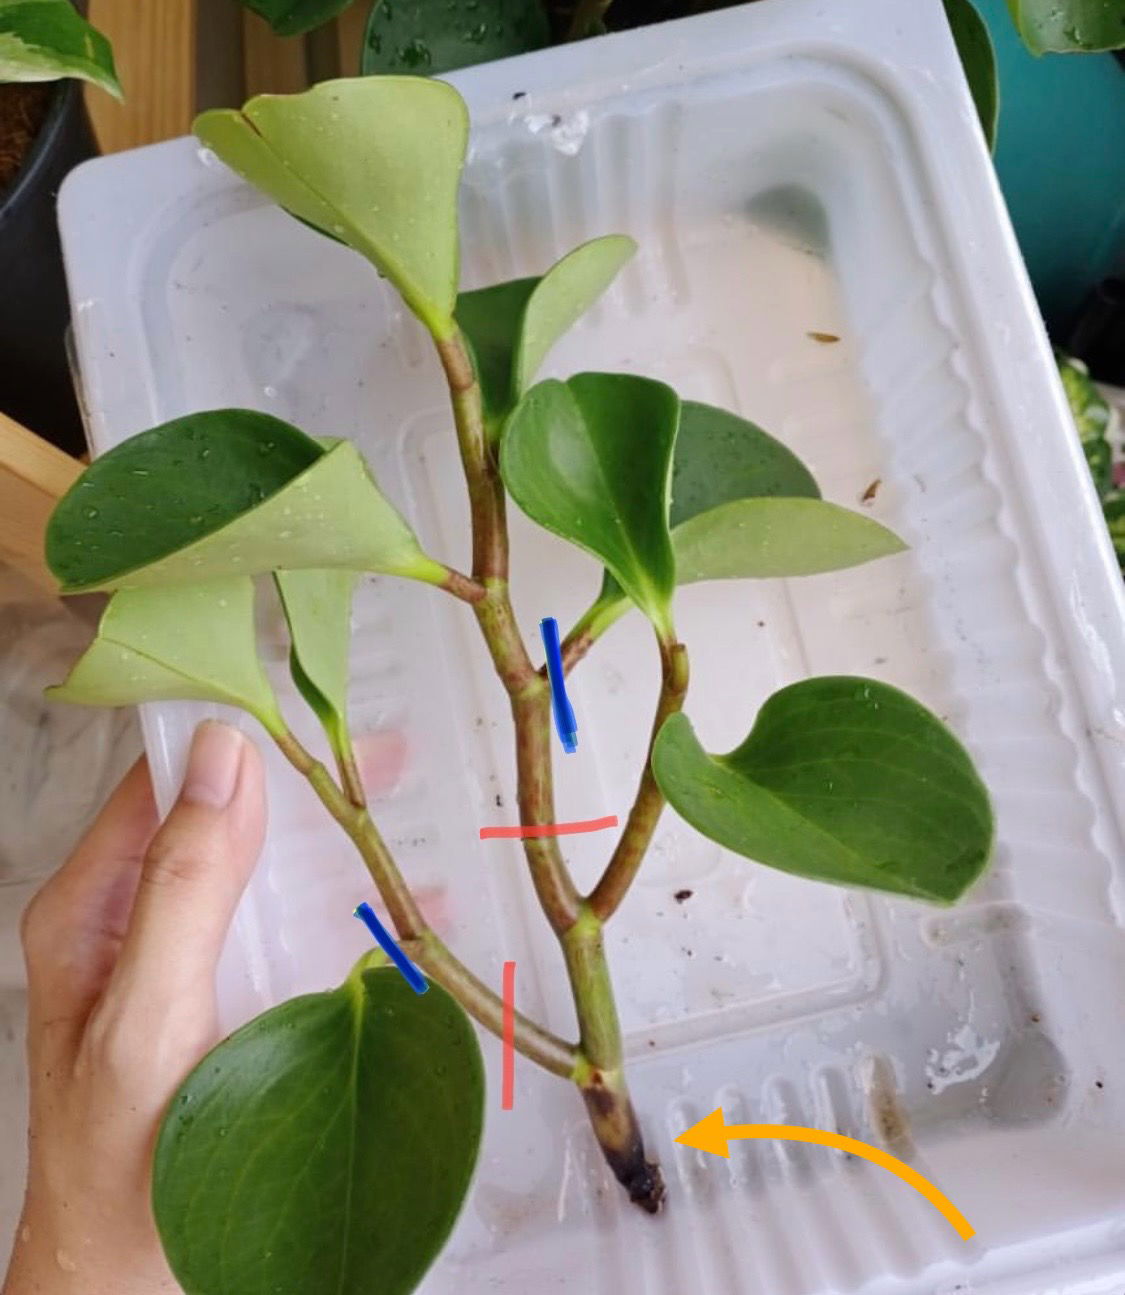 If your Peperomia has suffered basal rot (yellow arrow), you can take leaf cuttings (blue arrow) or stem cuttings (red arrow) to keep the plant going.
Flowers
Small, white or yellow spikes will appear during the spring or summer that can last up to a fortnight. Most Peperomia are perennials and need little treatment to bloom; present high humidity and a cooler winter of 15°C (59°F) to ease the plant into blooming!
Repotting
Repot every two years in the spring using a 'Houseplant' labelled compost for a sun-filled location (better water retention) or a 'Cactus & Succulent' potting-mix for a dark area in the home. Hydrate the plant 24hrs before the tinkering with the roots to prevent the risk of transplant shock. For those that are situated in a darker location, add a thin layer of small grit in the pot's base to improve drainage and downplay over-watering. Click here for a detailed step-by-step guide on transplantation. Always use the next sized pot when repotting.
As all Peperomia are prone to root rot, have a look around the bottom half of the root ball for any brown tissue. If this is the case, click on the link to learn about addressing this disease.
Book a 1-to-1 video call with Joe Bagley if you'd like a personal guide to repotting your houseplant. This will include recommending the right branded-compost and pot size, followed by a live video call whilst you transplant the specimen for step-by-step guidance and answer any further questions!
 Peperomia orba 'Pixie Lime'
Pests & Diseases
Keep an eye out for mealybugs, aphids, spider mites, scale, thrips, blackfly, vine weevils & root mealybugs that'll locate themselves in the cubbyholes and undersides of the leaves, except for the latter two that'll be in the soil. Typical diseases associated with Peperomia are root or basal rot, leaf-spot disease & powdery mildew - for more information on how to address these diseases, click on this link.
Toxicity
This genus is classified as non-poisonous. If large quantities of the plant are eaten, vomiting, nausea and a loss of appetite may occur.
 Peperomia rotundifolia
Retail Locations
IKEA, Blue Diamond, Dobbies & Online Stores.
Book a 1-to-1 Call with Joe Bagley
If you need further advice with your houseplants, book an advice call with ukhouseplants' friendly and expert writer today! This can be done via a video or audio call on most apps, including Facebook, FaceTime & Skype. A ten-minute call costs £5.99 (US$7), or £15.99 for thirty minutes. You can ask multiple questions, including queries on plants, pests, terrariums, repotting advice and anything in between. Please consider supporting this service to keep ukhouseplants thriving!
Comments