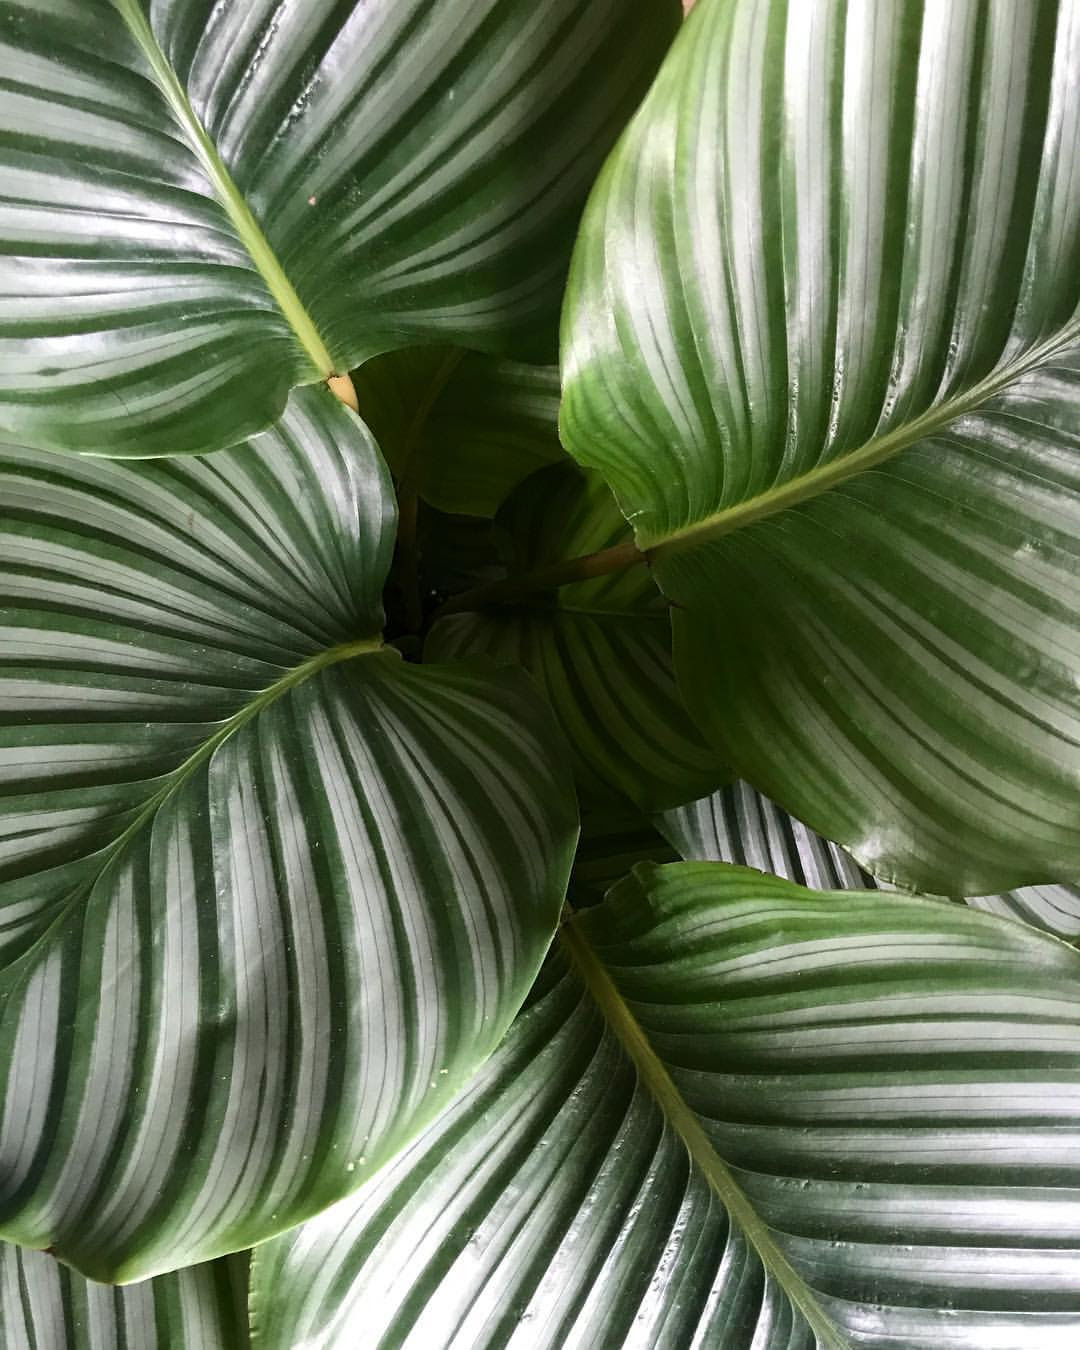
Geoppertia orbifolia
Contents
- Top Tips
- Location, Water, Humidity & Fertilisation
- Common Issues
- Origins, Temperature, Propagation, Repotting & Toxicity
Need the answer to a specific plant query? Book a 1-to-1 video call with THE HOUSEPLANT DOCTOR™, the website's friendly author, to overcome and address your niggling problem! Available on iMessage, WhatsApp, Facebook Messenger & more.
Top Tips & Info
- Care Difficulty - Moderate
- Moist soil is essential for the prevention of dehydration; allow the top third to dry out in between waters, reducing this slightly in the winter.
- Although average room humidity won't be too much of an issue, introduce a pebble tray to promote a more stable environment.
- Fertilise fortnightly during the spring & summer months, and monthly for the rest of the year using a 'Houseplant' labelled feed.
- Keep an eye out for Spider Mites that'll form webs on the under-leaves of the plant.
- Repot every two years using a 'Houseplant' labelled compost and the next sized pot.
Location & Light - 🔸🔸
During the spring and summer, be sure to provide a brightly lit spot away from any direct light. Excessive exposure during this time will negatively affect the plant in the likes of sun scorch and dehydration. Once the autumn kicks in, be sure to include an hour or two of direct light per day to get it through the dormancy period, lasting until the following spring.
The amount of light and current season of the year will directly govern the frequencies of waters per month. Specimens placed in darker areas must be kept on the drier side to life, whereas brighter locations will require more soil moisture to lubricate photosynthesis.
Water - 🔸🔸
Allow the top third of the soil to dry out in between waters, reducing this further in the autumn and winter. When it's time to irrigate, be sure to avoid saturating the cubbyholes of its base, as excess moisture will cause anaerobic conditions which may result in rot. For those situated in shadier environments, allow around half of the soil dry out in between waters to counteract the chance of over-watering, especially in the winter months. Under-watering symptoms include stunted growth, yellowing leaves, a lack of flowers or sudden flower loss - these issues could be a product of many elements; however, too much sunlight or forgetfulness are usually the culprits. Over-watering symptoms include the yellowing or loss of leaves and flowers, stunted growth or a rotten base. These problems are typically familiar with either too little light or heat, or overly soggy soil; if you feel that root rot is the case, be sure to click on this link for more info.
Humidity - 🔸🔸🔸
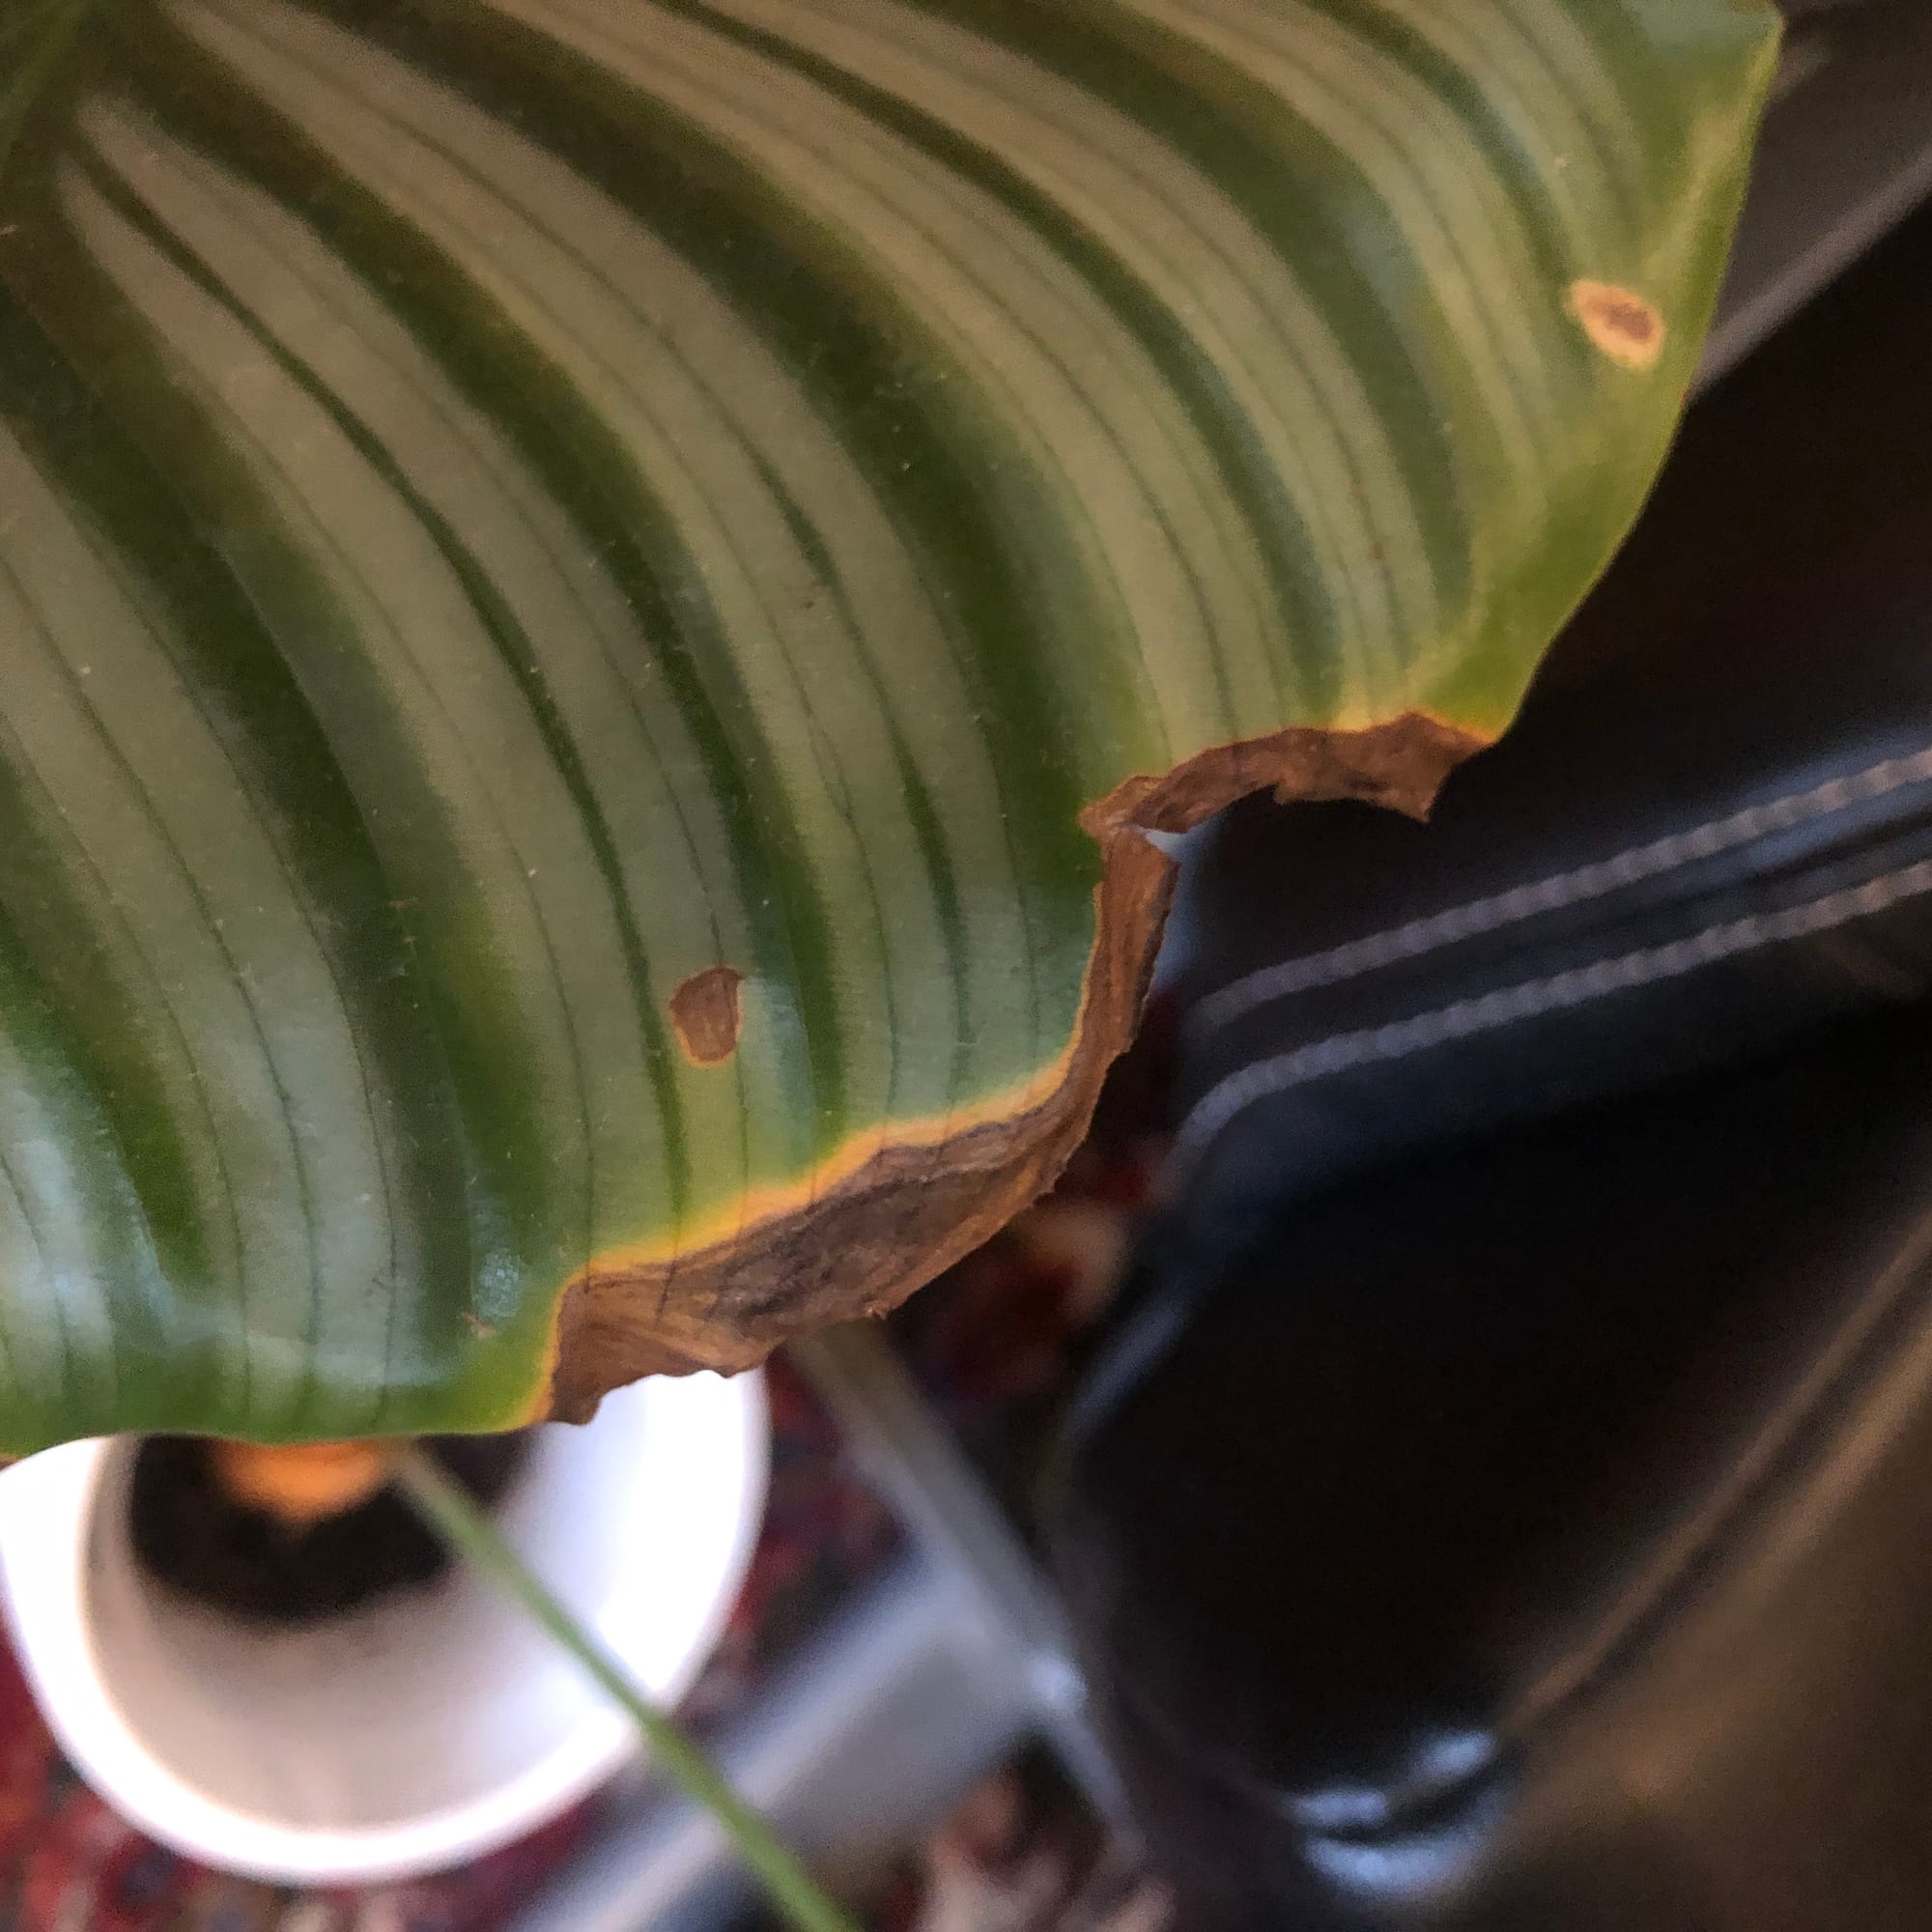
Whilst the radiators are on, place the Goeppertia on a pebble/humidity tray. Not only will this save misting the foliage once a week, but it'll also provide a more stable environment. Dry air will cause the browning of leaf-edges, along with poorer growth. Those situated in either a bathroom or a dark location must not be over-misted as too much moisture surrounding the foliage could result in powdery mildew and leaf-spot disease.
Fertilisation - 🔸
Feed every four waters during the growing period and every six in the autumn and winter, using a 'Houseplant' labelled fertiliser. Never apply a 'Ready to Use’ product into the soil without a pre-water first, as it may burn the roots and lead to yellowed leaves.
Common Issues with Goeppertia Orbifolia
Curled leaves and brown leaf-edges are the result of too little water or over-exposure to the sun. Goeppertia are best located in bright, indirect settings, and those that haven't acclimatised to the harsh rays will show signs of sun-scorch and environmental shock. A splash of winter sunlight is acceptable as long as the soil moisture is regularly observed, with complete avoidance once summer comes along.
When a specimen is severely dehydrated, most of its leaves will crisp-up and fall off - leaving you with a naked plant. Although it may spell the end of juvenile plantlets, there may still be light at the end of the tunnel for more established specimens. If the stems and leaves are thoroughly crisp, prune the stems to around an inch from the soil line and contain the plant (with its pot) in a transparent bag that has small holes. Keep the soil continually moist, providing a good level of indirect light and temperatures above 15°C (59°F). After a few weeks, new rhizomatous growths will form above the soil line, signalling the start of its recovery process. Maintain a sealed environment for the following month until you feel it's necessary to release it back into the open air. For the prevention of environmental shock, be sure to introduce a humidity tray for higher levels of atmospheric moisture around the plant in its new setting. Not only will this ease the specimen back into normal functioning life, but it'll also reduce the rate of transpiration (water-loss in the leaves), and therefore downplay the risk of dehydration and further decline.
Spider Mites are small, near-transparent critters, that'll slowly suck out the chlorophyll out of the leaves. Have a check under the leaves, most notably along the midrib, for small webs and gritty yellow bumps. Click here to read our article about the eradicating Spider Mites, along with some extra tips that you may not find elsewhere!
Root rot is a common issue with specimens sat in too moist or waterlogged soil for long periods. Symptoms include rapidly yellowing leaves, stunted growth and a rotten brown base. Take the plant out of the pot and inspect health below the soil line. If the roots sport a yellow tinge, you're good to go, but if they're brown and mushy, action must be taken immediately. More information about addressing root rot can be found on this link.
 We recommend hydrating your Geoppertia with fresh bottled water, as supposed to cold tap water due to the risk of developing yellow and brown leaf-haloes. If this issue has occurred with yours, fertilise the specimen well and continue to allow the soil's top third to dry between waters. Do not prune the foliage until the majority of the leaf has become yellow or brown.
Too low humidity can cause browning tips with yellow halos on juvenile leaves. Although this won't kill your specimen, you may want to increase the local moisture to prevent the new growth from adopting these symptoms. Mist or rinse the foliage from time to time and create a humidity tray while the heaters are active to create a stable environment. The browning of leaf-tips on older leaves is wholly natural and is the product of extensive photosynthesis during its life.
Transplant shock is a big issue when it comes to heavy-handed repots. Give the plant a good soak 24hrs before the action and never tinker with the roots, unless it has been affected by root rot. Typical signs of transplant shock are largely similar to under-watering, with wilting, yellowing leaves and stunted growth among the most common symptoms. Click here to learn more about addressing transplant shock, and a step-by-step guide on performing the perfect transplant.
Dust the leaves regularly. Although this isn't too much of an issue, a build-up of dust particles can clog up the plant's pores, causing lowered light capturing-efficiency. Wipe the topsides of the leaves down once a month to keep levels down and improve growing conditions.
Mould developing on the soil means two things - too little light and over-watering. Despite the harmlessness of the mould, it'll prove unsightly to most gardeners and is therefore removed once known. To remove, replace the top two inches of the soil for a fresh batch of 'Houseplant' compost. Either increase the amount of light received (no direct sunlight for the first few weeks to prevent environmental shock) or decrease the frequency of waters slightly. If the mould is accompanied by yellowing lower leaves, you may also have a case of root rot.
Origins
Goeppertia was first described in 1831 by Christian Nees von Esenbeck, honouring Heinrich Göppert for his works in German botany. The species, G. orbifolia, was reclassified from the original genus of Calathea in the latter stages of the twentieth-century by Helen Kennedy.
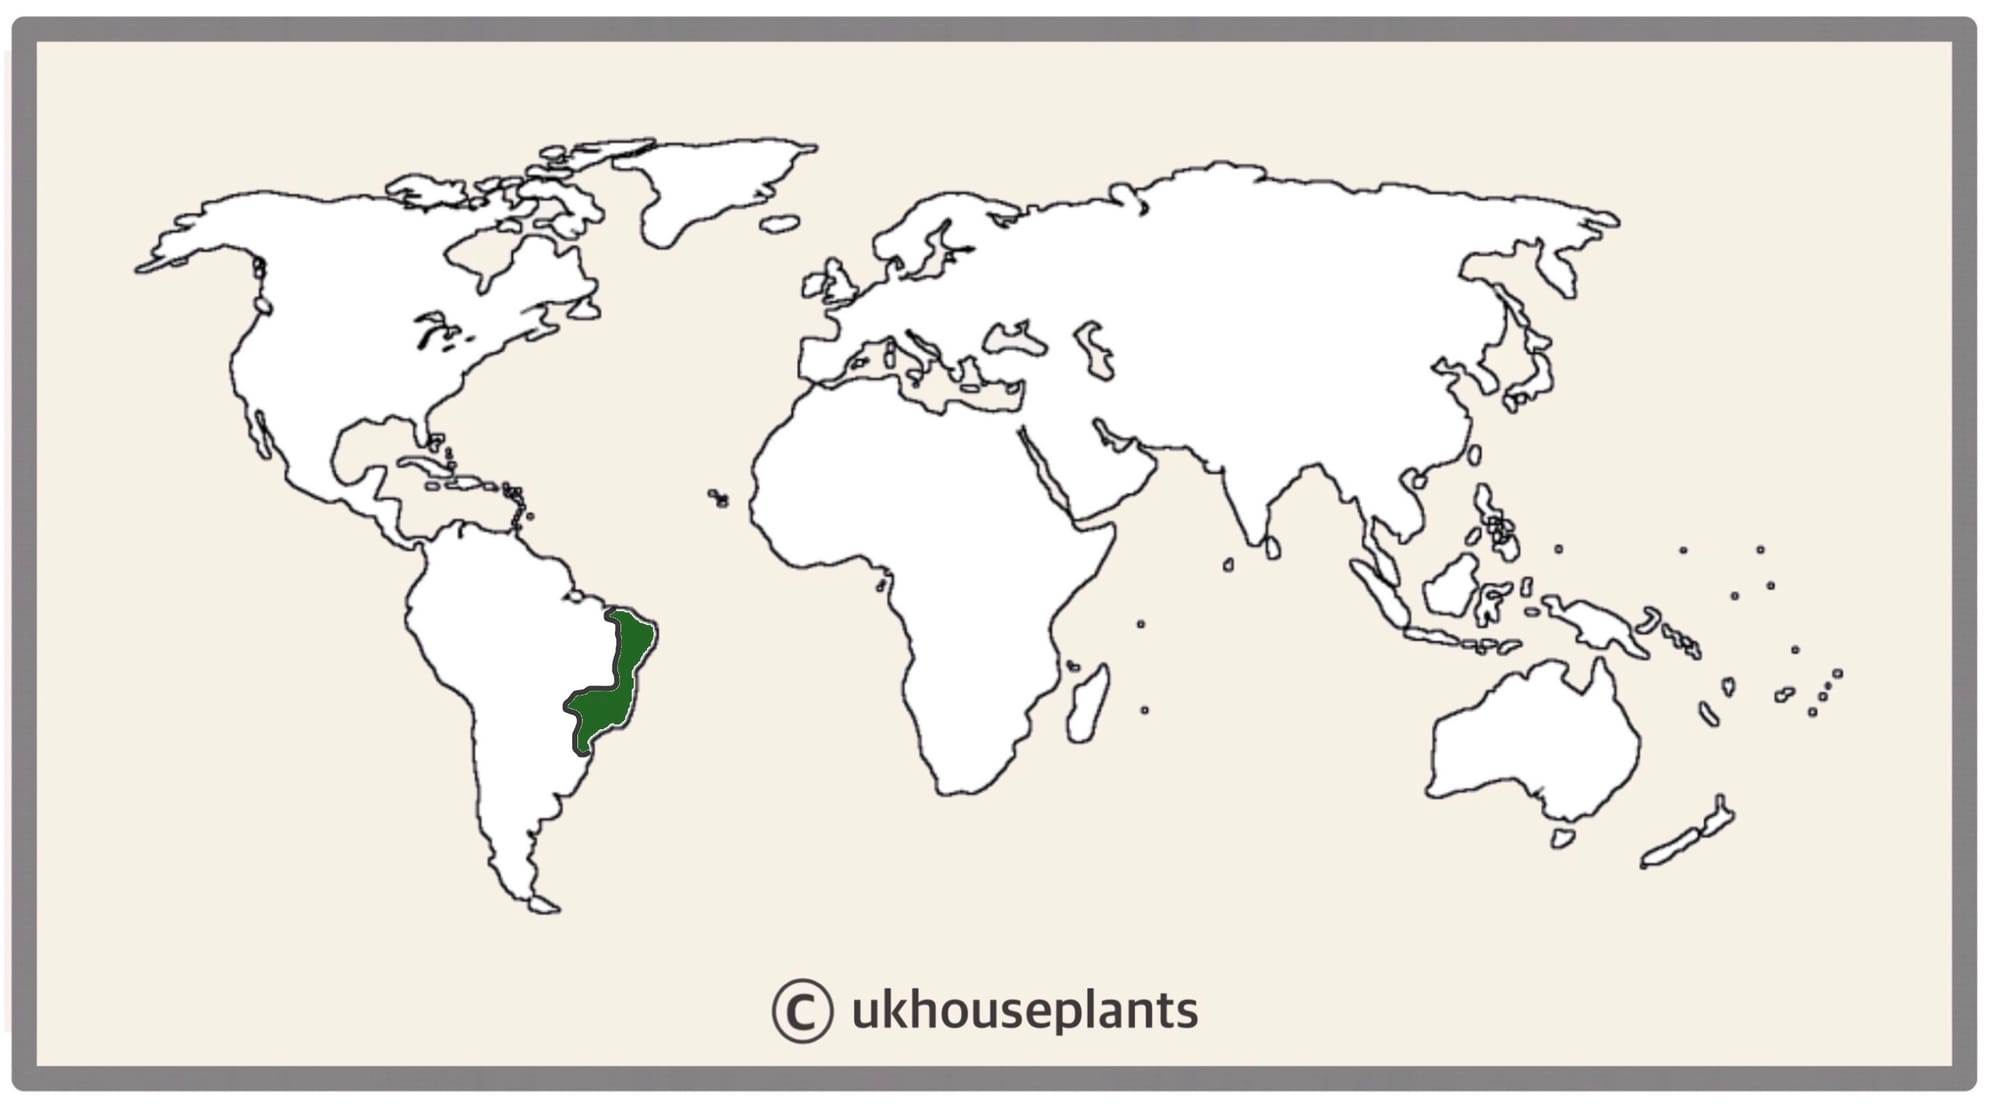 The Distribution of G. orbifolia.
Temperature
12° - 27°C (54° - 80°F)
H1b (Hardiness Zone 12) - Can be grown outdoors during the summer in a sheltered location with temperatures above 12℃ (54℉), but is fine to remain indoors, too. If you decide to bring this plant outdoors, don't allow it to endure any direct sunlight as it may result in sun-scorch and dehydration. Regularly keep an eye out for pests, especially when re-introducing it back indoors.
Spread
Up to 70cm in both height and width. Once they either flower or reach maturity, growth will be limited to almost none, with new rhizomatous growth developing through the soil-line.
Pruning & Maintenance
Remove yellow or dying leaves, and plant debris to encourage better-growing conditions. While pruning, always use clean scissors or shears to reduce the chance of bacterial and fungal diseases. Never cut through yellowed tissue as this may cause further damage in the likes of diseases or bacterial infections. Remember to make clean incisions as too-damaged wounds may shock the plant, causing weakened growth and a decline in health.
Cut any dying stems to around an inch from the soil line, allowing new growth to develop from its rhizomes. In some instances, you'll have to remove all of the stems, leaving just a bare pot of soil. As long as you provide moist soil and a well-lit location, new growth will appear within a few months. Do not repot or separate the rootstocks during this time, as it'll lead to transplant shock and inevitable death.
Propagation
Via Seed or Rhizome (Offset) Division.
Rhizome or Offset Division (Moderate) - Separating the basal offsets into their own pot will not only expand your plant collection, but it'll also slow the process of becoming pot bound. The best time to divide is during the spring, with the pup's height surpassing 20cm (7.8 inches). Gently brush away some of the soil to gain better access to the pup's base (lower stem) where the roots will be housed. While using a clean pair of secateurs or scissors, cut the stem with at least two root strands attached to its base. Set the pup in an appropriate-sized pot with adequate drainage and a 'Houseplant' labelled compost. The ideal location would provide bright, indirect light and temperatures above 15℃ (59℉). Maintain evenly moist soil, allowing the top third to dry out in between hydrations. After a month or two, treat it like a matured specimen by using the care tips mentioned above!
Flowers
Most Goeppertia will rarely flower indoors, due to the insufficient growing conditions. For the interest of this section, small white or yellow-coloured flowers will develop in the height of summer, resting beneath the foliage line and lasting up to a few weeks.
Repotting
Repot every two years in the spring, using a 'Houseplant' labelled compost and the next sized pot with adequate drainage. Hydrate the plant 24hrs before tinkering with the roots to prevent the risk of transplant shock. For those that are situated in a darker location, add a thin layer of small grit in the pot's base to improve drainage and downplay over-watering. Click here for a detailed step-by-step guide on transplantation, or via this link to learn about repotting with root rot.
Small swollen nodules will develop along the specimen's roots which can store both water and nutrients (nitrogen mainly) for potential droughts. Do not remove them as it may lead to stress on the specimen. Spider Plants also have the same root mechanism, however, with the latter they'll develop into cylindrical growths, instead of near-perfect balls.
Book a 1-to-1 video call with THE HOUSEPLANT DOCTOR™ if you'd like a personal guide to repotting your houseplant. This will include recommending the right branded-compost and pot size, followed by a live video call whilst you transplant the specimen for step-by-step guidance and answer any further questions!
Pests & Diseases
Keep an eye out for mealybugs, spider mites, scale, thrips & whitefly that'll locate themselves in the cubbyholes and undersides of the leaves. Common diseases associated with this species are root rot, leaf-spot disease, botrytis, rust, powdery mildew & southern blight - click here to learn more about these issues.
Toxicity
Not considered to be poisonous by consumption of pets and humans; if high quantities are eaten, it may result in vomiting, nausea and a loss of appetite.
Retail Locations
IKEA & Online Stores.
Book a 1-to-1 Call with THE HOUSEPLANT DOCTOR™
If you need further advice with your houseplants, book an advice call with ukhouseplants' friendly and expert writer today! This can be done via a video or audio call on most apps, including Facebook, FaceTime & Skype. A ten-minute call costs £5.99 (US$7), or £15.99 for thirty minutes. You can ask multiple questions, including queries on plants, pests, terrariums, repotting advice and anything in between. Please consider supporting this service to keep ukhouseplants thriving!
Comments