Copyright: Dragonfli
Contents
- Top Tips & Info
- What are Soil Mites & Are They Bad?
- Symptoms
- Susceptible Plants & Parts
- Actions Needed
- Pesticides
- Ways to Prevent an Attack in the Future
Need the answer to a specific plant or pest query? Book a 1-to-1 video call with THE HOUSEPLANT DOCTOR™, the website's friendly author, to overcome and address your niggling problem! Available on iMessage, WhatsApp, Facebook Messenger & more.
Top Tips & Info
- Eradication Difficulty - Easy to Moderate
- Life Cycle - Up to forty days.
- There are three main types of Soil Mites - Oribatids, Mesostigmata & Prostigmata.
- Most indoor soil mites are Oribatids though, which feed on small fungi, algae, organic matter (bark, etc.) and rotten roots. This article will teach you how to remove all types of Mites.
- Soil Mites are harmless to the plant and is sometimes seen as beneficial to the compost's health - scroll down to 'What are Soil Mites' for more information on their benefits!
- Symptoms include small white or brown mites crawling across the surface of your houseplant's dirt. Soil Mites are often present in continually moist compost or when situated in darker areas of the house with little natural light.
- They can also be brought into the home by contaminated outdoor compost and will stay localised to the specific pot they're infesting. They cannot fly and therefore is unlikely to spread to nearby houseplants.
- Take the plant out of its pot and remove the top two inches of soil. Have a look at the football's side to see if they are present in deeper portions of the pot. Under no circumstances should you physically pull soil from the roots as this may result in 'Transplant Shock', causing significant damage to the plant's health (wilting, yellowing leaves & plant death).
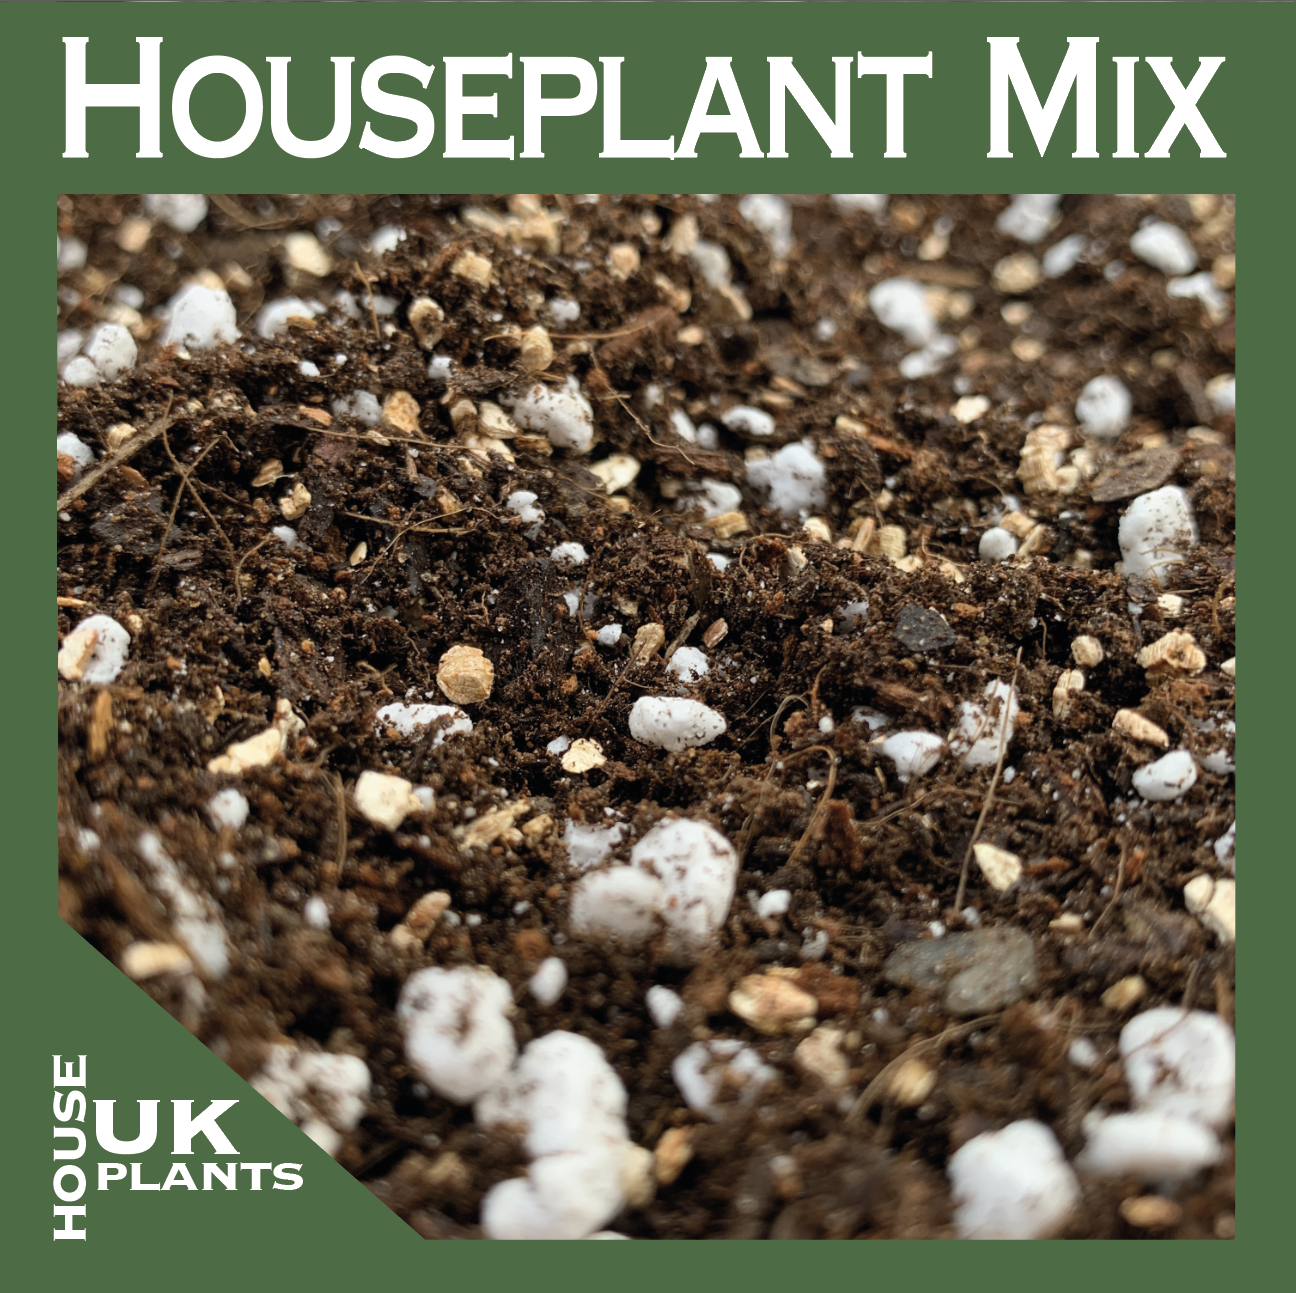
- Replace the removed two inches of the soil for a fresh batch of 'Houseplant' labelled potting mix. If Mites are present across the rootball, scroll down to 'Actions Needed for our step-by-step guide. Remember, we sell top quality indoor soil mixes for every houseplant, so have a look on our shop today to find out more!
What Are Soil Mites & Are They Bad?
There are three main types of Soil Mites, each digesting different sections below the soil line. The most common Mites you'll find in houseplant composts are Oribatids, which will feed off rotten roots, bits of bark and other dead mites. Their speciality to reproduce is in moist, organic matter-rich compost that rarely sees periods of droughts.
Soil Mites are completely harmless to both indoor and outdoor plants, feeding only off the compost's properties and avoiding the plant's healthy tissue. Indoor gardeners often remove the infestation purely on a visible aspect, as they feel that seeing small white or brown critters rambling across the soil isn't a pretty sight. THE HOUSEPLANT DOCTOR™ recommends simply replacing the soil of the plant instead of using any pesticides to remove the critters.
Symptoms
As the Mites aren't detrimental to the plant itself, you won't see any symptoms arise on its foliage. Instead, have a scan across the soil's top surface for small white or brown critters that'll parade across the dirt. If you're not fully satisfied with just searching its surface, be sure to gently take the plant out of its pot and check the base. Be sure you don't over-touch the root system or pull soil from them as it'll only result in 'Transplant Shock' and potential death.
What are the most Susceptible Houseplants & Where do Soil Mites live on them?
Soil Mites will occur solely along and beneath the compost line. If you find small white critters roaming the foliage of your plant, you may be looking at a Spider Mites infestation.
Plants - All species are susceptible to Soil Mites, including plants that require moist soil. Like Cacti and Succulents, arid dwellers are less likely prone to an attack due to the drier conditions that may not support a large infestation.
What are the Actions Needed to Stop Soil Mites?
1. Before sifting through the soil, the first step to do is hydrate the plant. Over-touching the rootball will bring increase the likelihood of 'Transplant Shock', whereby the roots are too stressed to provide moisture to the rest of the plant. Symptoms of this shock are leaf-curling, wilting stems and yellowing older leaves.
2. At least three hours after watering, take the plant out of its pot and inspect the outer surfaces of the rootball. Wash off each bug as you see them with warm water.
3. Before placing the plant back into its original container, have a scan over the pot, too. Soil Mites may even be hanging out on the plant pot, so be sure to wash the pot using warm water and dish soap before the following step.
4. Repot the plant either back into its original pot (if you don't want to repot it yet) or into the next-sized pot. If gaps have formed in the potting mix, be sure to pour some fresh 'Houseplant' labelled potting mix and level it off with your hand. Keep an eye out for further re-emergences of the Mites by repeating the steps above.
5. If you're wanting to use a product to further reduce the chance of them coming back, scroll down.
We sell top-quality indoor soil mixes for every houseplant, which comes in a resealable bag and FREE Delivery. Click on the link to find out more...
Products
Organic Product
Cinnamon Solution is the best organic pesticide that we'll discuss, which can be created by mixing 1 tsp. of cinnamon to 200ml of tap water. When the plant next needs a water, which could be in a couple of days, pour the dilution into the plant's compost to administer the pesticide. If necessary, replace this once every two weeks (or every three waters) to help eradicate the infestation - a total of three applications can be made, before waiting eight weeks to see if the infestation arises again.
Chemical Product
Hydrogen Peroxide - As the first method will take several weeks to eradicate, you may want to consider spending some money on 'hydrogen peroxide'. Now, before you rush to your local garden centre, this chemical is mostly found online, so have a shop around for the best deal here. For every three waters, incorporate a splash of the peroxide into its with to administer the pesticide. You'll have to do this for at least three times to stop the chance of a relapse thoroughly. mites. A mixture of 1 part 3% hydrogen peroxide to 3 parts water can be mixed to hydrate the soil.
- Pros - Works immediately, relatively cheap & available online all the time.
- Cons - Potentially detrimental if over-used.
Note: Before using products like this, see if just simply replacing the soil removes the Soil Mites. These critters are actually beneficial for your houseplants, so never worry about your plant's overall health when spotting them in the soil!
What are the Best Ways to Prevent a Soil Mite Attack in the Future?
1. At the local plant shop or garden centre, inspect the soil of any plants that you wish to buy. Most infestations come from already-affected plants, so always keep this in mind when increasing your plant-collection.
2. Regularly check for pests on your plants. Although this may sound patronising, many gardeners forget to inspect their indoor specimens. As soon as you see a symptom in the soil, keep it quarantined and follow the steps above!
3. Store your bags of compost well by keeping them tight and enclosed, out of dry or damp areas. Never use soil that has been left outside for any length of time, due to the high risk of contamination.
Book a 1-to-1 Consultation with THE HOUSEPLANT DOCTOR™
Need realtime advice for your Soil Mite situation? Book a video or message consultation with expert Joe Bagley, THE HOUSEPLANT DOCTOR™ (author or ukhouseplants.com). Choose between a ten or thirty-minute session & a platform of your choice (WhatsApp, FaceTime, Facebook Messenger or Zoom). Ask unlimited questions in one session, including queries on your dying/challenging plants, pests, terrariums, repotting advice & everything in between! Available worldwide.
Comments